My Arduino Boilerplate Sketch
When starting a new Arduino project, one typically starts with a blank .ino file. Over the past years I have identified software patterns that appear across almost all of my Arduino projects. To better support those, I have created an Arduino boilerplate sketch which I use instead of the blank file, when starting a new project. This post shares the boilerplate code and explains its functionality. I hope others may find it useful too.
First off, here is the sketch:
// library imports

#define SERIAL_DEBUG

// global variables

void setup() {
  #ifdef SERIAL_DEBUG
    Serial.begin(9600);
    Serial.println("Initializing...");
  #endif
  pinMode(13, OUTPUT);

  // setup
}

void loop() {
  #ifdef SERIAL_DEBUG
    Serial.println("Running...");
  #endif

  // local main event loop variables

  uint32_t lastMillis = millis();
  while (true) {
    uint32_t currentMillis = millis();
    if (currentMillis < lastMillis) {
      // skip main loop in case of millis() overflow
      lastMillis = currentMillis;
      continue;
    }
    digitalWrite(13, (currentMillis / 1000) % 2);

    // main event loop actions

    lastMillis = currentMillis;
  }
}
On a high level, its features are
- separation of global, setup, and main event loop variables,
- a global switch for serial logging (the makro
SERIAL_DEBUG), - consistent time information in the main event loop (through
lastMillisandcurrentMillis), - timing overflow protection, and
- a status LED.
First Program Lines
Next, let’s take the functionality apart, step by step. The first lines of the program contain library imports and global variables. They also define the makro SERIAL_DEBUG which we can be used to enable/disable logging via the serial interface. For disabling the line has to be commented out. I’d often define a global state enum in the global variables section too, so the boilerplate code
// library imports

#define SERIAL_DEBUG

// global variables
might look like that in a real sketch:
// library imports
#include "DisplayControl.h"
#include "LEDControl.h"
#include "TouchSensorReader.h"

#define SERIAL_DEBUG

// global variables
enum GameState { Init, Ready, Running, Over};

GameState gameState = GameState::Ready, lastGameState = GameState::Init;

uint32_t fieldChangedMillis = 0l, gameStartMillis = 0l, gameOverMillis = 0l;
const uint32_t millisPerField = 1000l,  // [ms]
  gameDurationMillis = 60000l;  // [ms]
bool fieldWasActive[numFields]
uint16_t activeField = -1;
Setup Function
Initializations of pins (pinMode) and connection initialization belong into the setup function. The boilerplate opens the serial connection and “enables” the on-board LED:
void setup() {
  #ifdef SERIAL_DEBUG
    Serial.begin(9600);
    Serial.println("Initializing...");
  #endif
  pinMode(13, OUTPUT);

  // setup
}
Note that the logging is dependent on the makro that was defined in the previous section. If it is not defined, the serial connection will not be established.
Loop Function
The loop function starts with some log output and definitions of variables that are only needed within the loop
void loop() {
  #ifdef SERIAL_DEBUG
    Serial.println("Running...");
  #endif

  // local main event loop variables
In my setup I like to have the loop function itself execute only once, so there is some space for local variables. In total there are three places where variables are being defined, namely globally (in the first lines), for the setup only, or for the main loop only. // local main event loop variables is the place for the latter.
Main Event Loop
The actual main event loop is a while (True) loop inside the loop function. It is supposed to be non-blocking, i.e. all operations should run as quickly as possible and there are no calls to Arduino’s delay function. If this concept is new to you, you may want to take a look at this tutorial on the Arduino website.
uint32_t lastMillis = millis();
while (true) {
  uint32_t currentMillis = millis();
  if (currentMillis < lastMillis) {
    // skip main loop in case of millis() overflow
    lastMillis = currentMillis;
    continue;
  }
  digitalWrite(13, (currentMillis / 1000) % 2);

  // main event loop actions

  lastMillis = currentMillis;
}
Arduino’s millis function returns an unsigned long (32 bit). To ensure consistent values throughout an iteration of the loop, the millis function is being evaluated once in the beginning of each iteration and the currentMillis variable (as well as lastMillis) are valid for one iteration. That way time differences can be computed and delays can be implemented without using the blocking delay function. After about 49.7 days, currentMillis overflows. This occasion being caught by the condition at the top of the main event loop, i.e. currentMillis < lastMillis.
The statement digitalWrite(13, (currentMillis / 1000) % 2); makes LED 13 (the on-board LED of the Arduino Uno) blink once a second. This is helpful because the user can see whether the main event loop is being executed duly. Bugs like infinite recursions, overlapping timer interrupts, and such can be noticed faster.
Closing Remarks
I hope sharing this boilerplate sketch alongside with some comments is helpful to some people in the Arduino community. The interested reader may take a look at some Denk Development projects which I was allowed to open source. For example the projects “Airplane Cabin Pressure Control”, “Joystick Servo Control”, and “Arduino Data Transmission”.
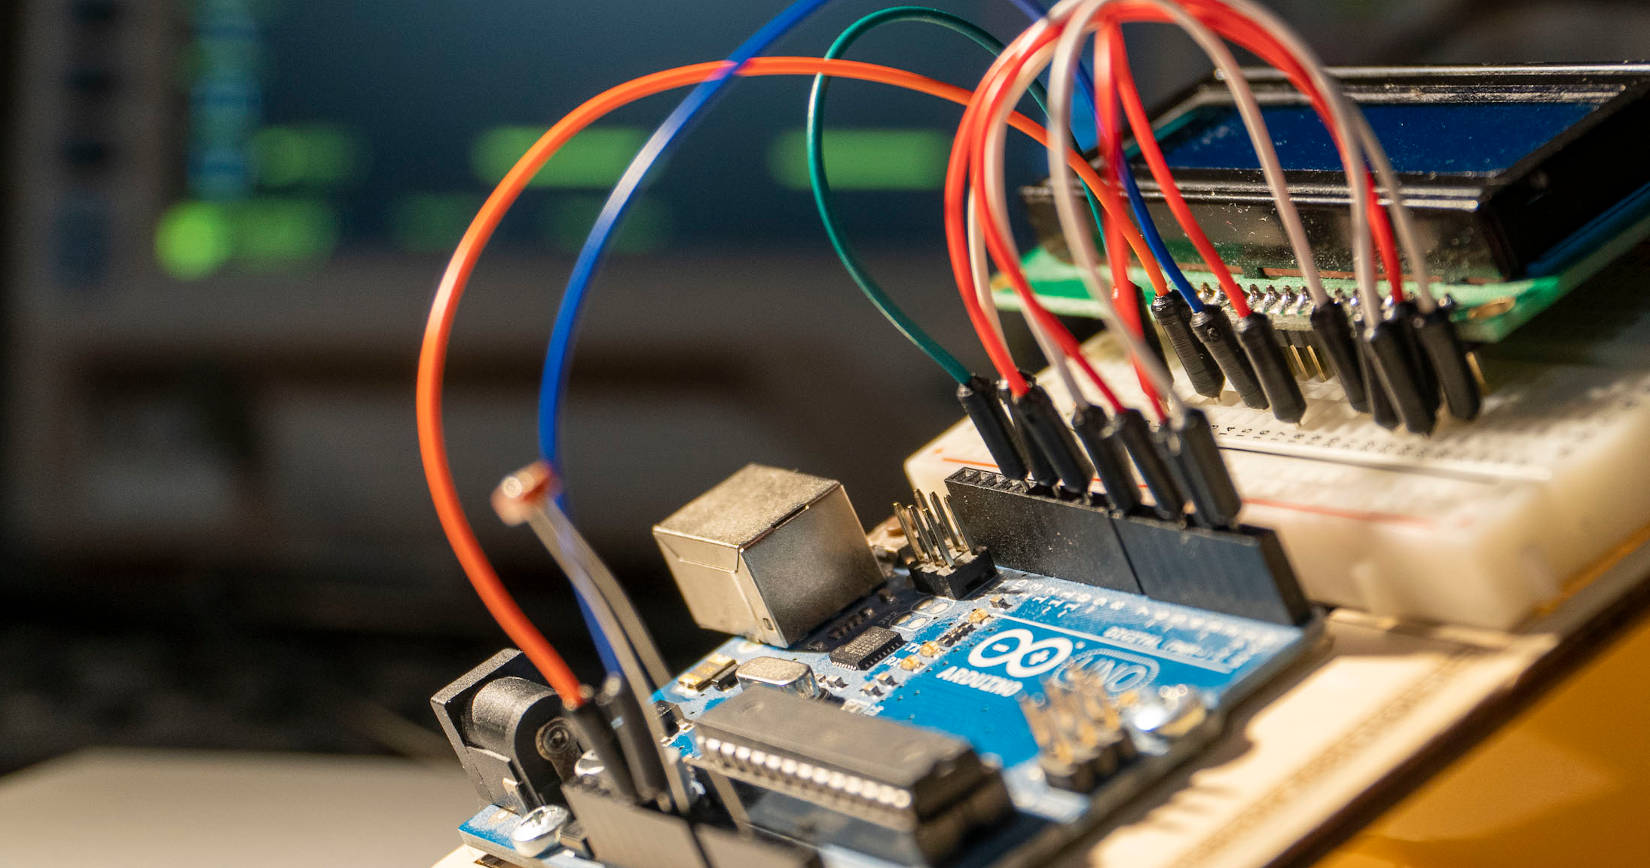
Thanks to Leander Berg for taking a nice cover photo for this blog post!