Every morning I pass by the Berlin Wall in the area of the East Side Gallery and have started to appreciate this unique piece of history with the diverse paintings on it. The first project with my recently acquired 3D printer was therefore nothing but a miniature version of a Berlin Wall segment (after a 1×1×1 cm sand castle test print).
This blog post is about sharing the “Berlin Wall Miniature” project in two parts: First in the form of a photo gallery of the final piece of work and second by outlining the creation process.
Gallery
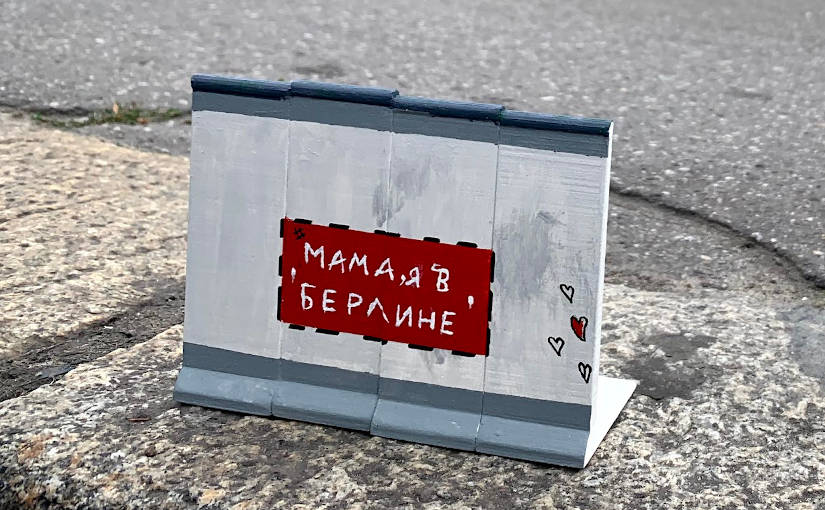
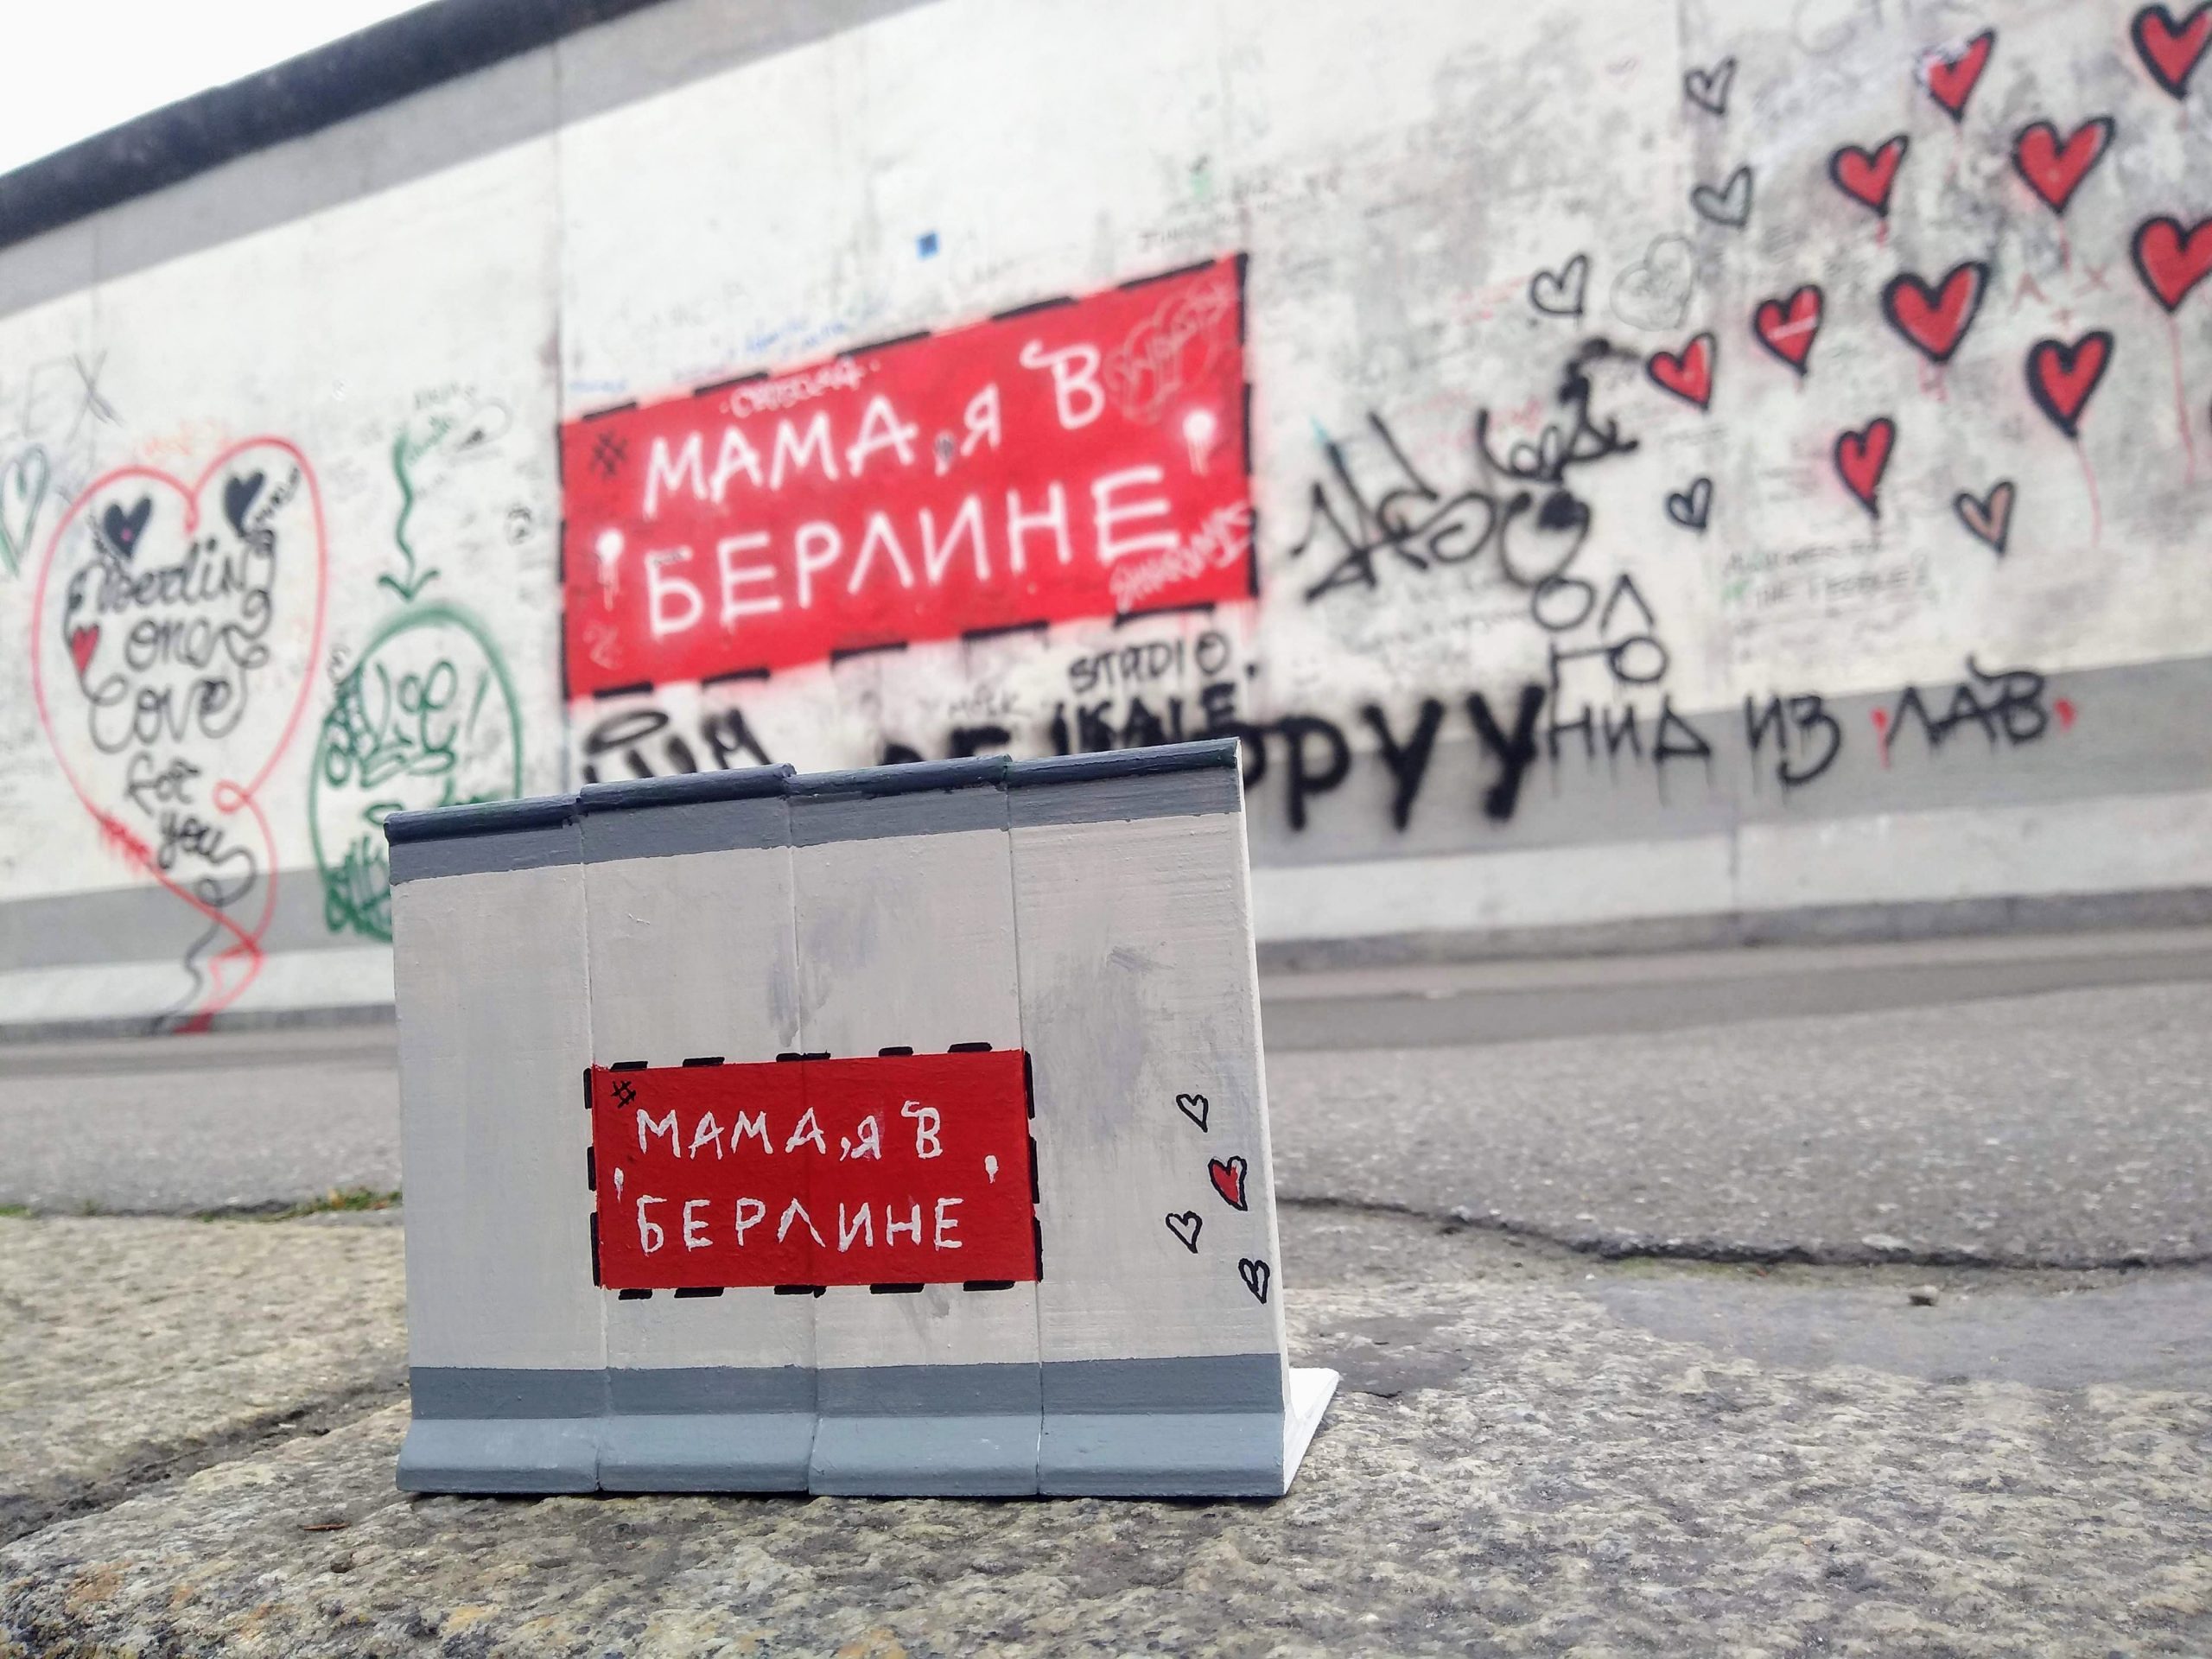
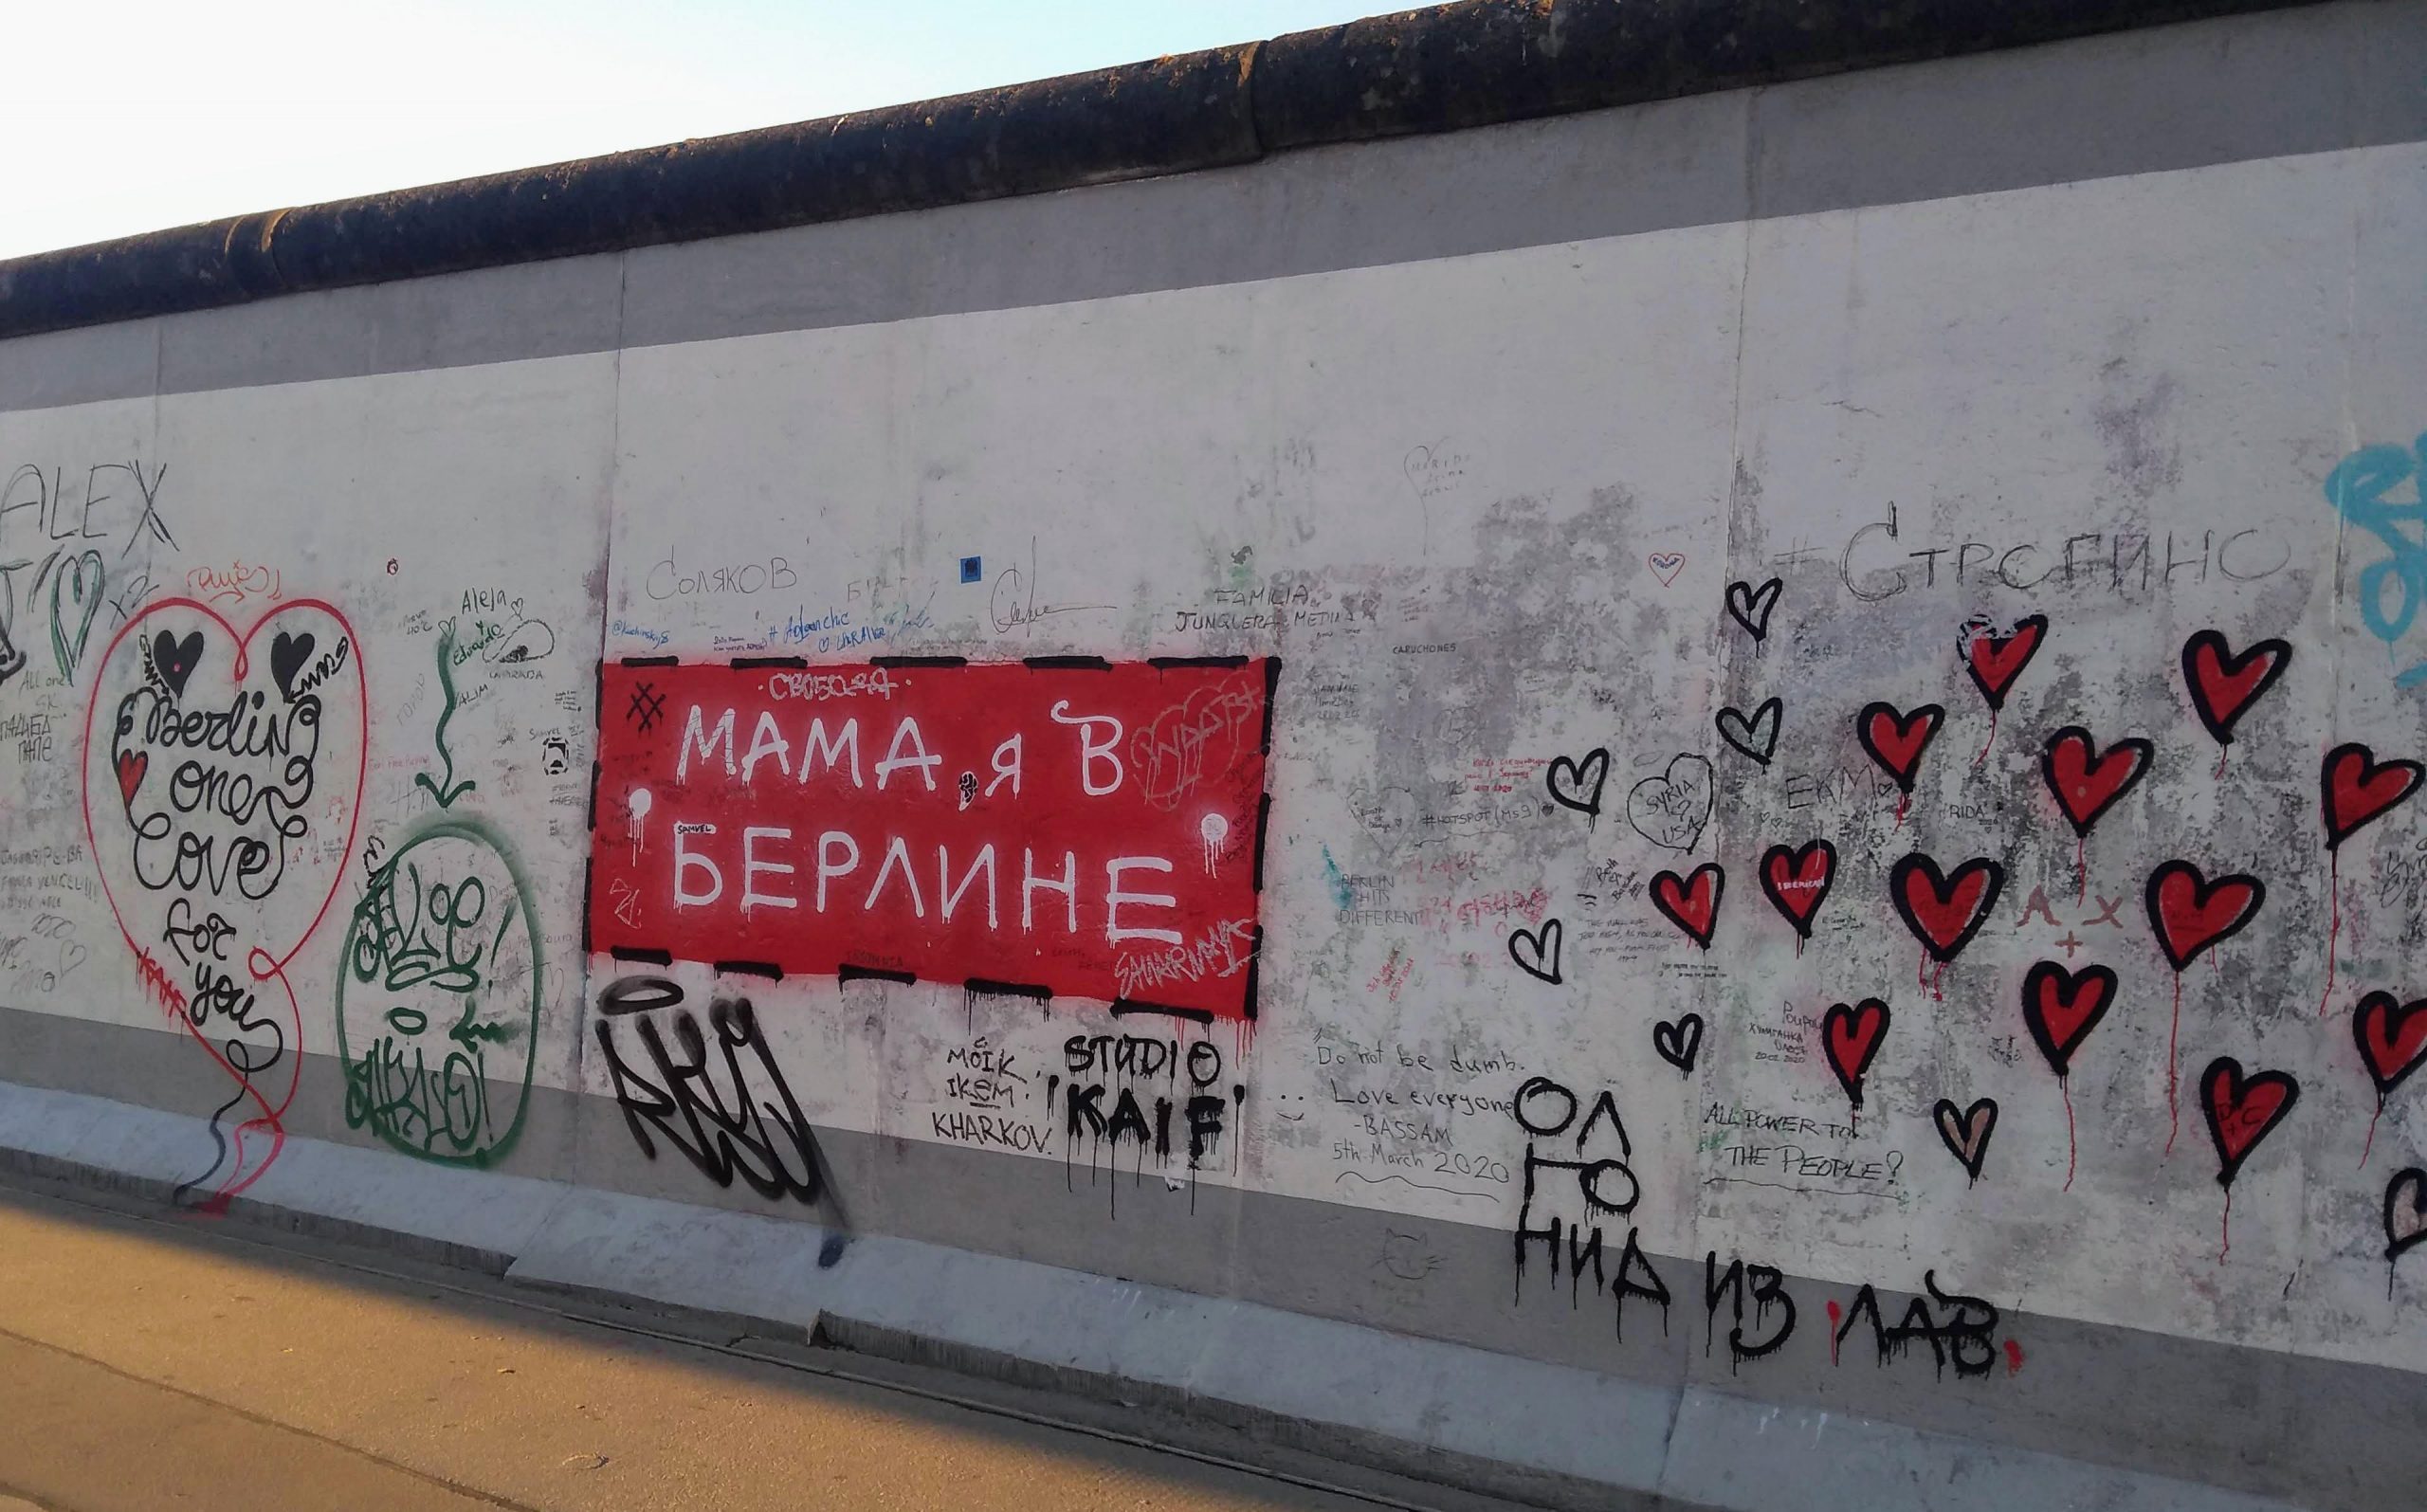
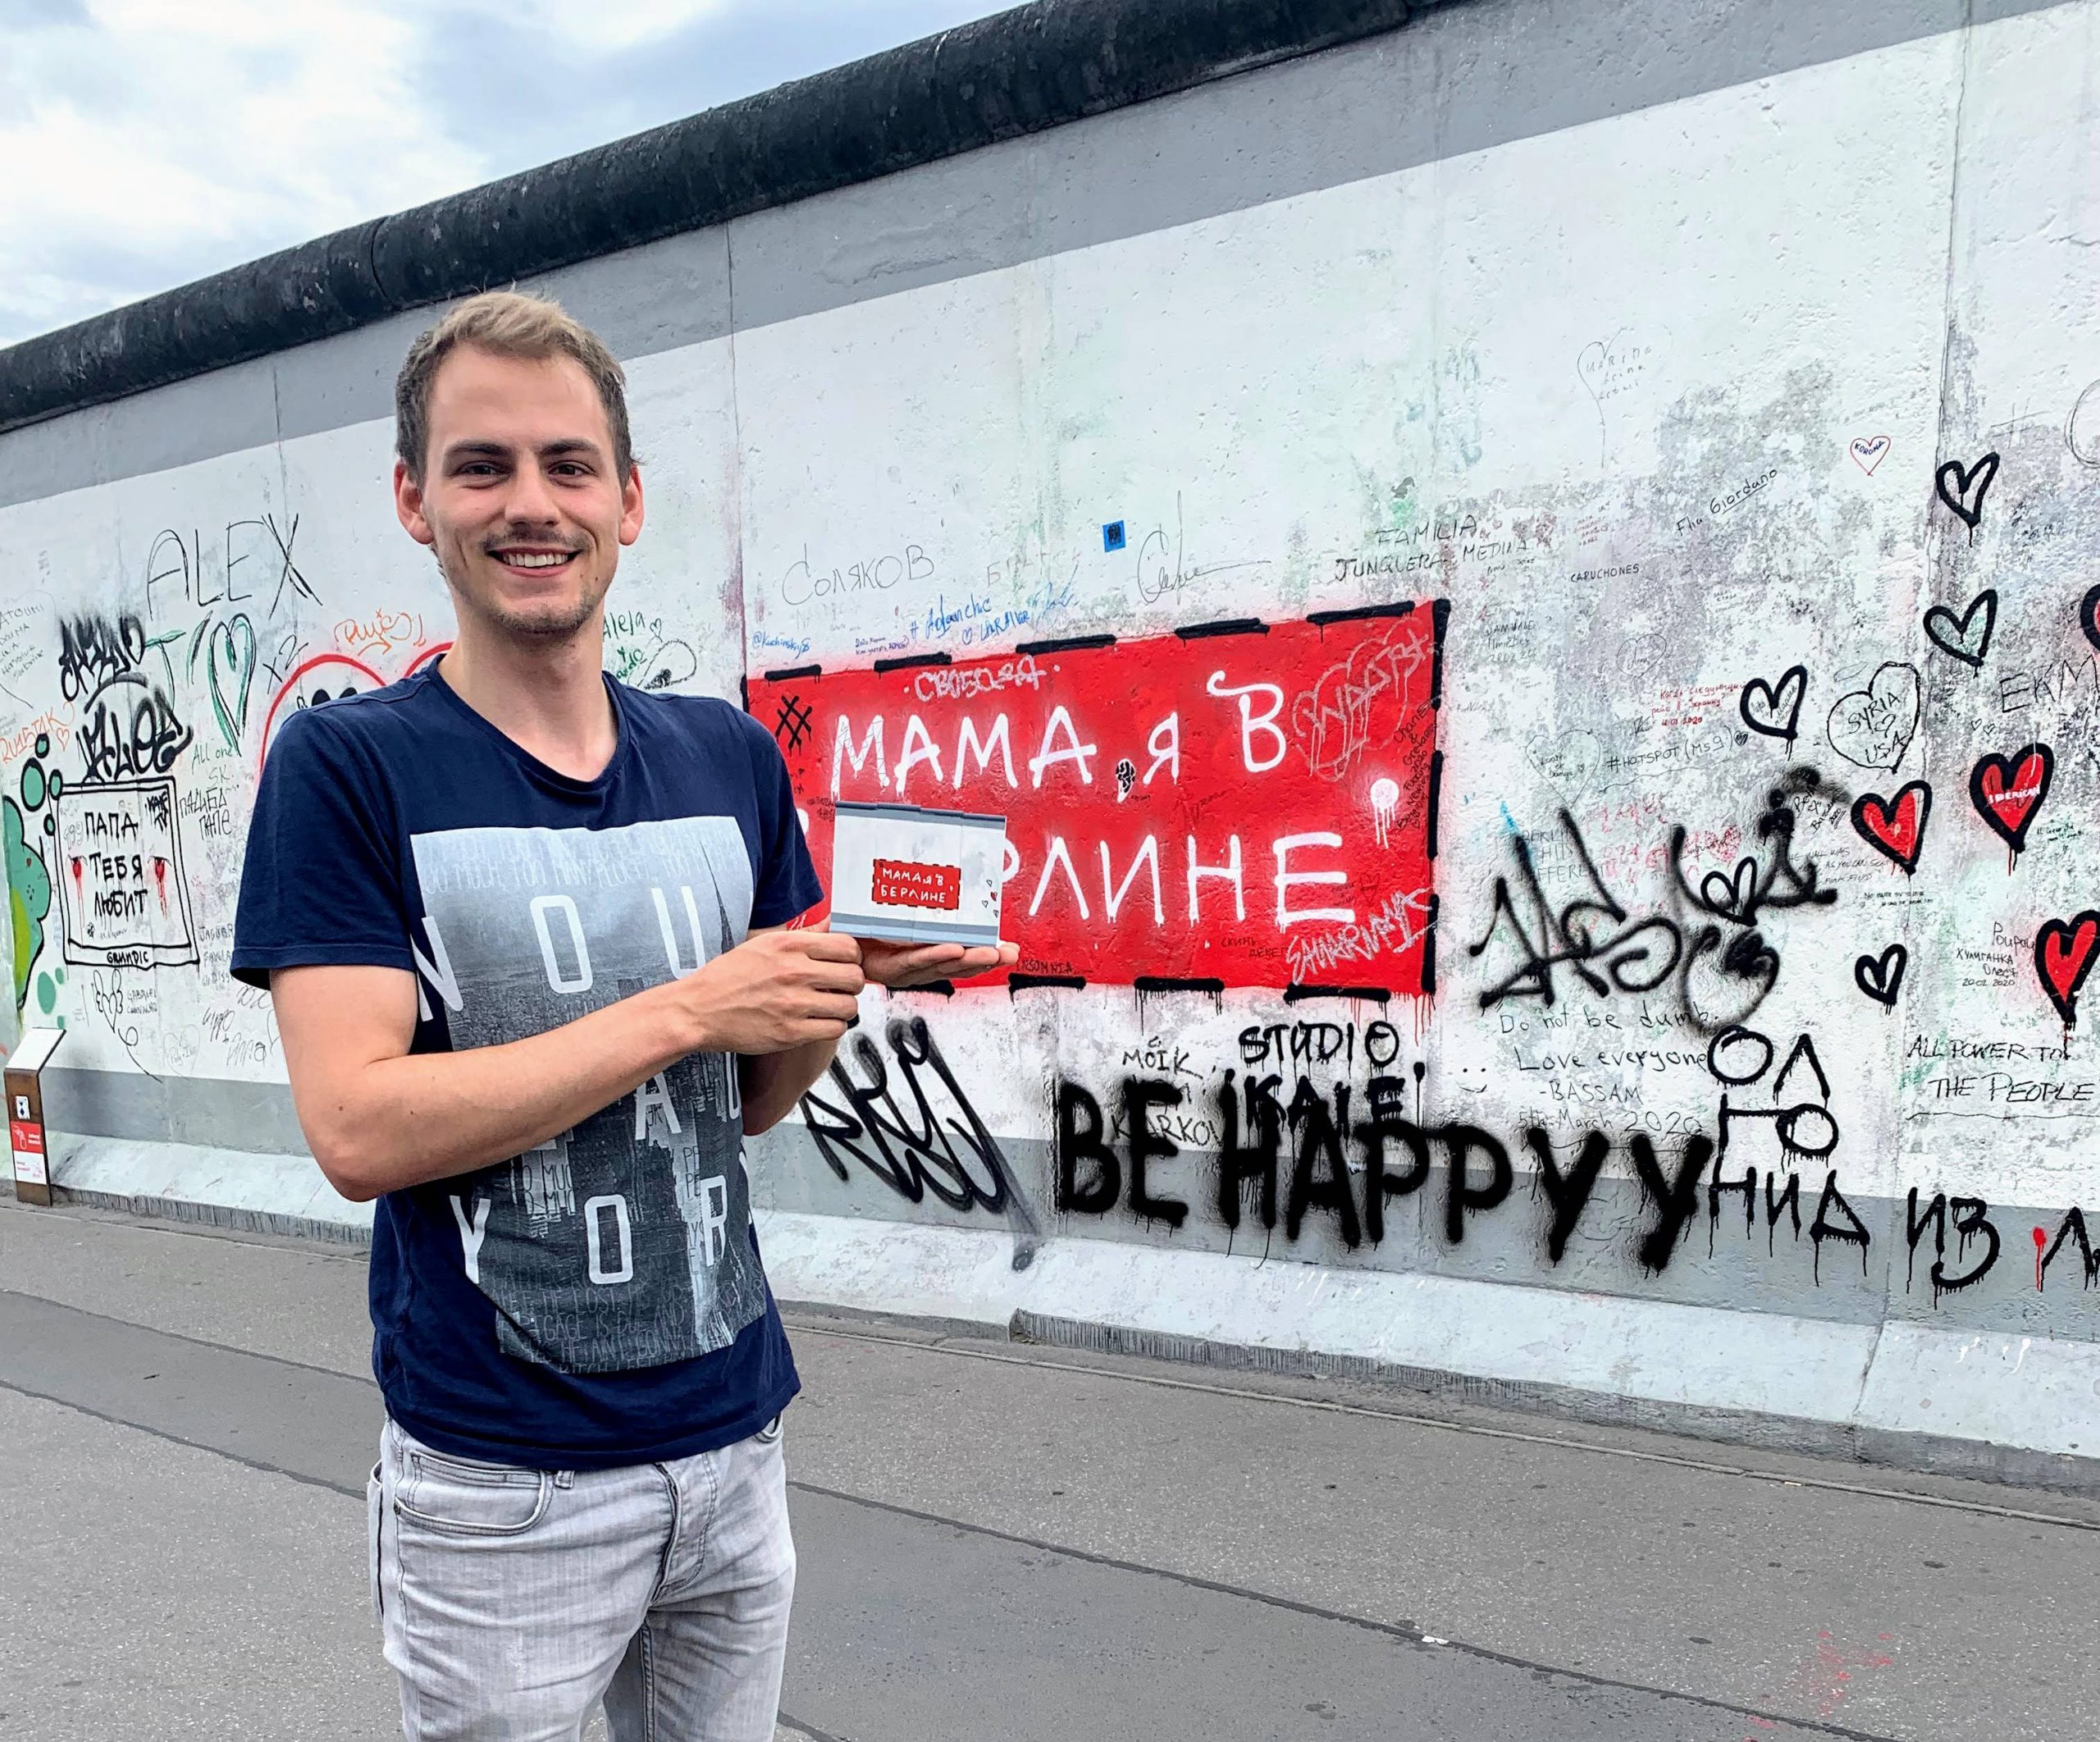
The miniature in the font with the original right behind it. Over time the paintings on the wall get disfigured by other (more or less) creative artists who pass by, so the original artworks are getting a fresh paint every once in a while.The original Berlin Wall segment. It reads “Мама, я в Берлине” which translates from Russian to English as “Mama, I am in Berlin”.Posing in front of the wall with the miniature.
Creation Process
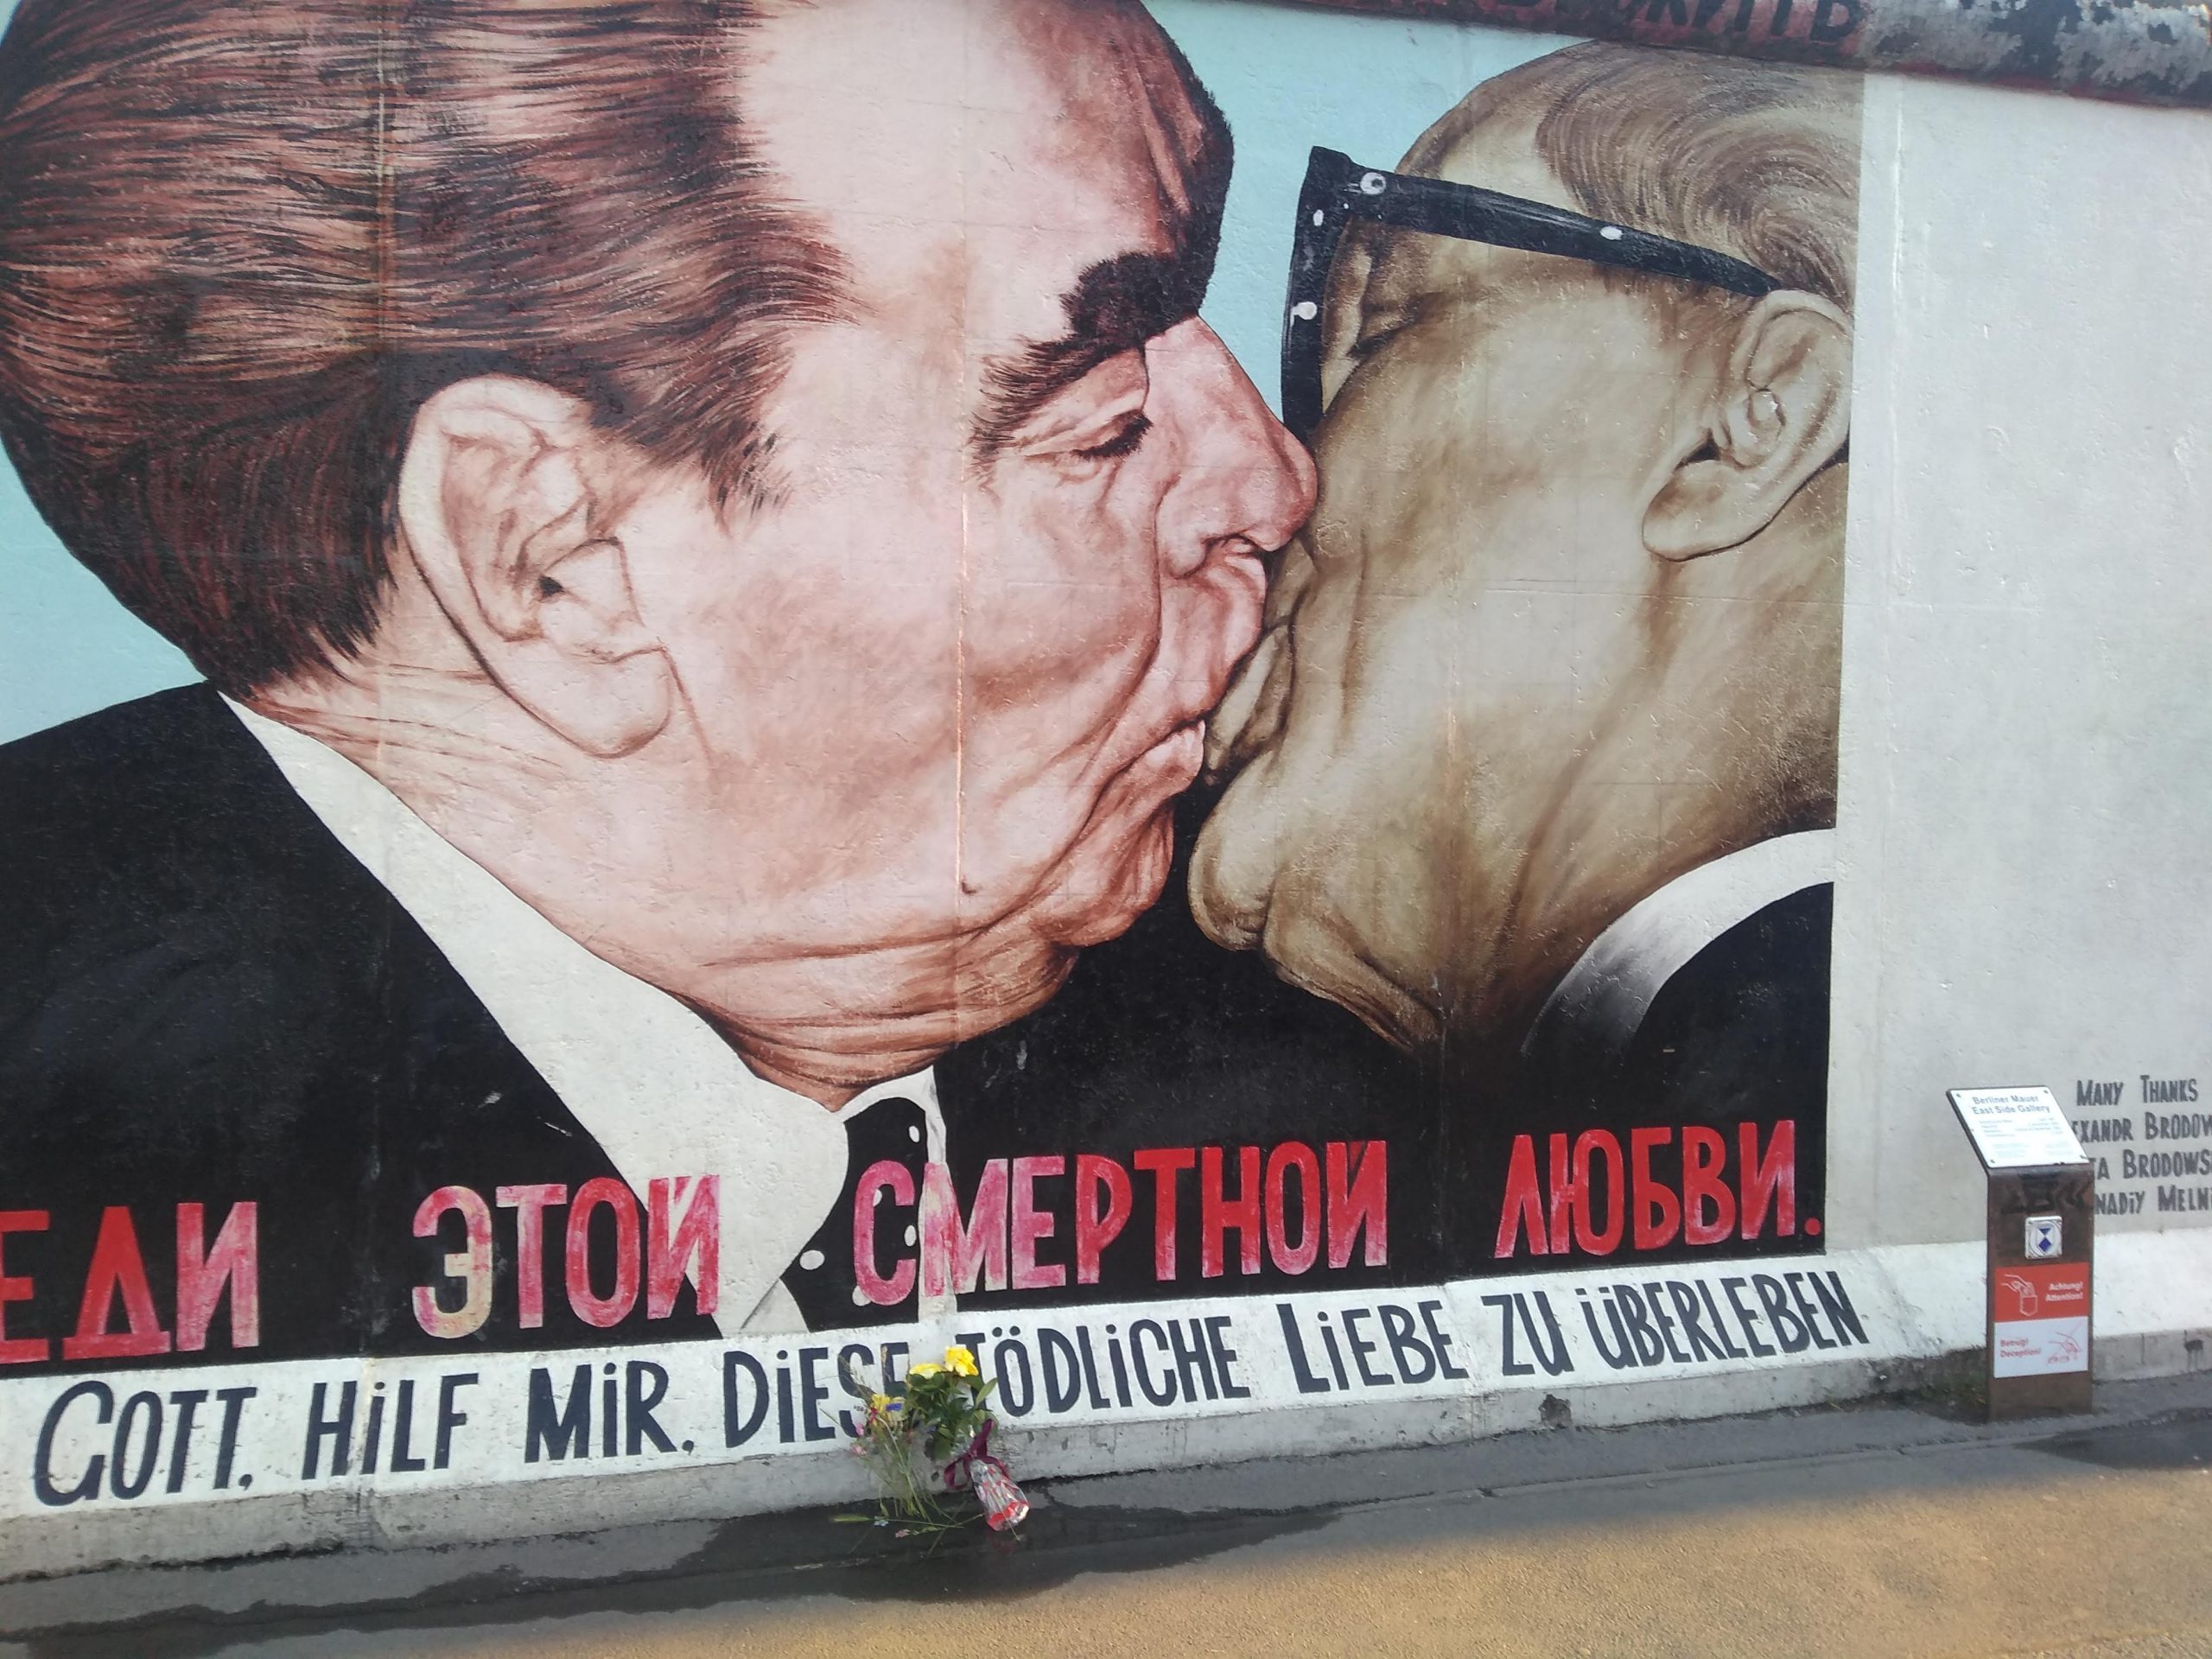
I started off by searching for wall segments that looked subjectively nice and would manageable in terms of painting difficulty. Very famous are for example the two painting depicted below, however, they seemed too hard to replicate in small so I decided against them.
Eventually I went with the red rectangle one which reads “Mama, I am in Berlin”. It uses nice colors and has a little bit of private back story to it.
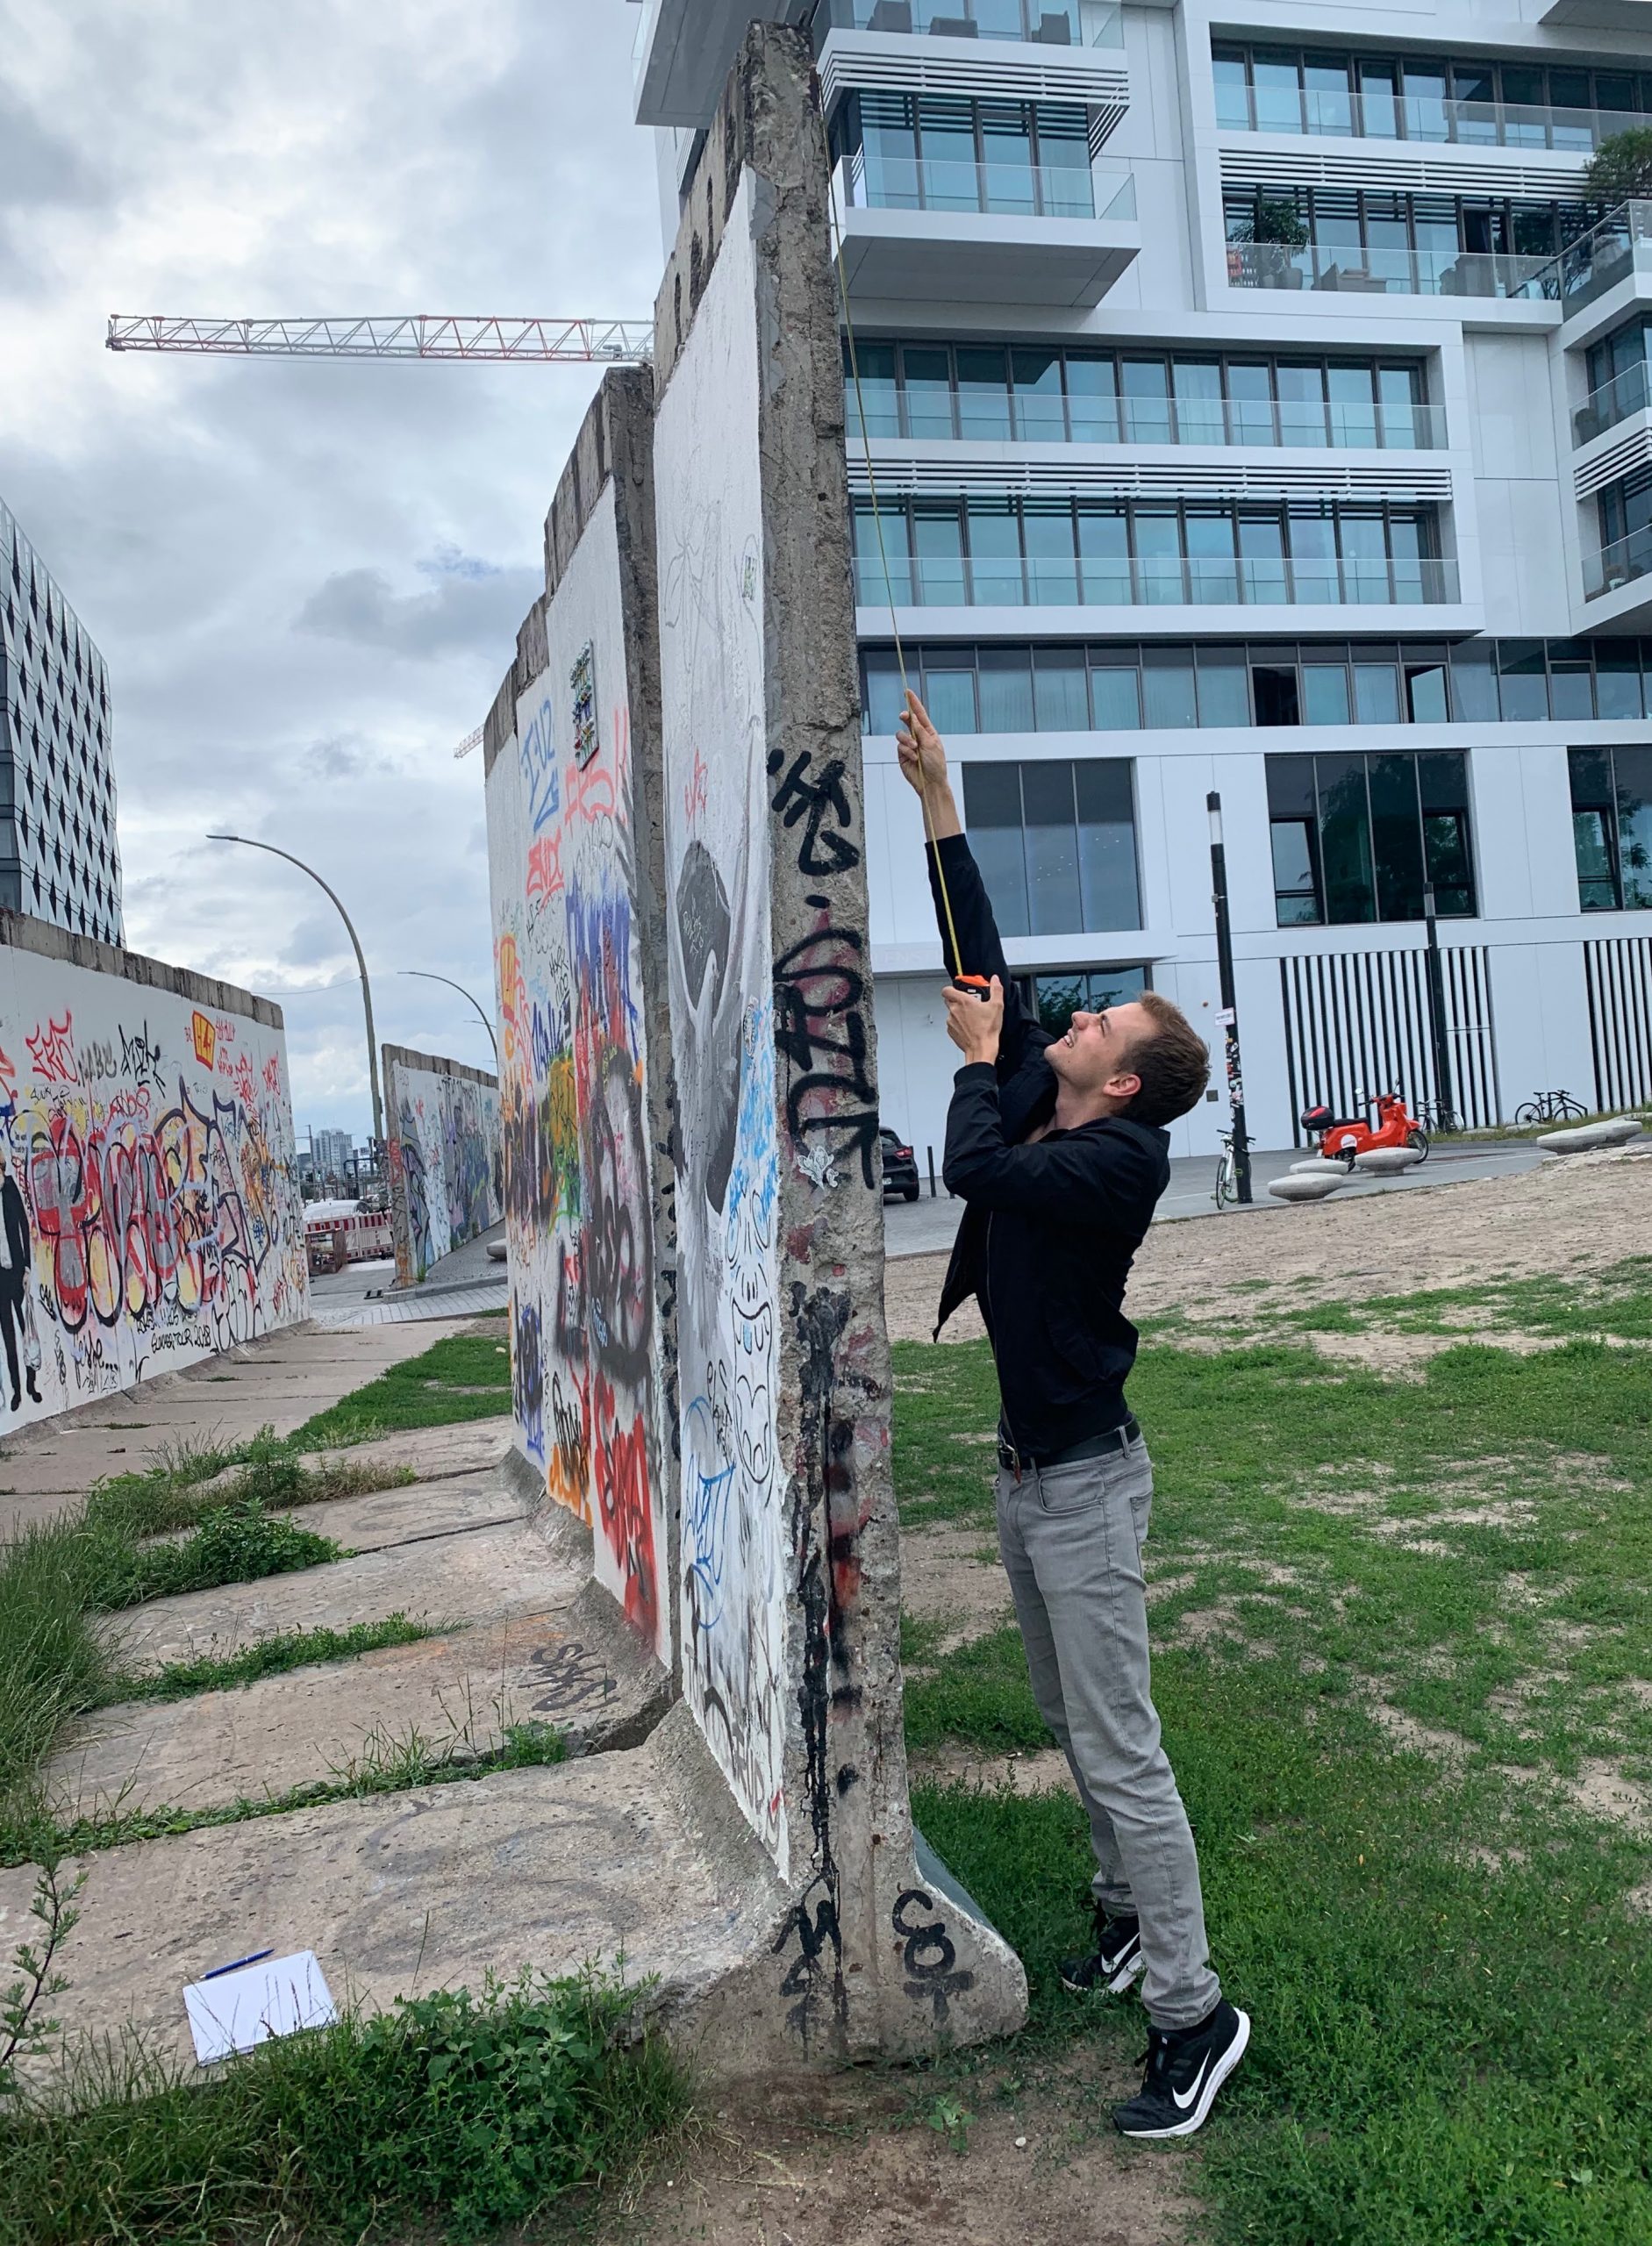
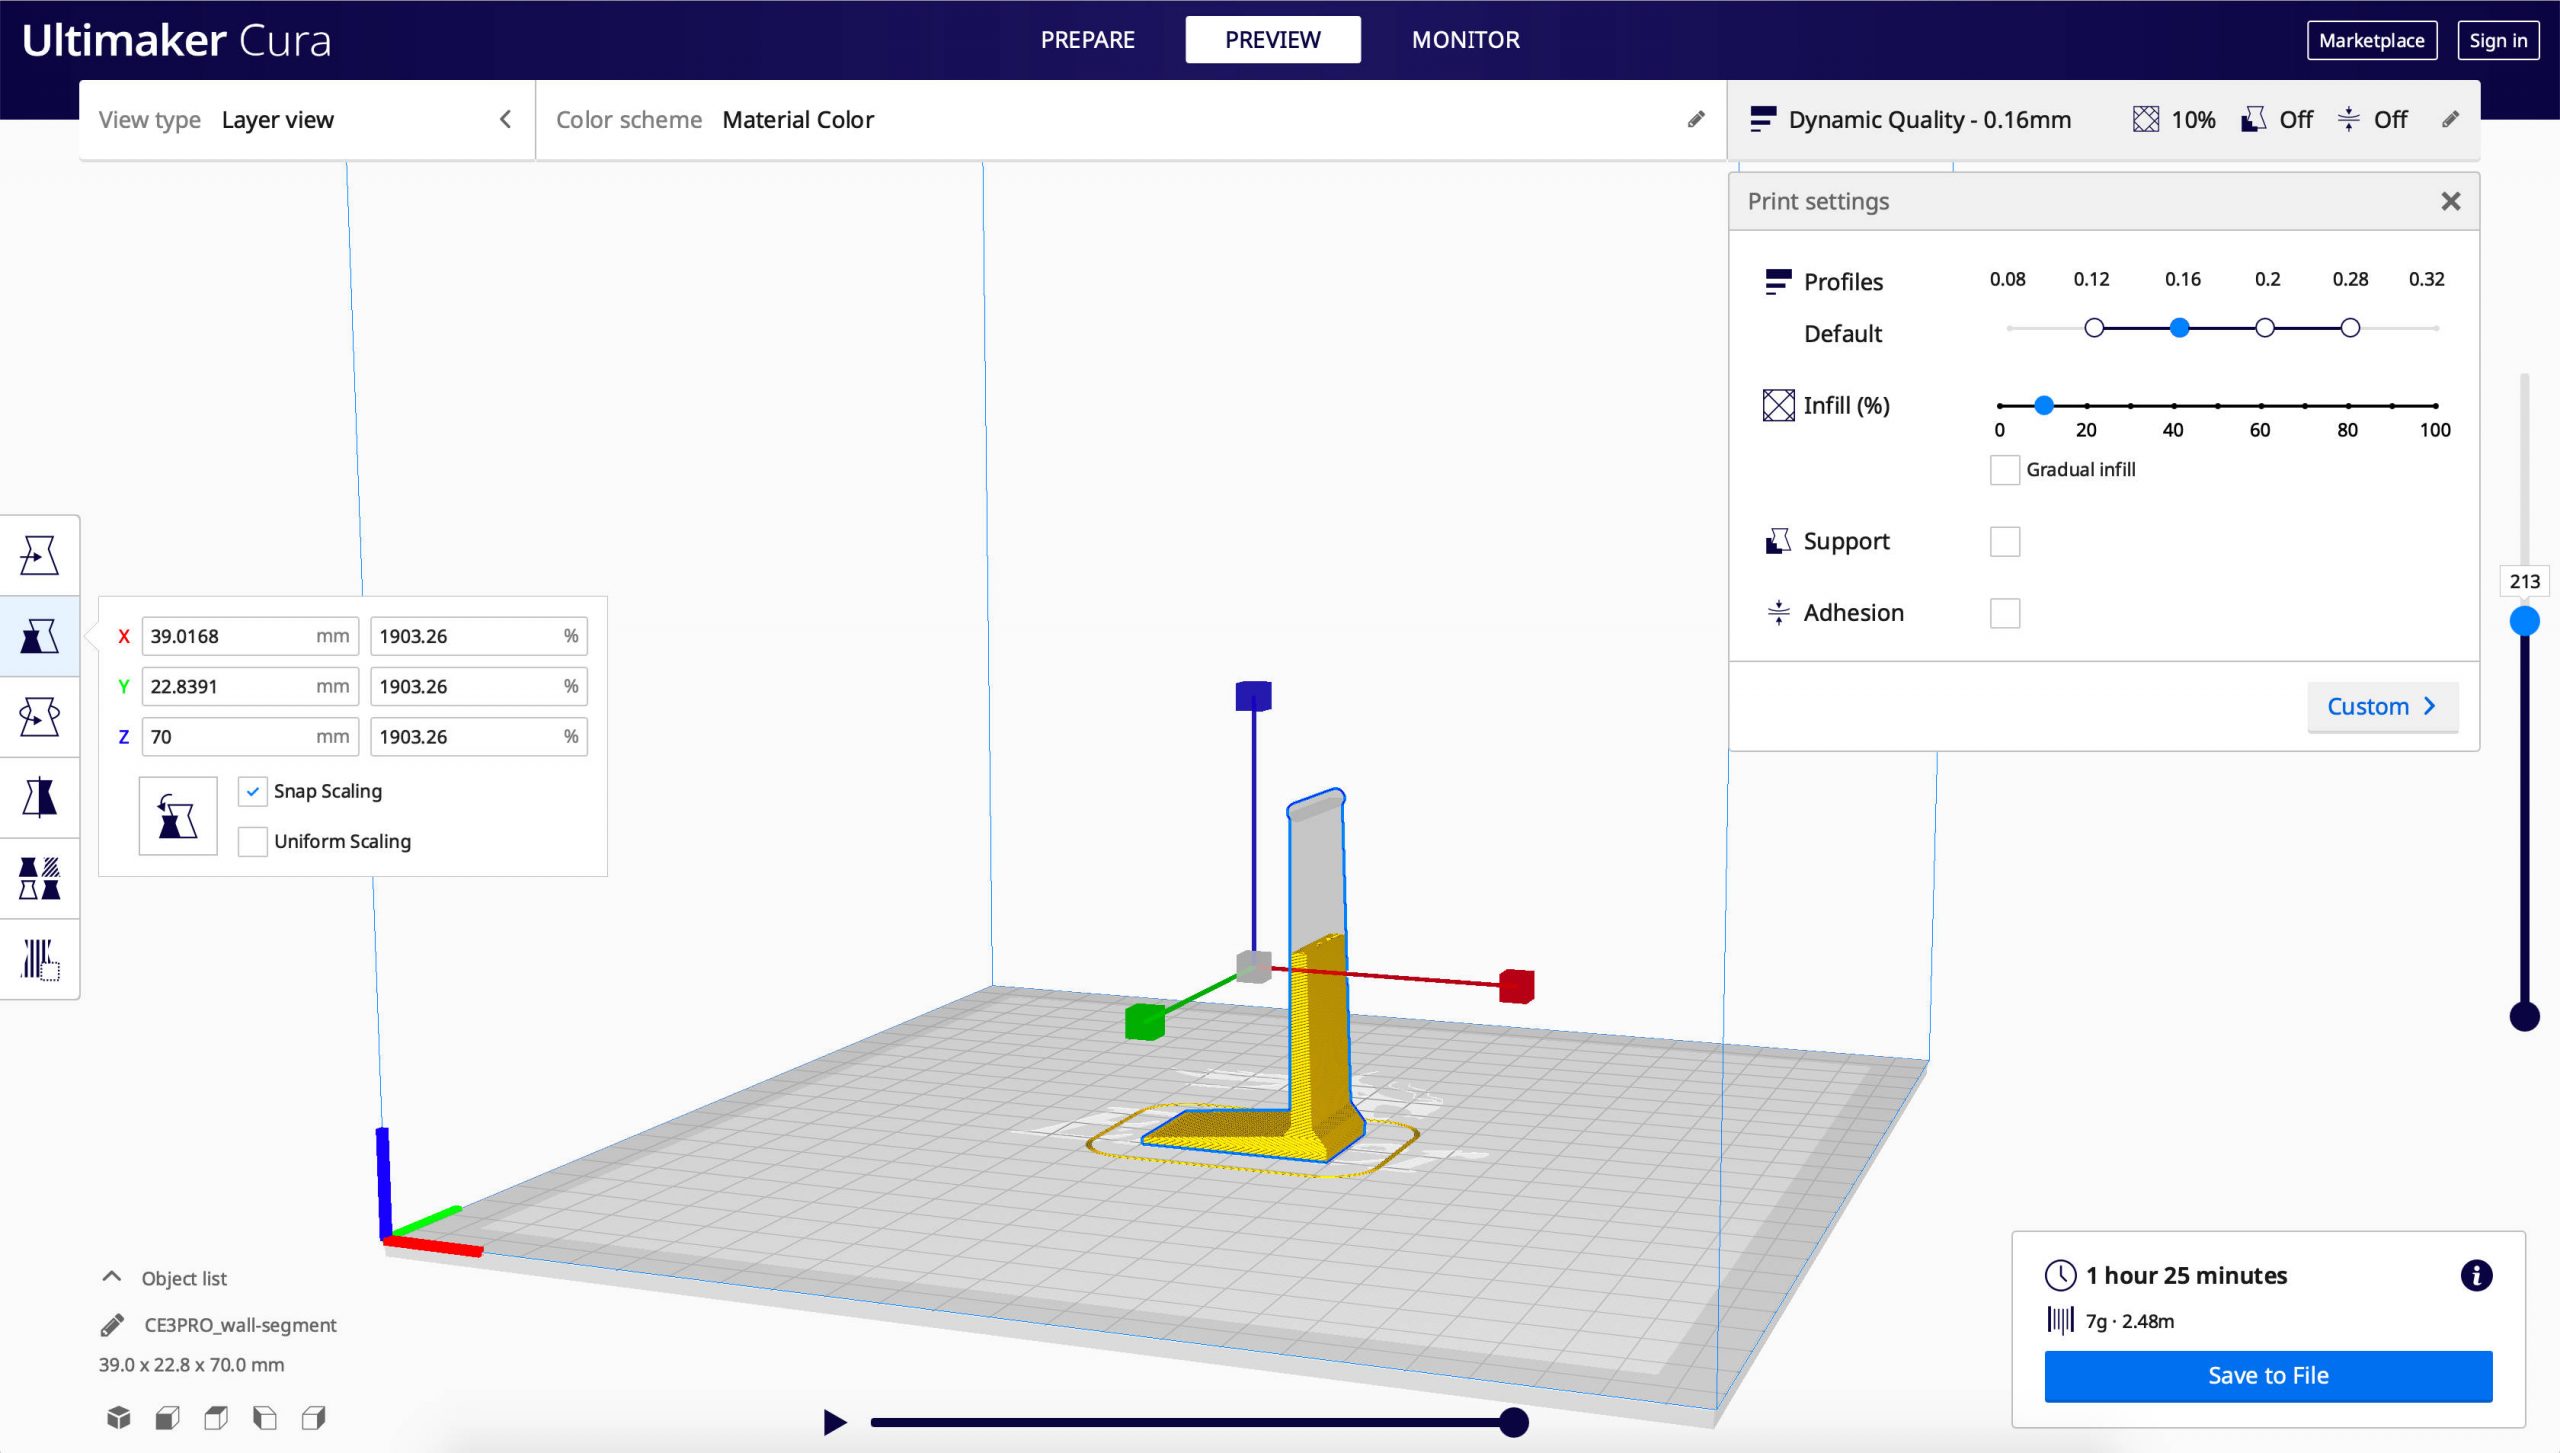
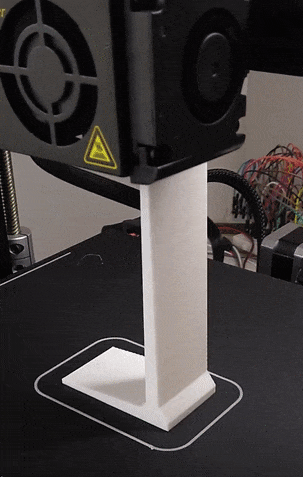
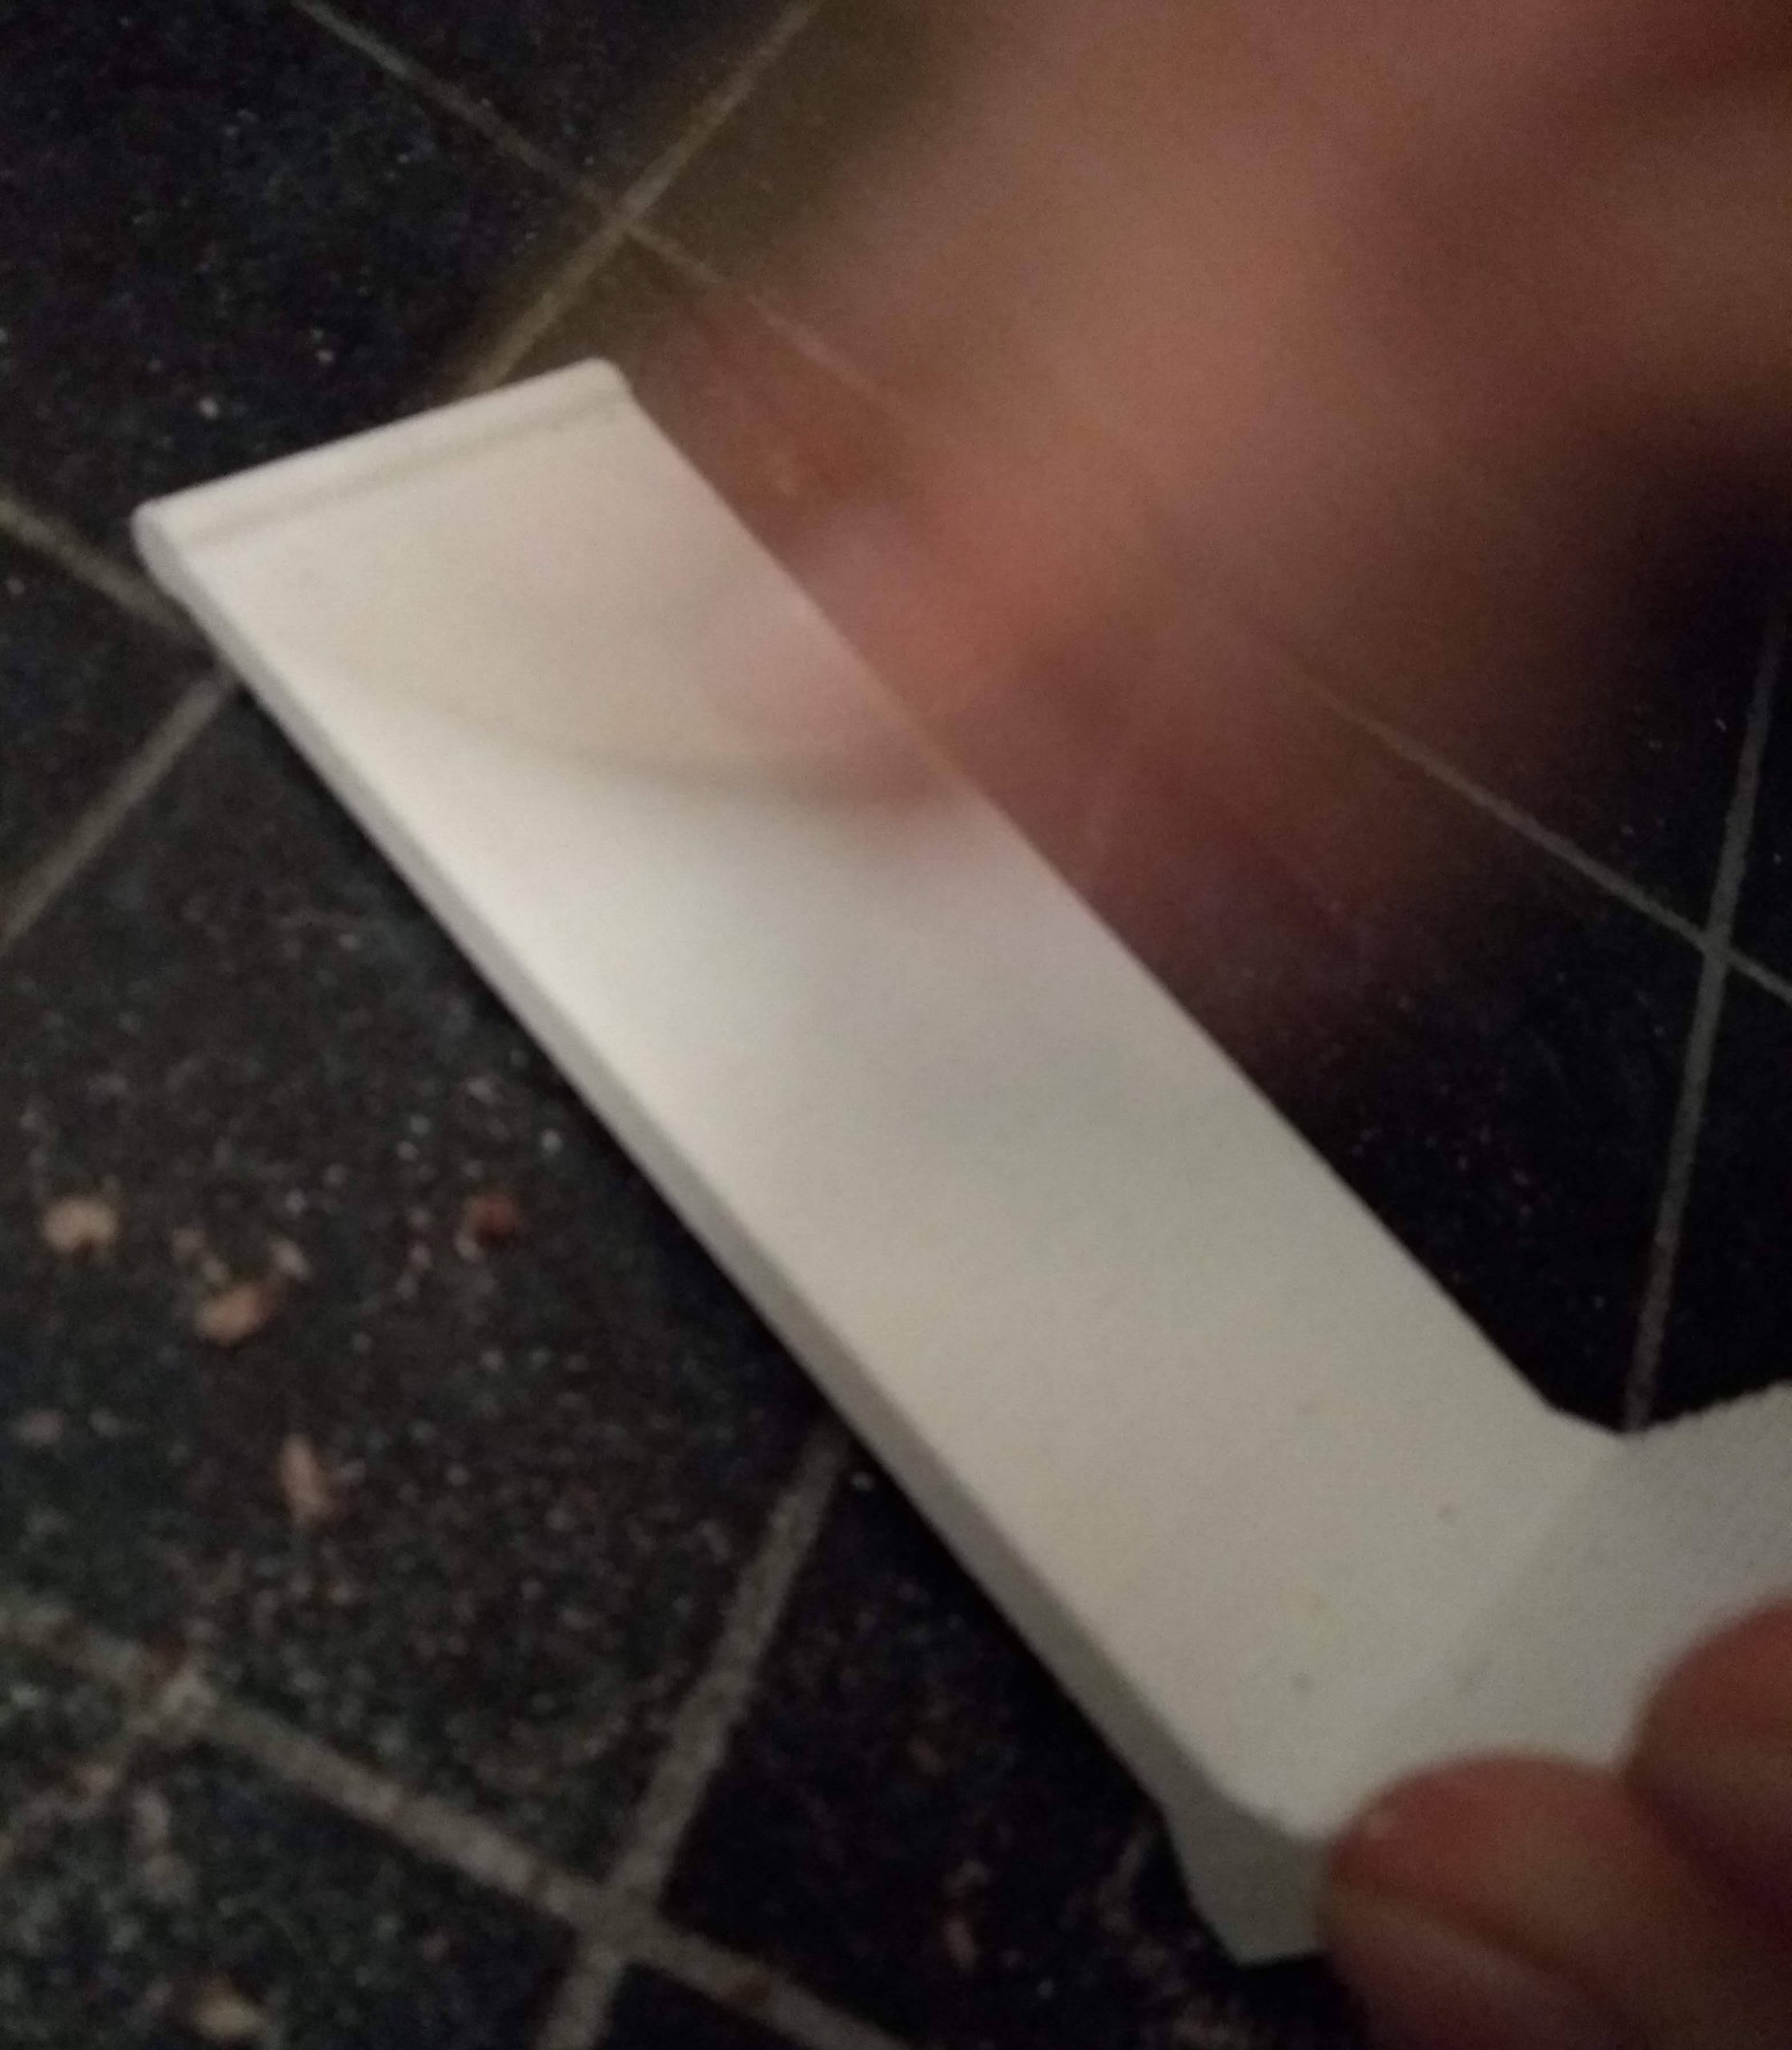
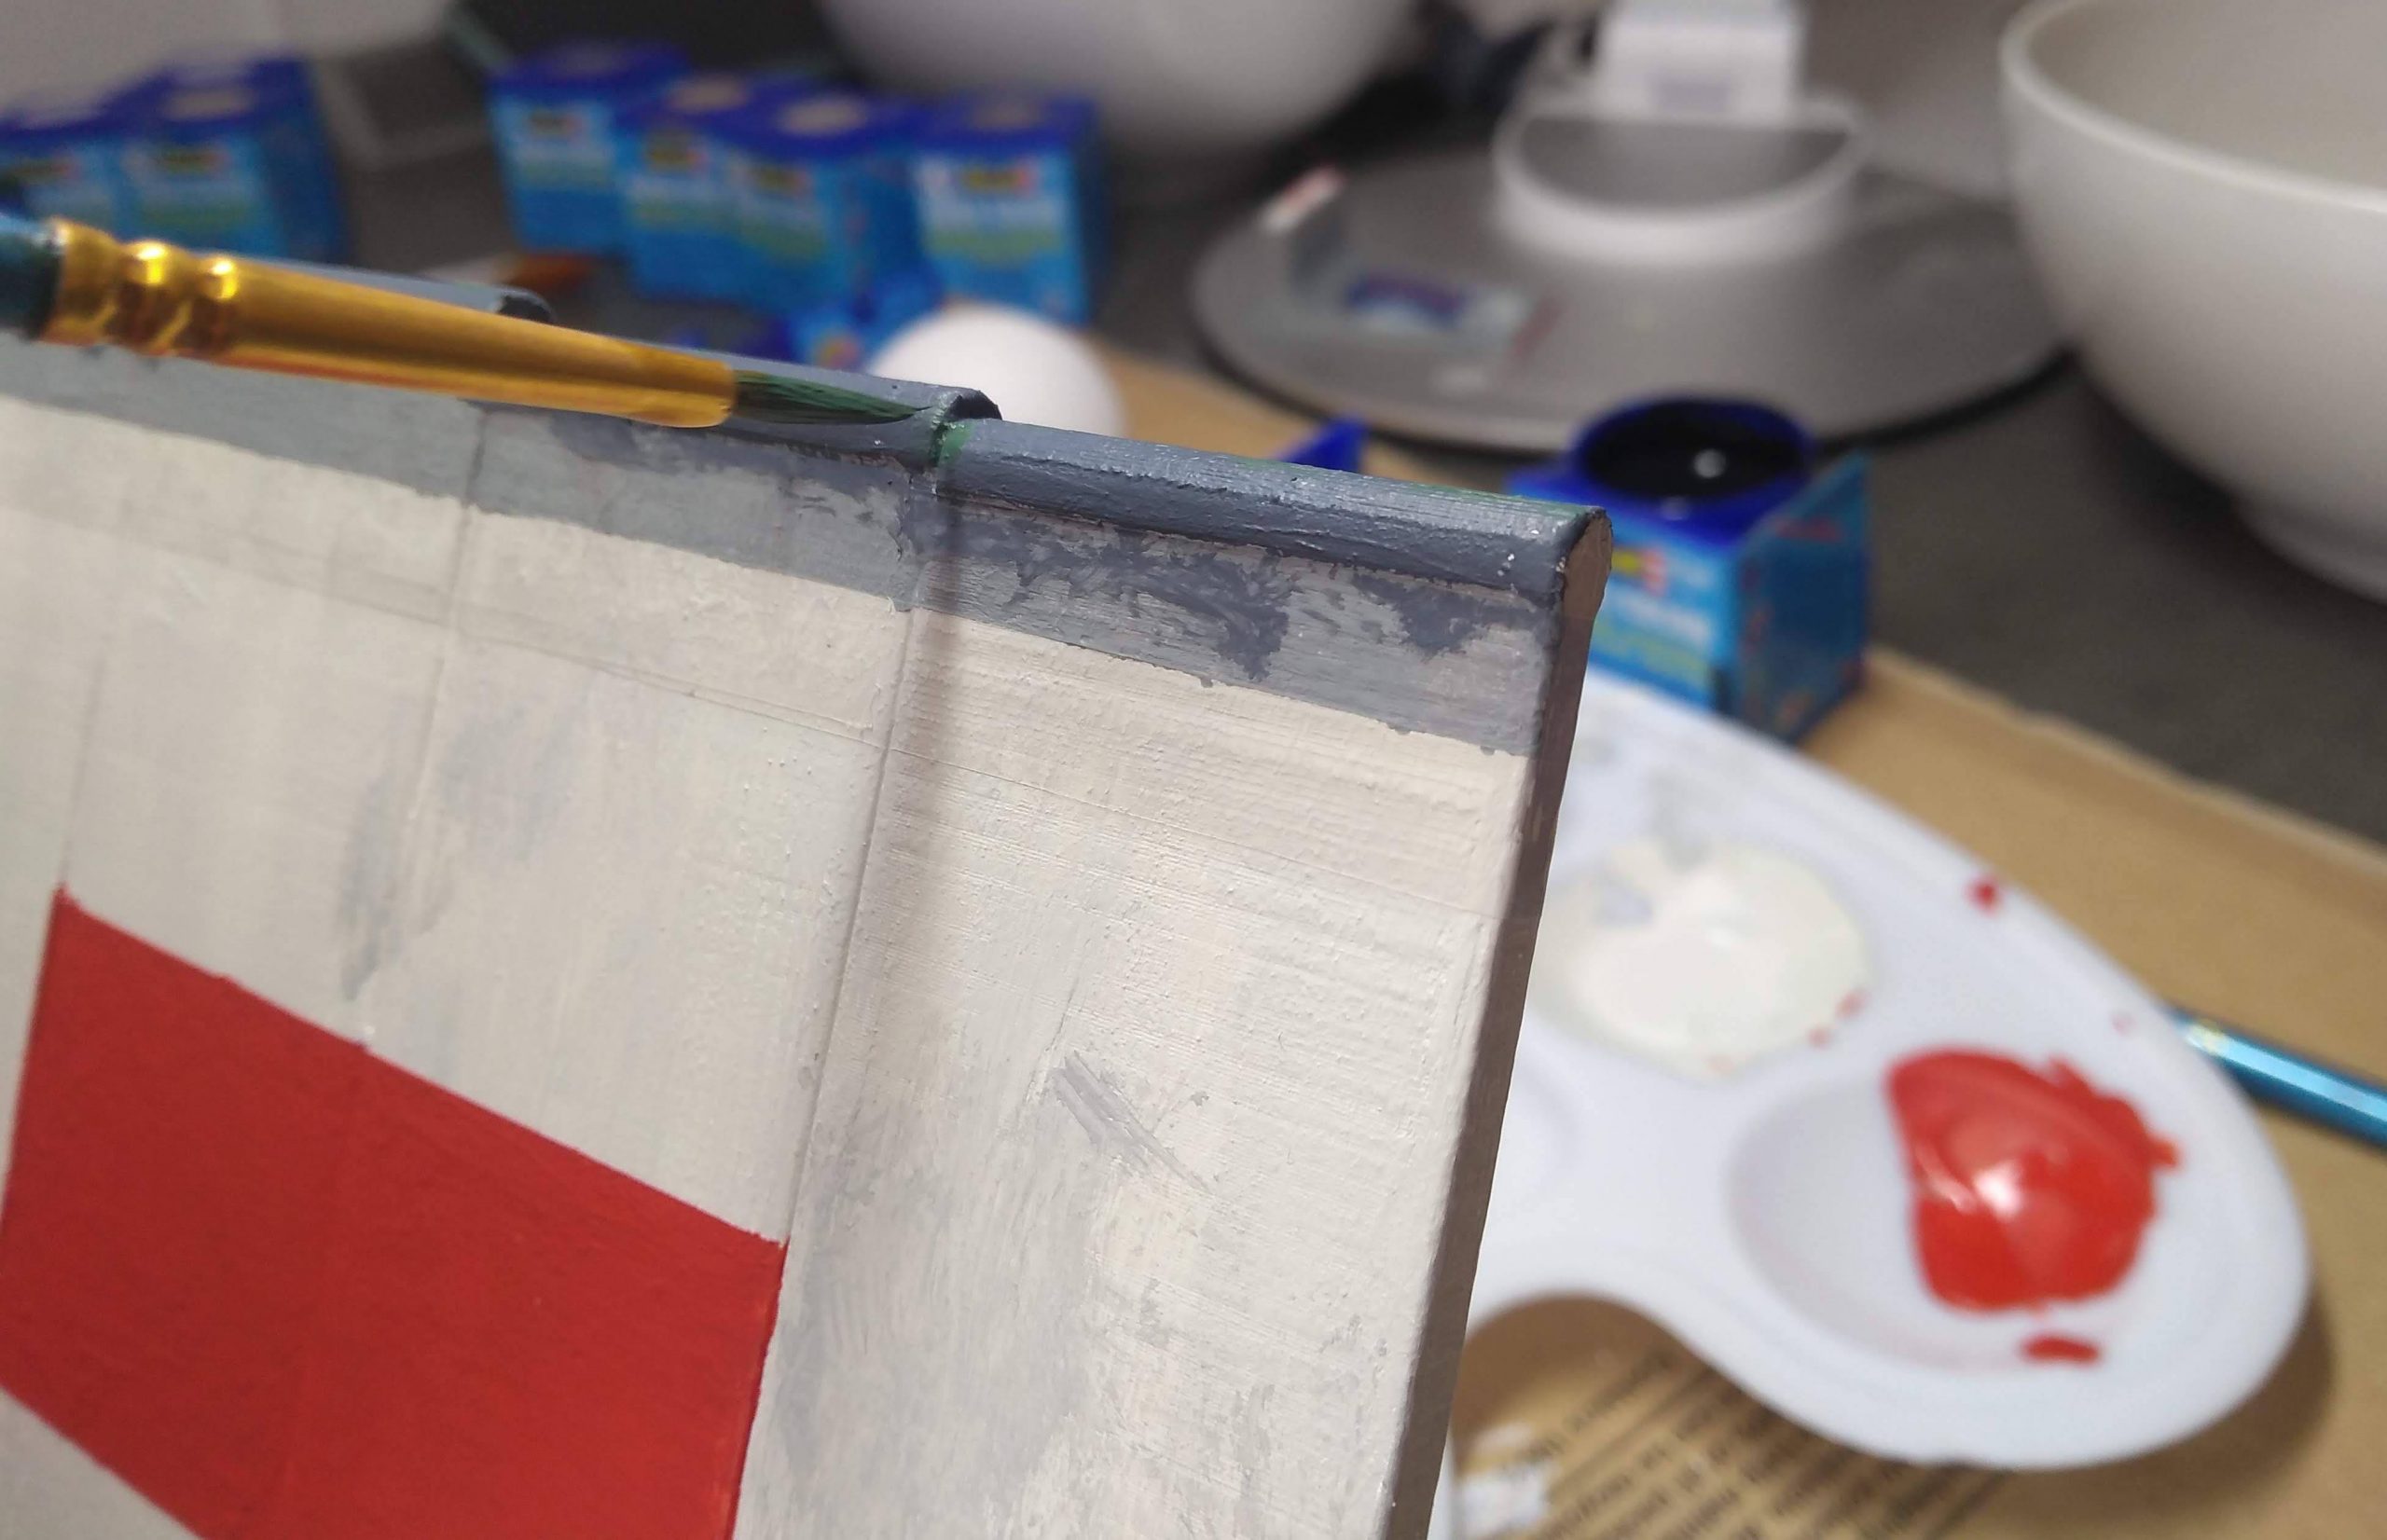
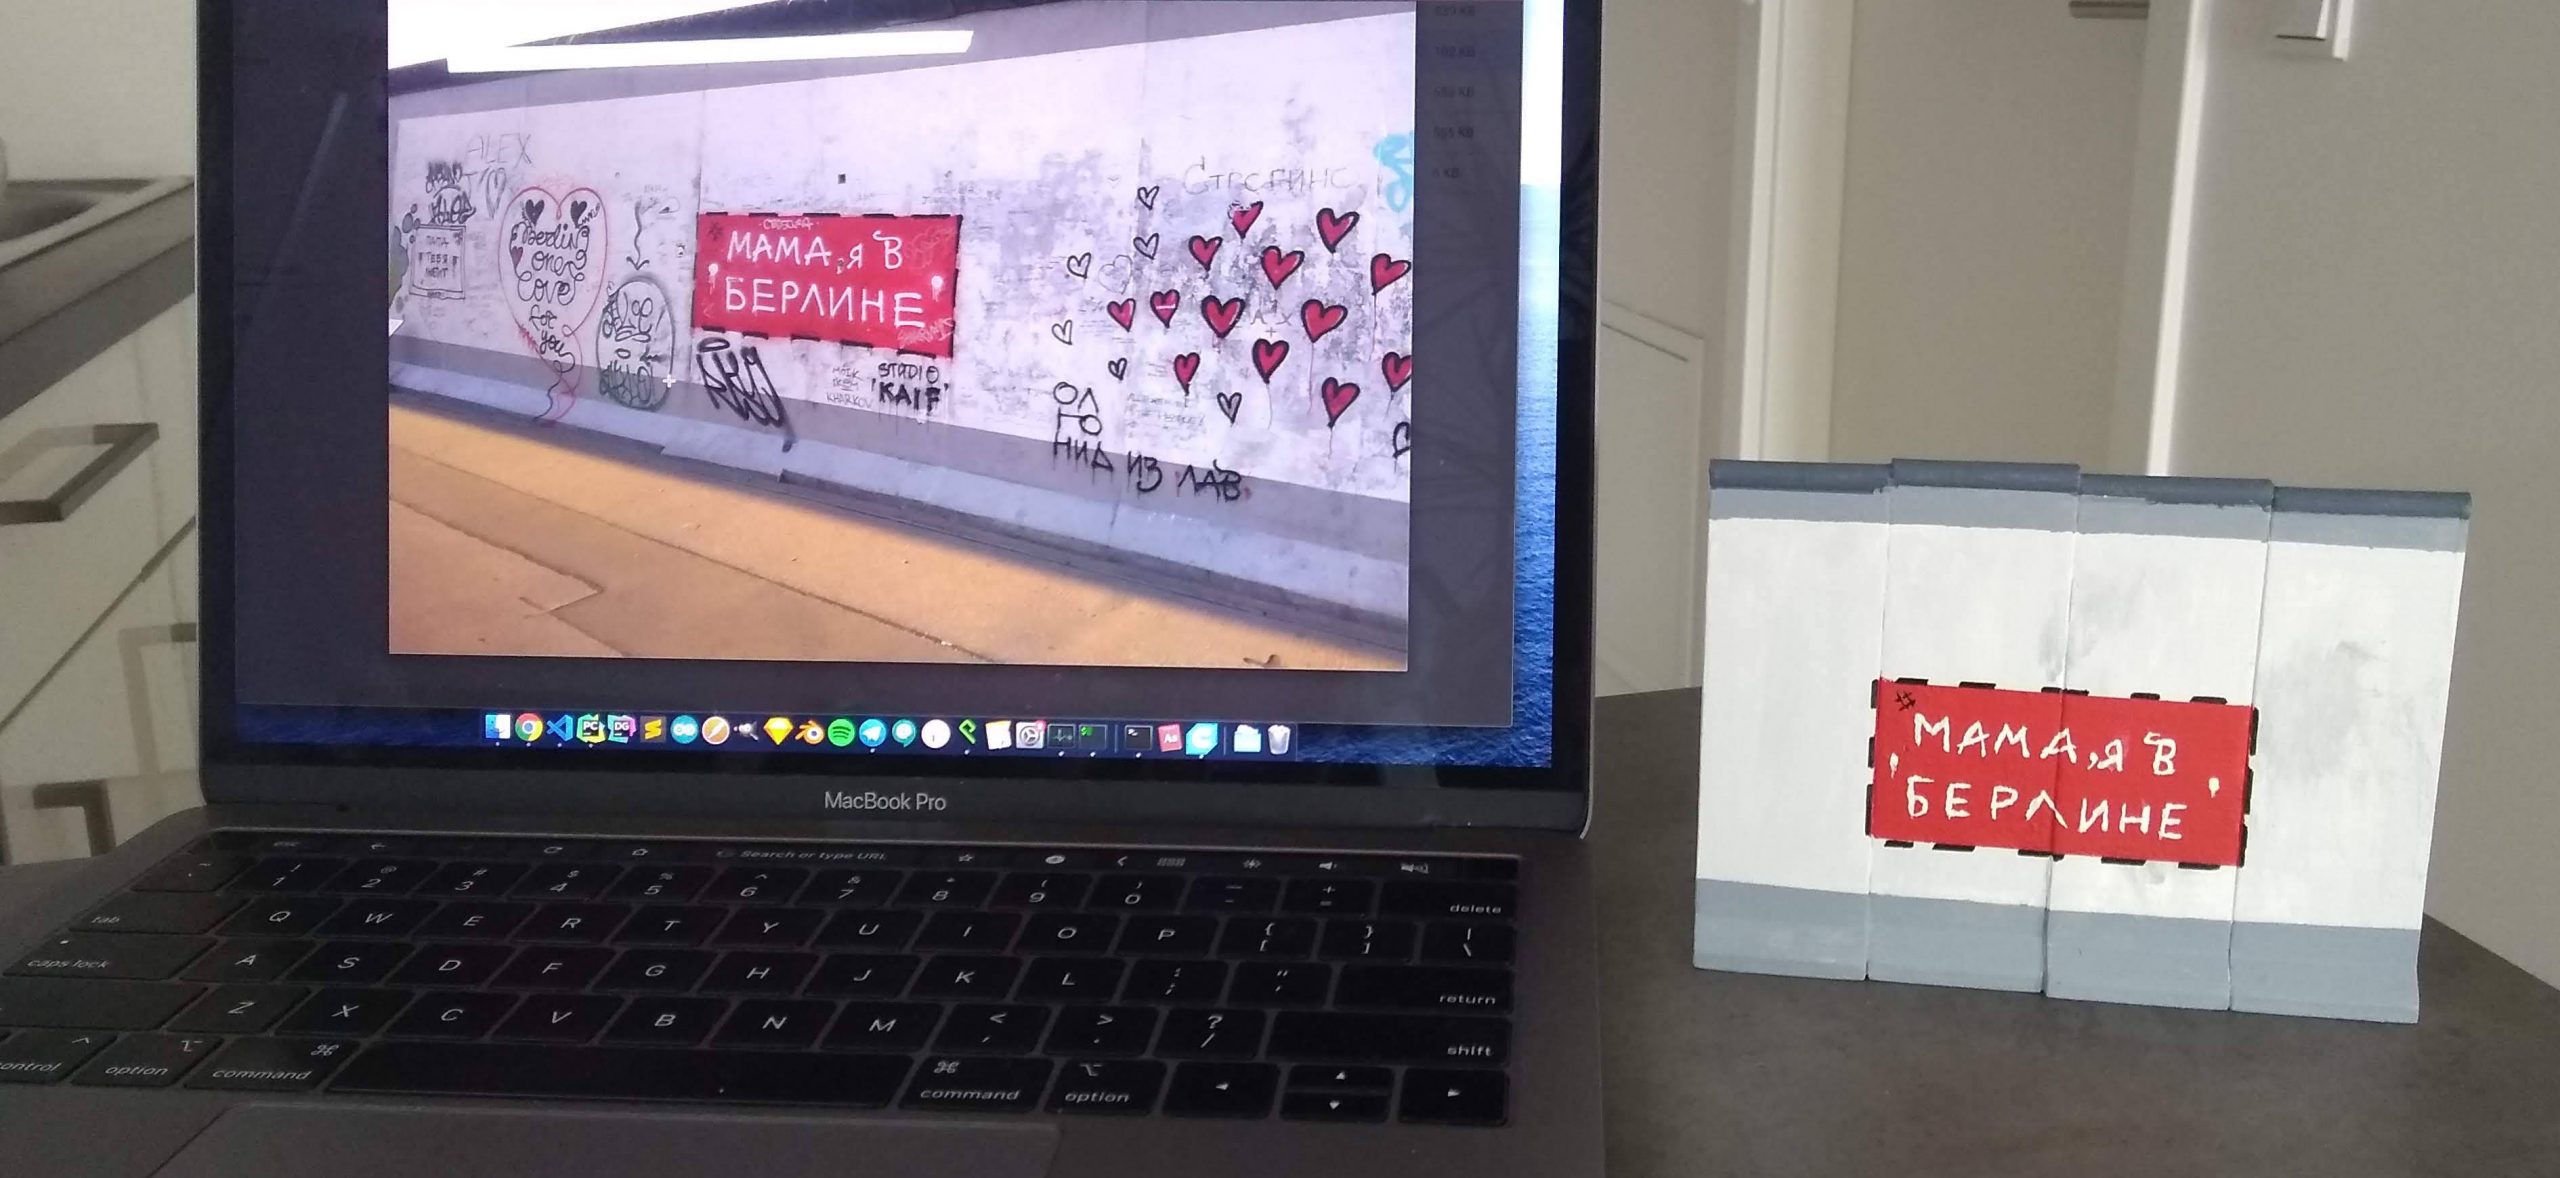
After picking a segment I started measuring the exact proportions of the wall. It was a fun process which is documented by the photo shown here.The next step was the 3D modeling and slicing. I used Blender for that purpose and created an accurate replication of a single Berlin Wall segment in the free software. The blend file can be downloaded here. I used the popular slicer Cura and set the height of a segment to 7 cm.The Ender 3 Pro printing a segment. In total four were printed for the miniature. Each print took about one and a half hours.The print’s rough surfaces can be smoothed – and thereby prepared for painting – by sanding them. I used sand paper with grit 60 and 180.After gluing the pieces together, I applied some primer and then the acrylic paint itself. The rectangular area was comparably easy to get right by using some tape to protect the adjacent areas. Arguably the most difficult was the Cyrillic font which – in case of a mishap – would have been cumbersome to undo. Fortunately I had a friend helping me with the painting. The last paint layer (after primer and acrylic colors) was some matt varnish.The miniature right upon completion, with the laptop showing the blueprint that helped during the painting process. I enjoyed working on this project a lot. Not only do I now have a nice decorative piece of Berlin Wall in my apartment, also it was the first time I did such a comprehensive and creative paint job since school.