Binding My First Nine Books
Recently, my coworker Jiahua mentioned bookbinding and showed me some books he had made. Somehow it had never occurred to me that bookbinding is a whole topic one can just get into. Books are such familiar objects, and only after trying bookbinding did I really start paying attention to the details that go into their construction. In this post, I document my first bookbinding projects.
Attempt #1: The AN-2 Handbook
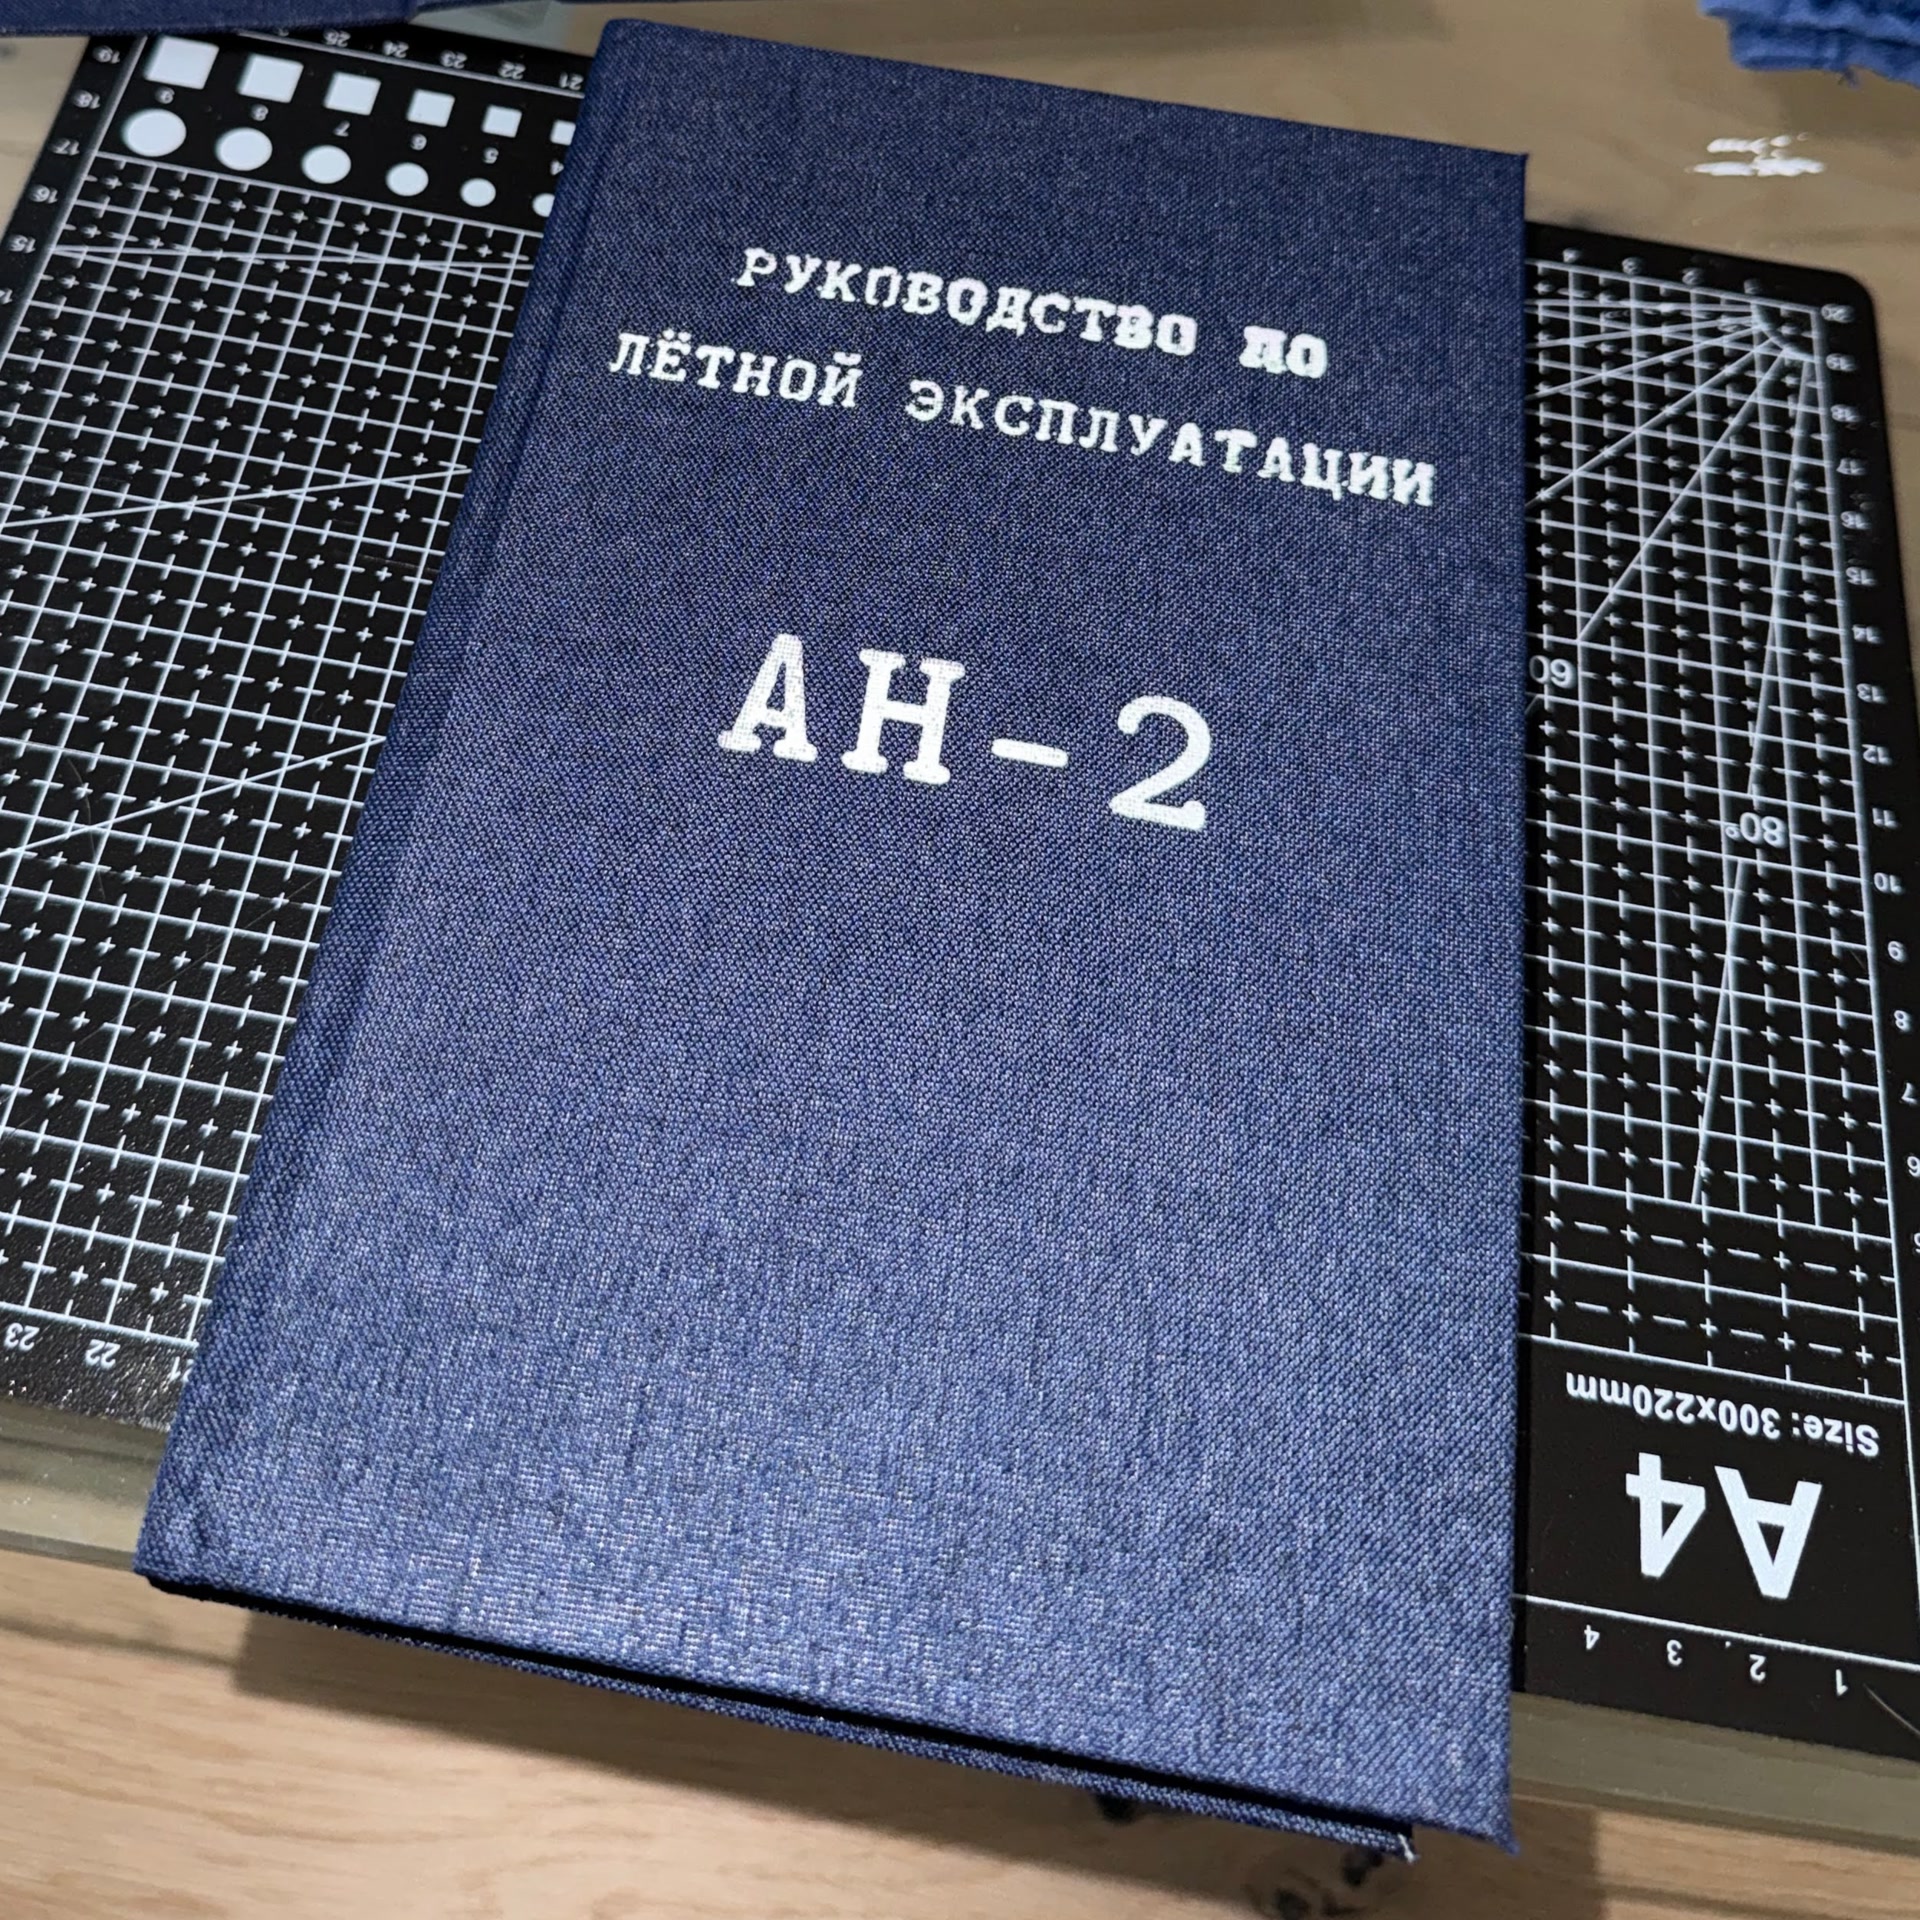
For the first book, I chose to print and bind an operating handbook for the Antonov AN-2. It is an old Soviet plane that I would love to fly someday and – because it is so old – buying a paper copy of its handbook is somewhat impractical. I found a PDF online, purchased it, and was ready to go.
The first realization was that a PDF cannot just be printed normally if the pages are supposed to become a book. Several pages are printed together in an order that looks completely wrong at first, so they end up in the correct order after folding. Preparing this page arrangement is called imposition. After printing, the sheets are folded and gathered into signatures. I used bookbinder.app to turn the normal PDF into a printable one.
I printed and folded the signatures, sewed them together, and glued up and lined the spine. For the case, I bought binder’s board, bookbinding cloth, and endpapers. Before casing in the text block, I held the case against the endpapers with my fingers and tried opening the book. It turned out to be impossible without tearing something. The joint gaps between the spine inlay and the cover boards did not leave enough room for the boards to open.
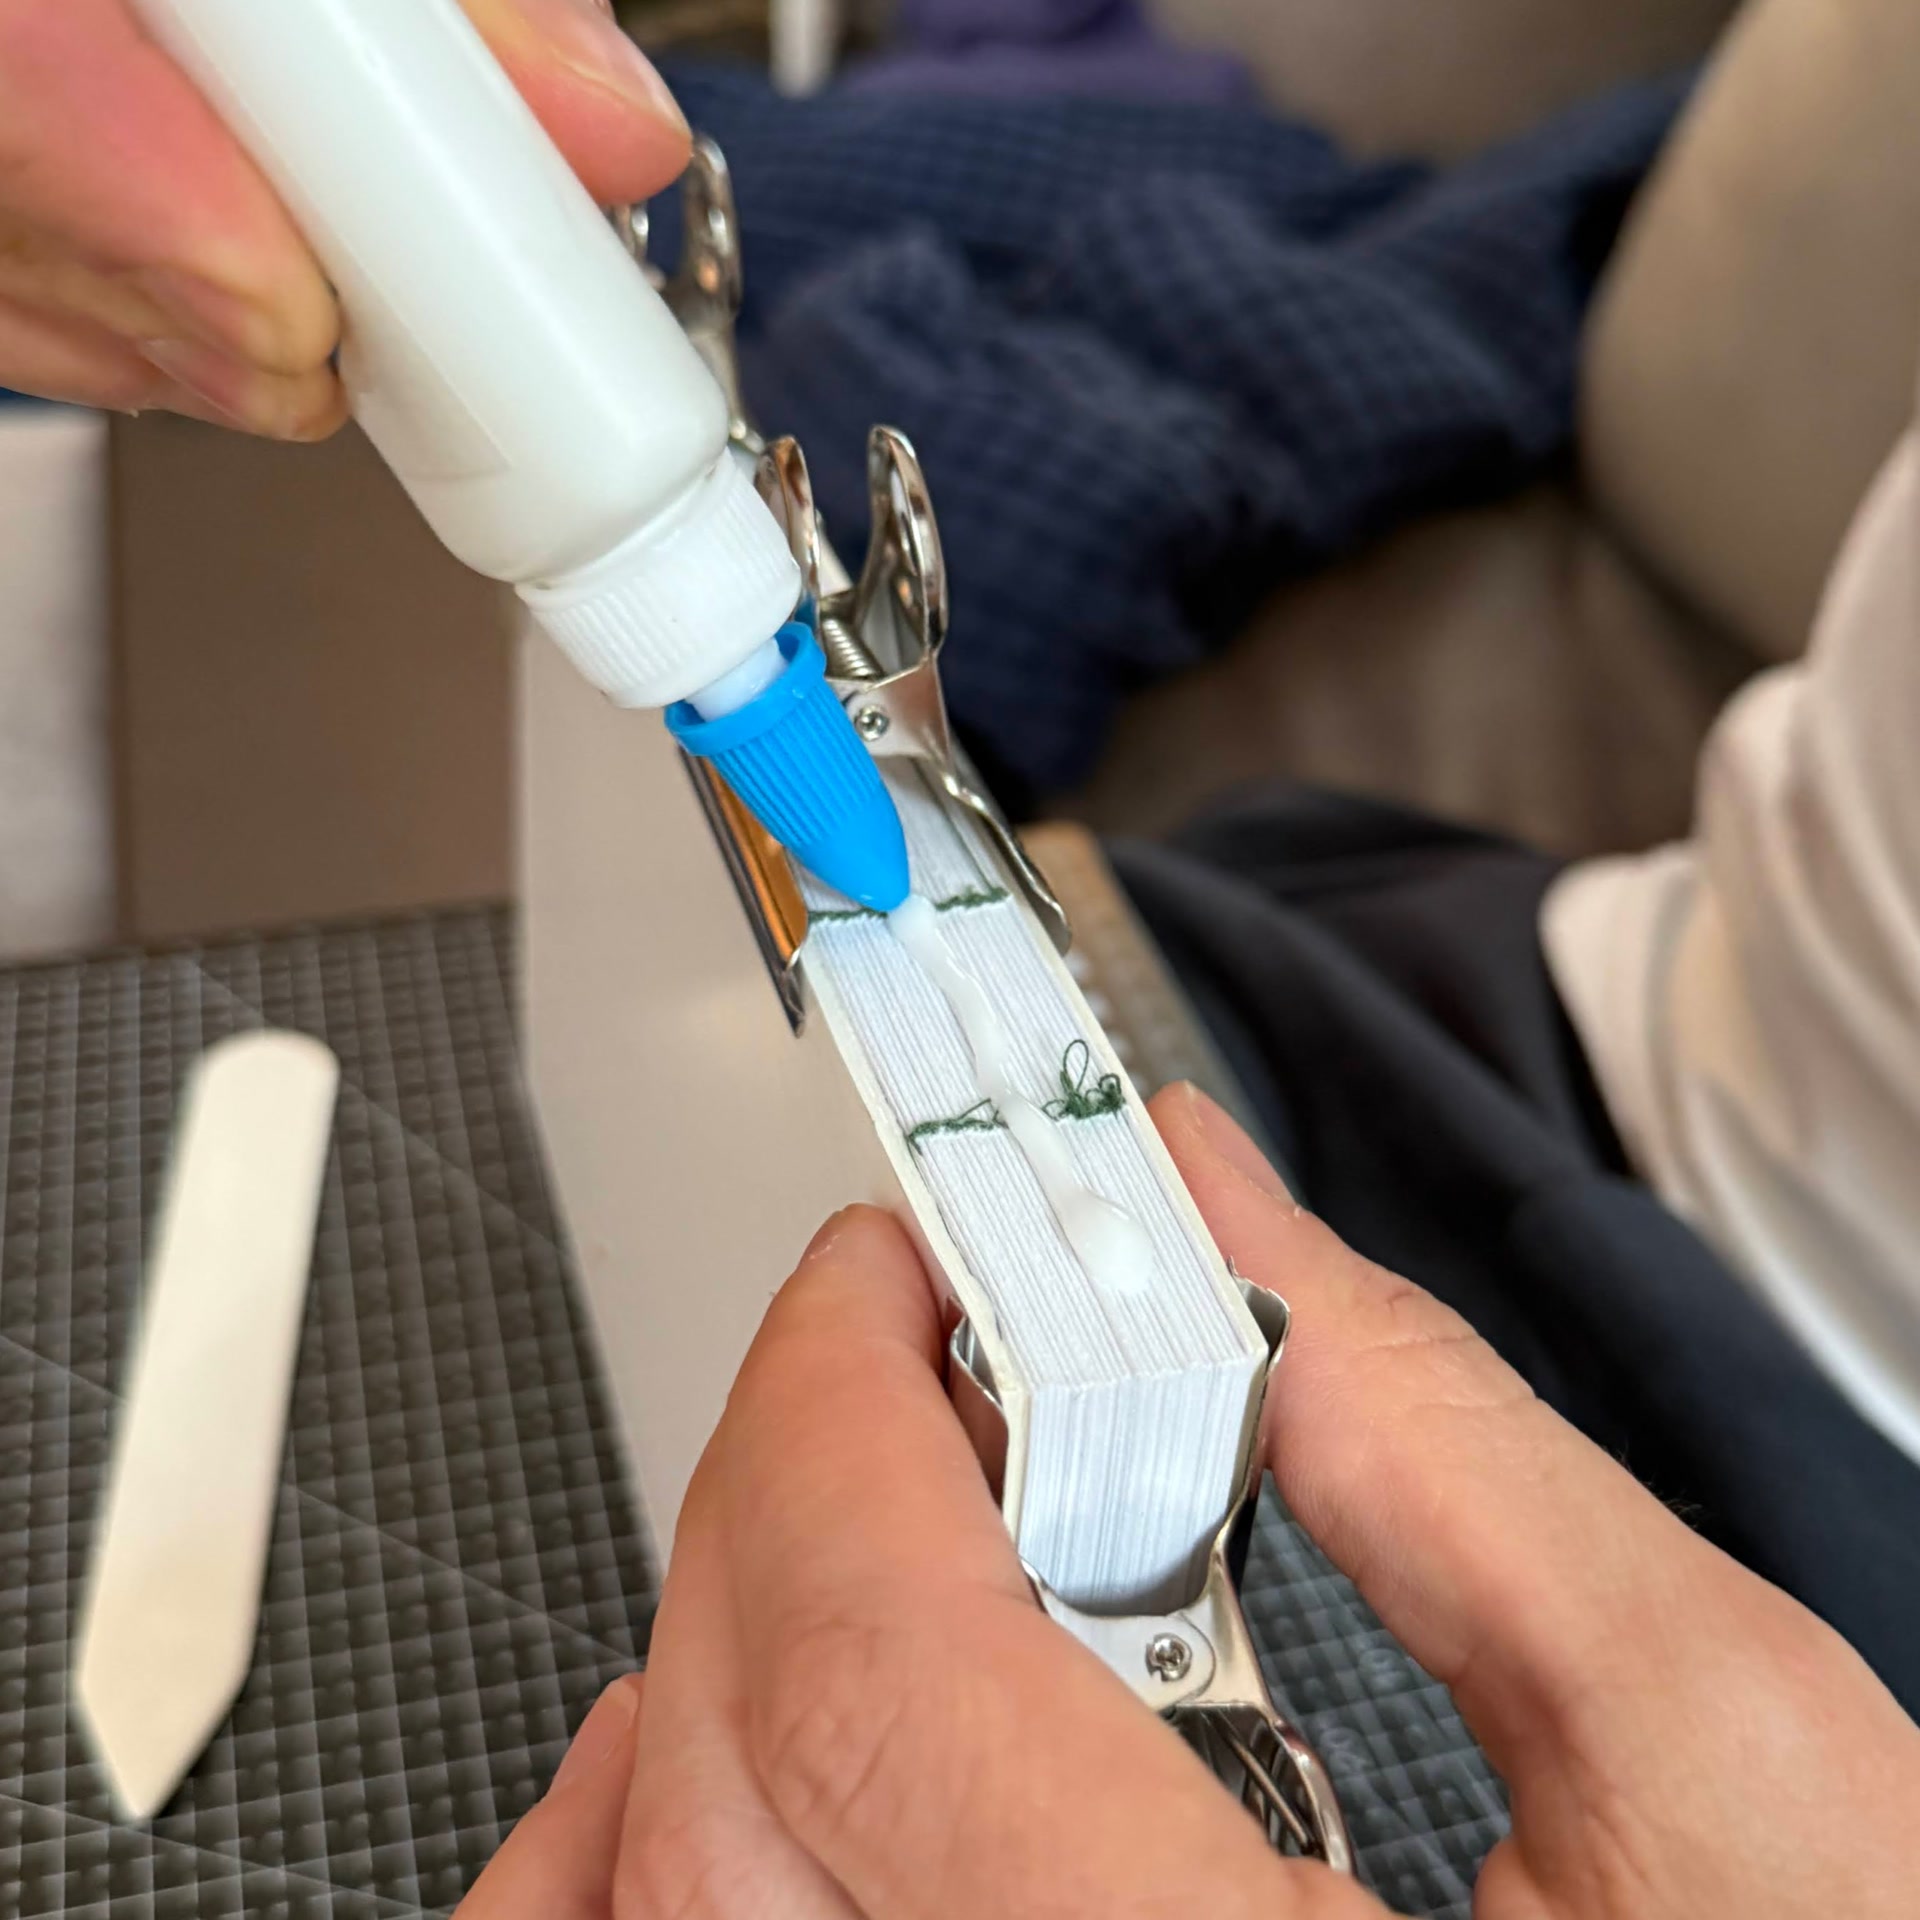
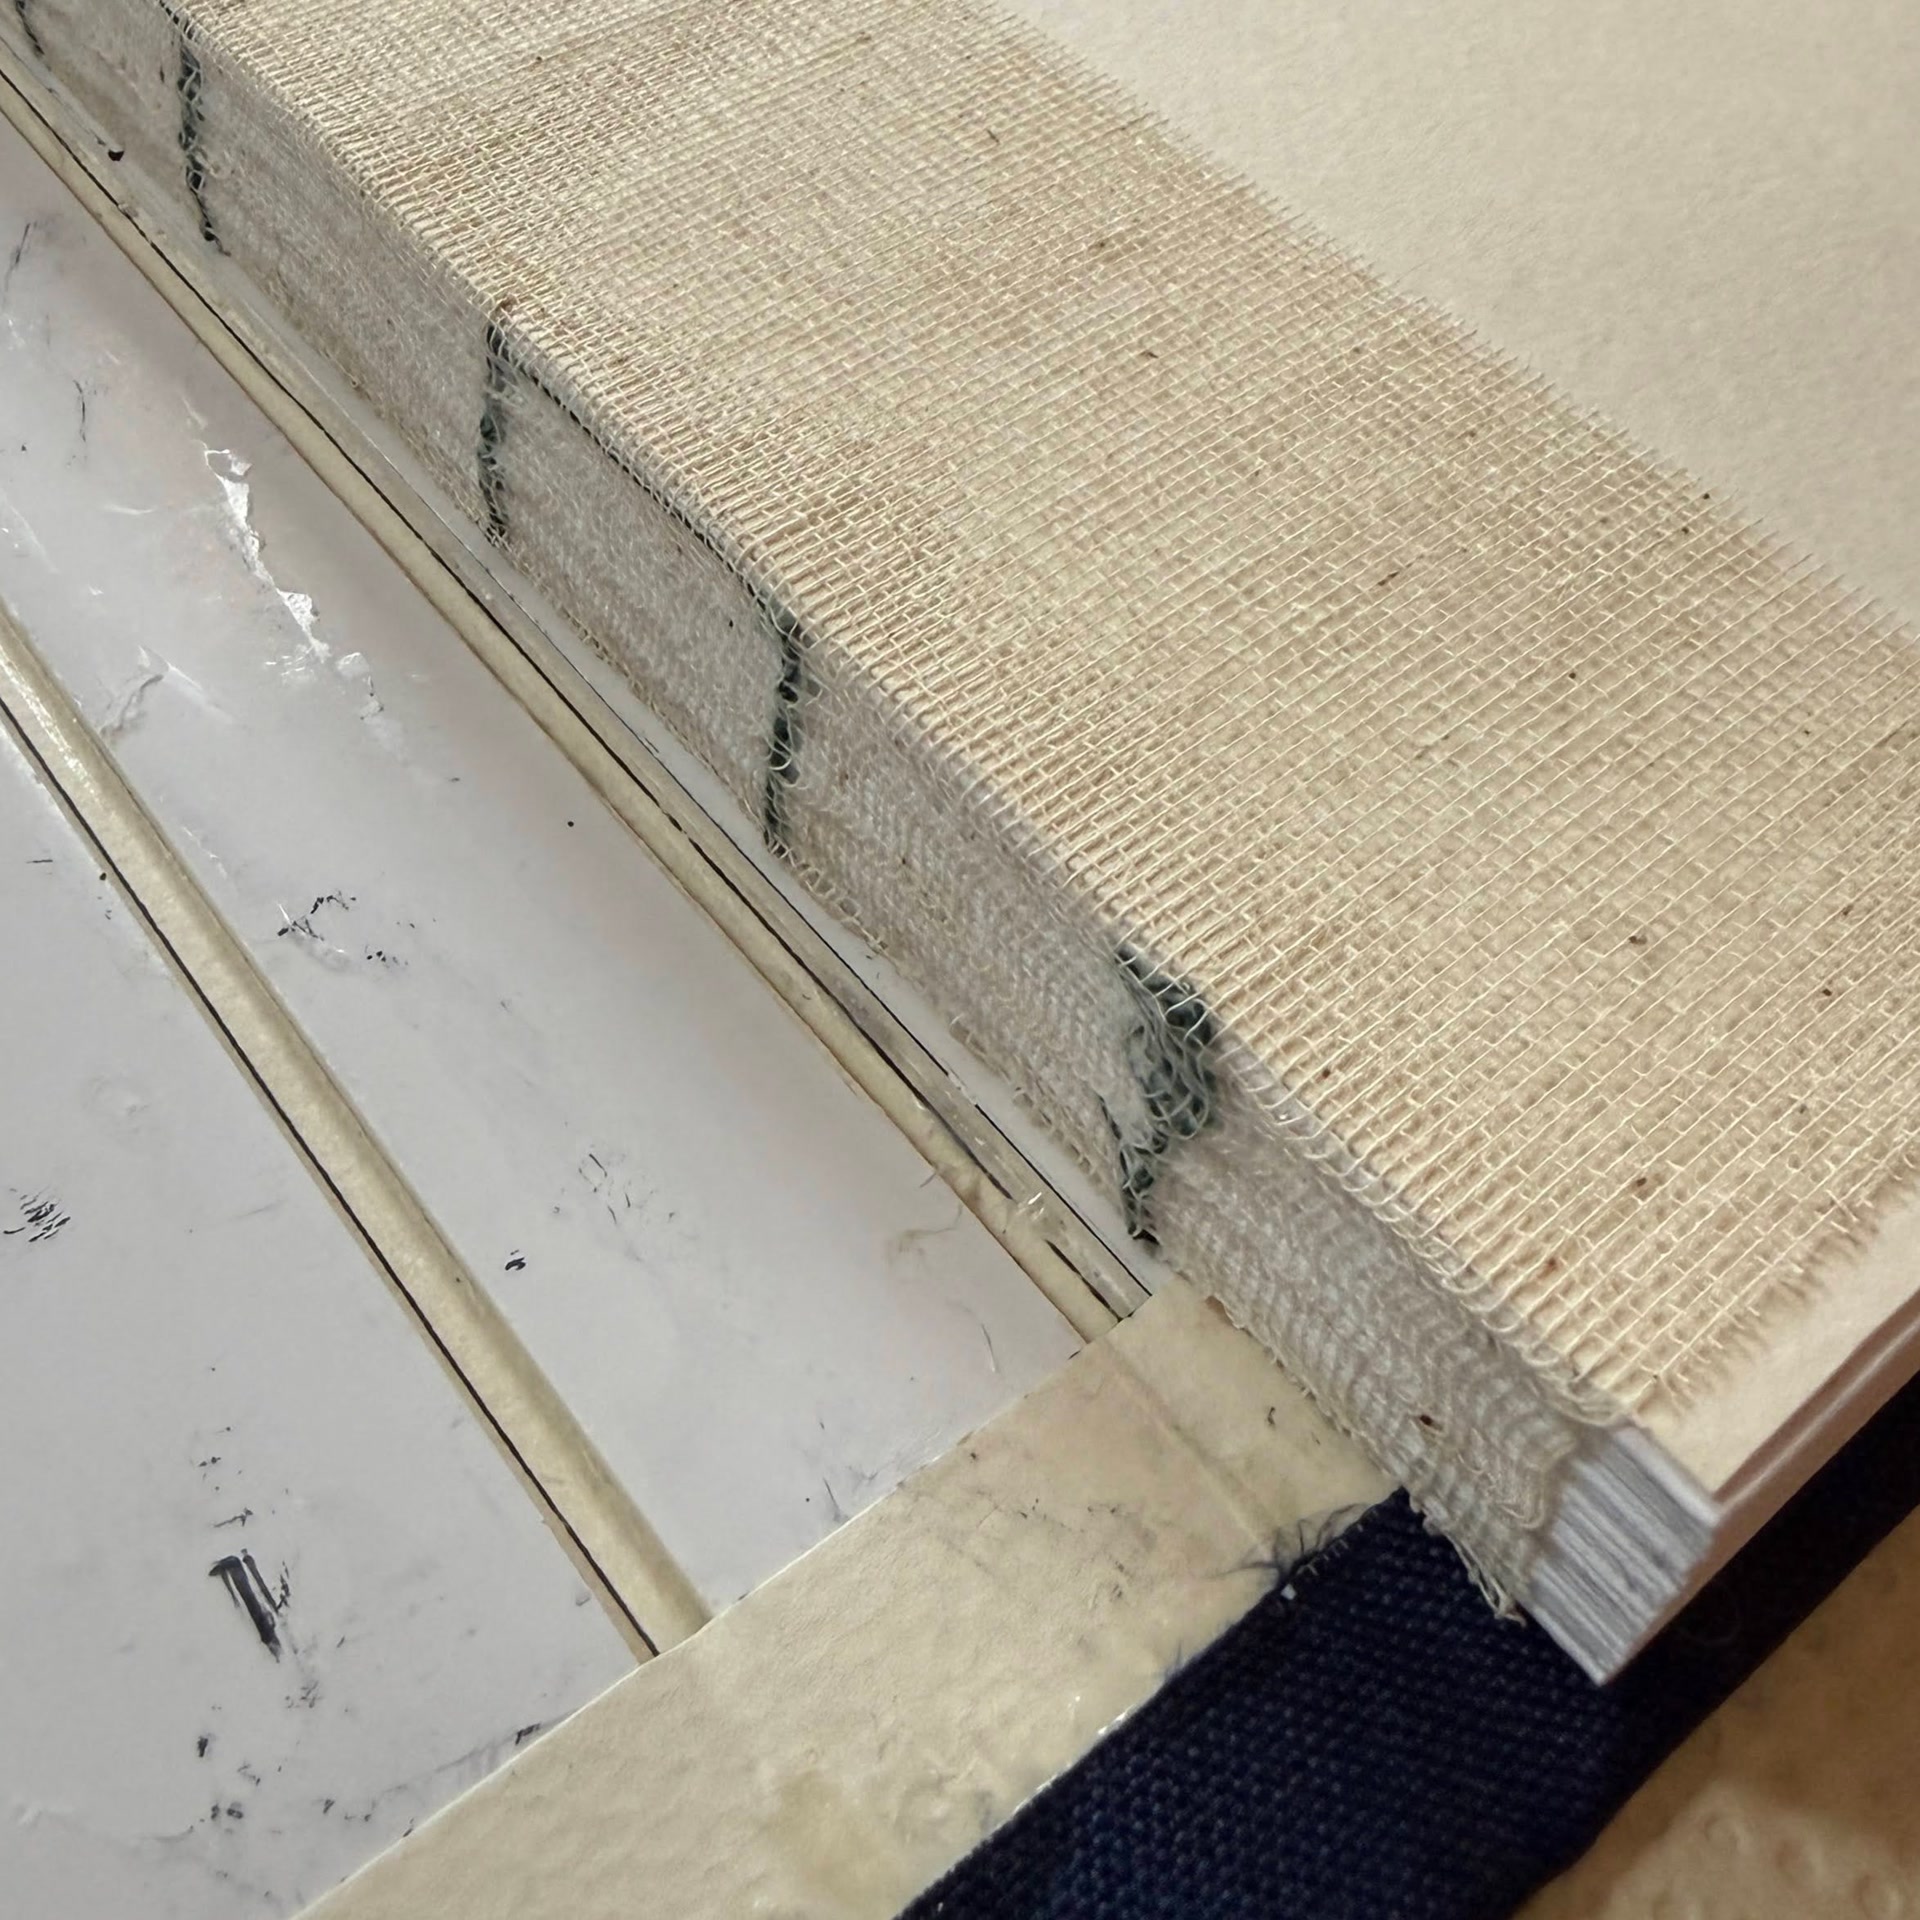
So I made a second case with a narrower spine inlay and larger joint gaps between the inlay and the cover boards. That worked much better. Unfortunately, I had changed both parameters at once and did not actually know which one had fixed the problem. It was a bit dissatisfying not to know how to derive appropriate values from the input parameters, namely the thickness of the text block and cover boards. I mostly shot from the hip, and it worked out on the second attempt.
For the front-cover design, I 3D printed a stencil and painted through it. The result is recognizable, but messier and much less crisp than I had hoped. There were other problems too: excess glue penetrated between the signatures and made many pages curl, and I attached the endpapers rather clumsily directly to the first and last printed pages. Still, I was very pleased with the first book.
Perfect Binding: Two Notebooks
After the AN-2 book, I watched some more tutorials online and joined the Center for Book Arts in Manhattan. At home, while planning my next bigger project, I made two little notebooks using perfect binding. Instead of folding the pages into signatures and sewing them, I joined loose sheets with glue along one edge. This method is common in paperback books and thicker magazines. The rest of the construction was much simpler than the case-bound AN-2 book, so the notebooks came together in an afternoon.
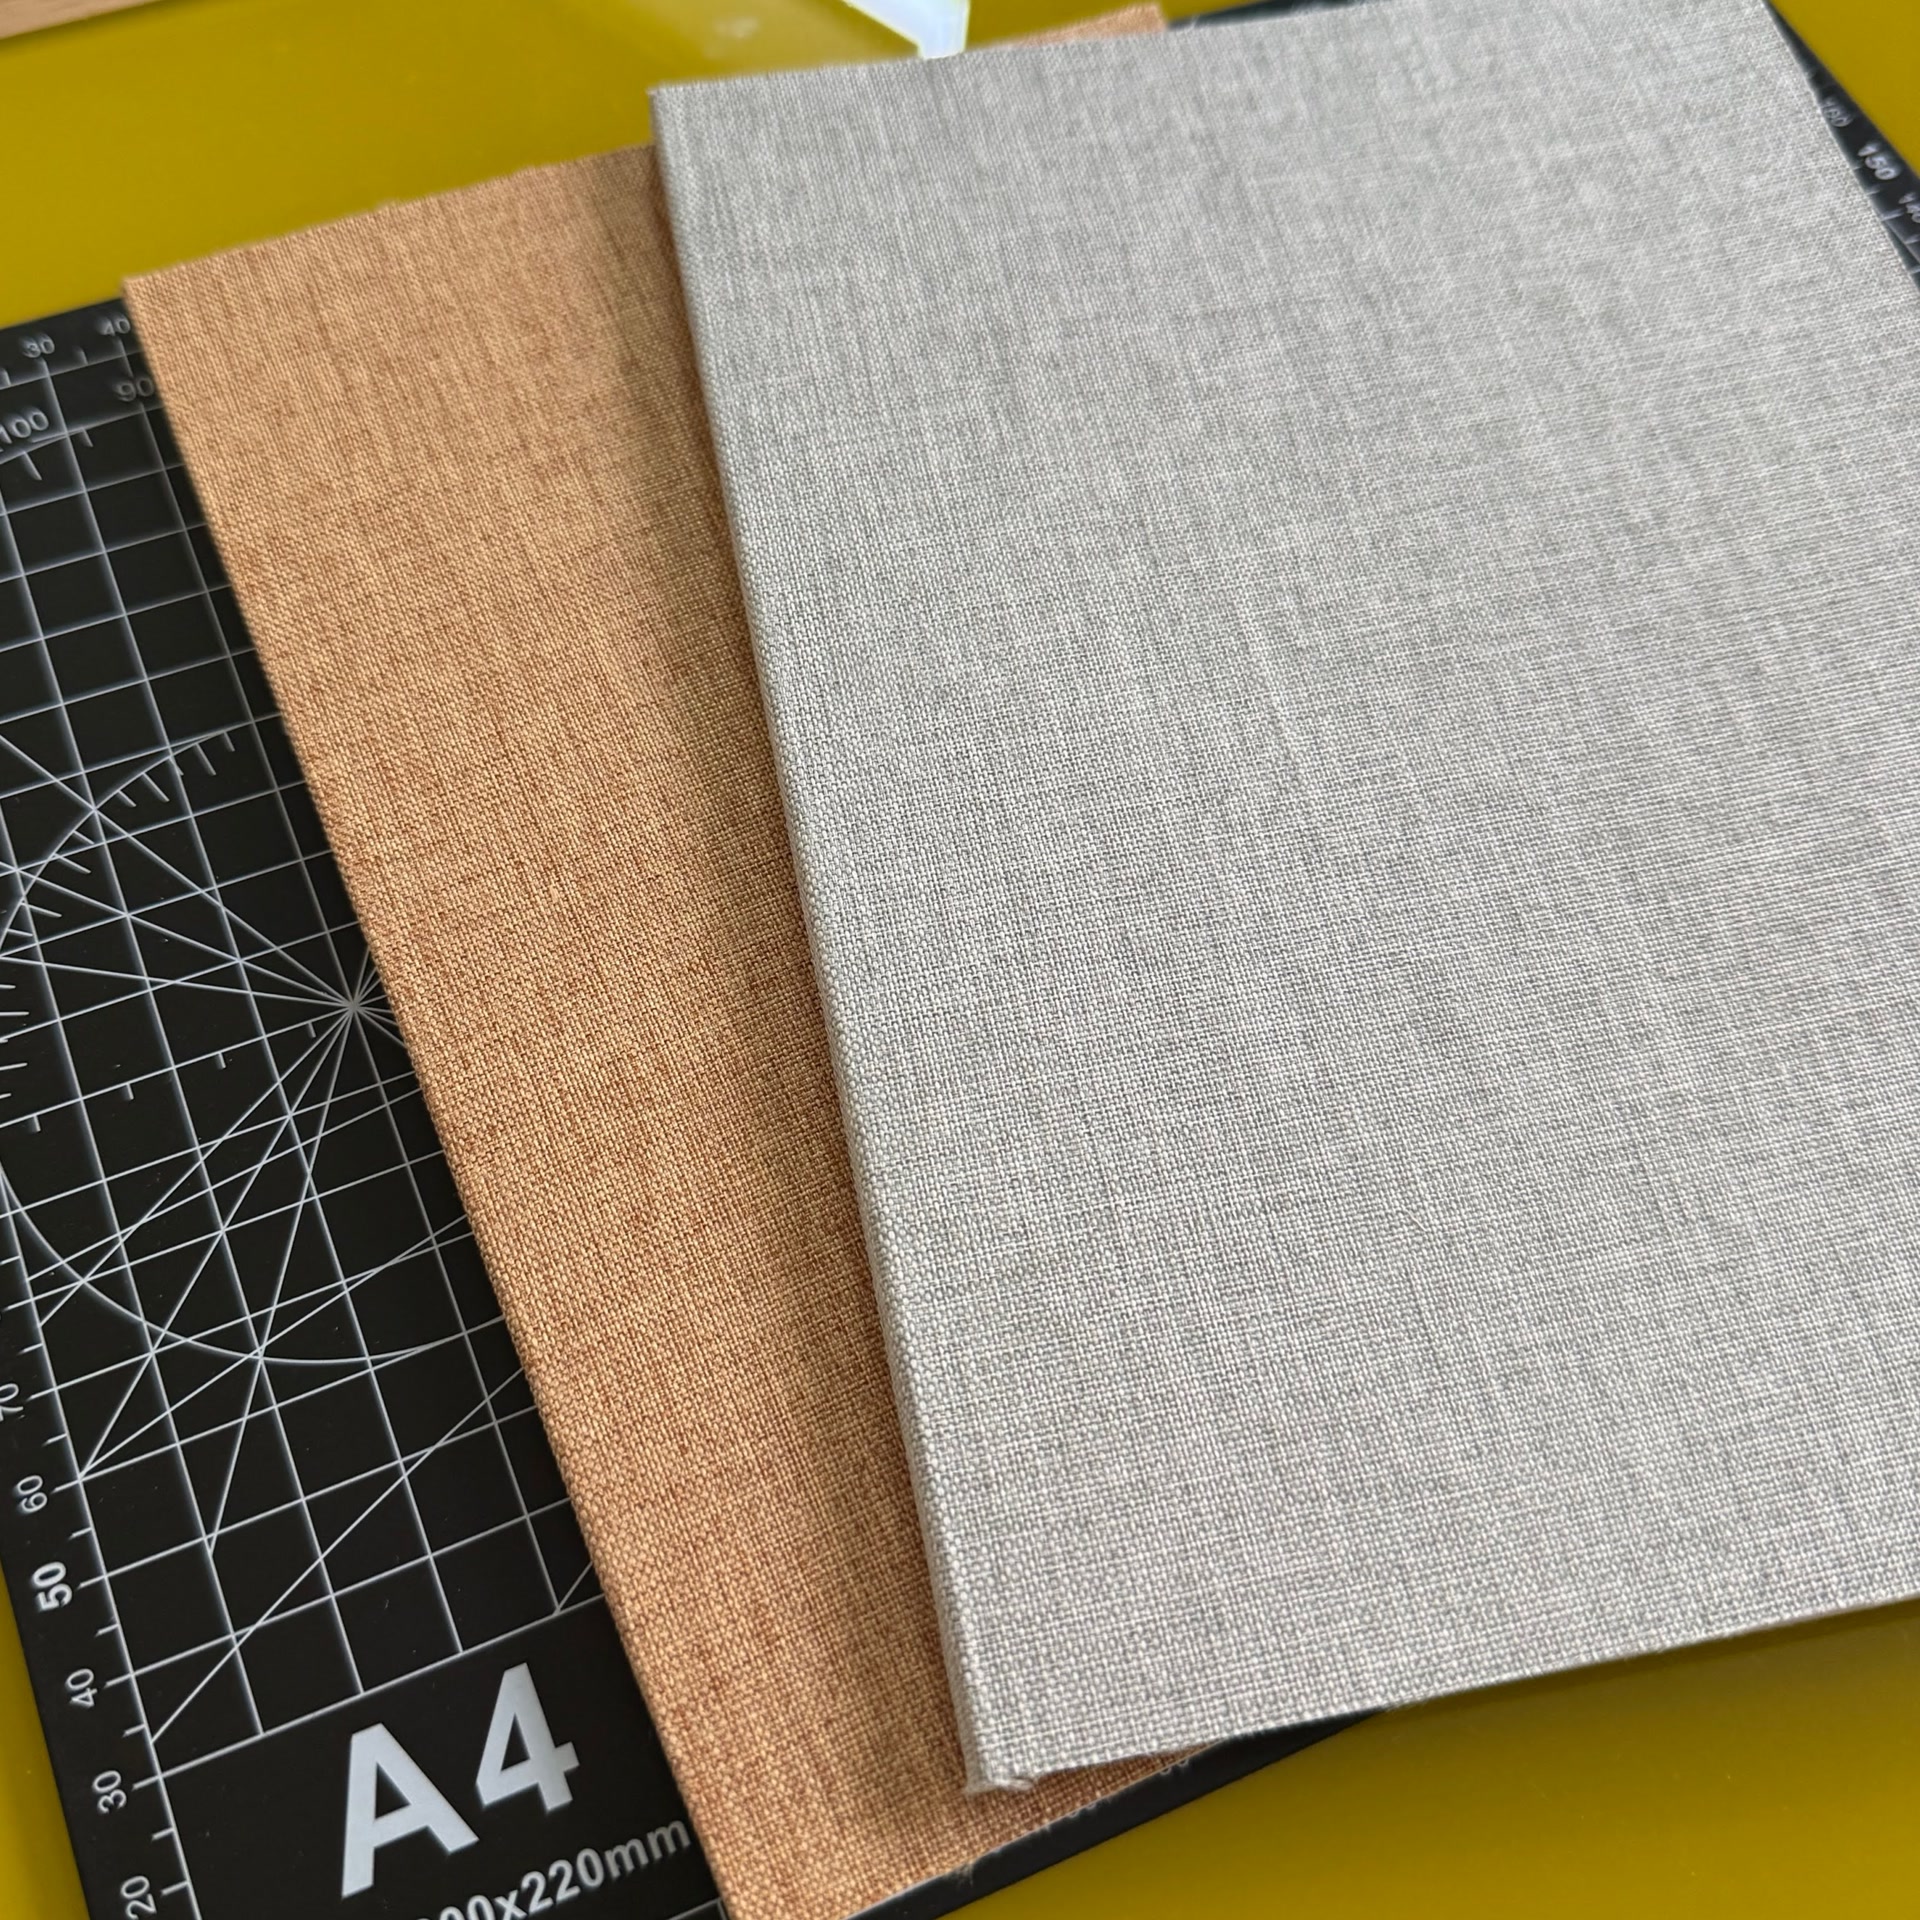
Thicker Case Bindings: Two Apollo 11 Radio Transcripts
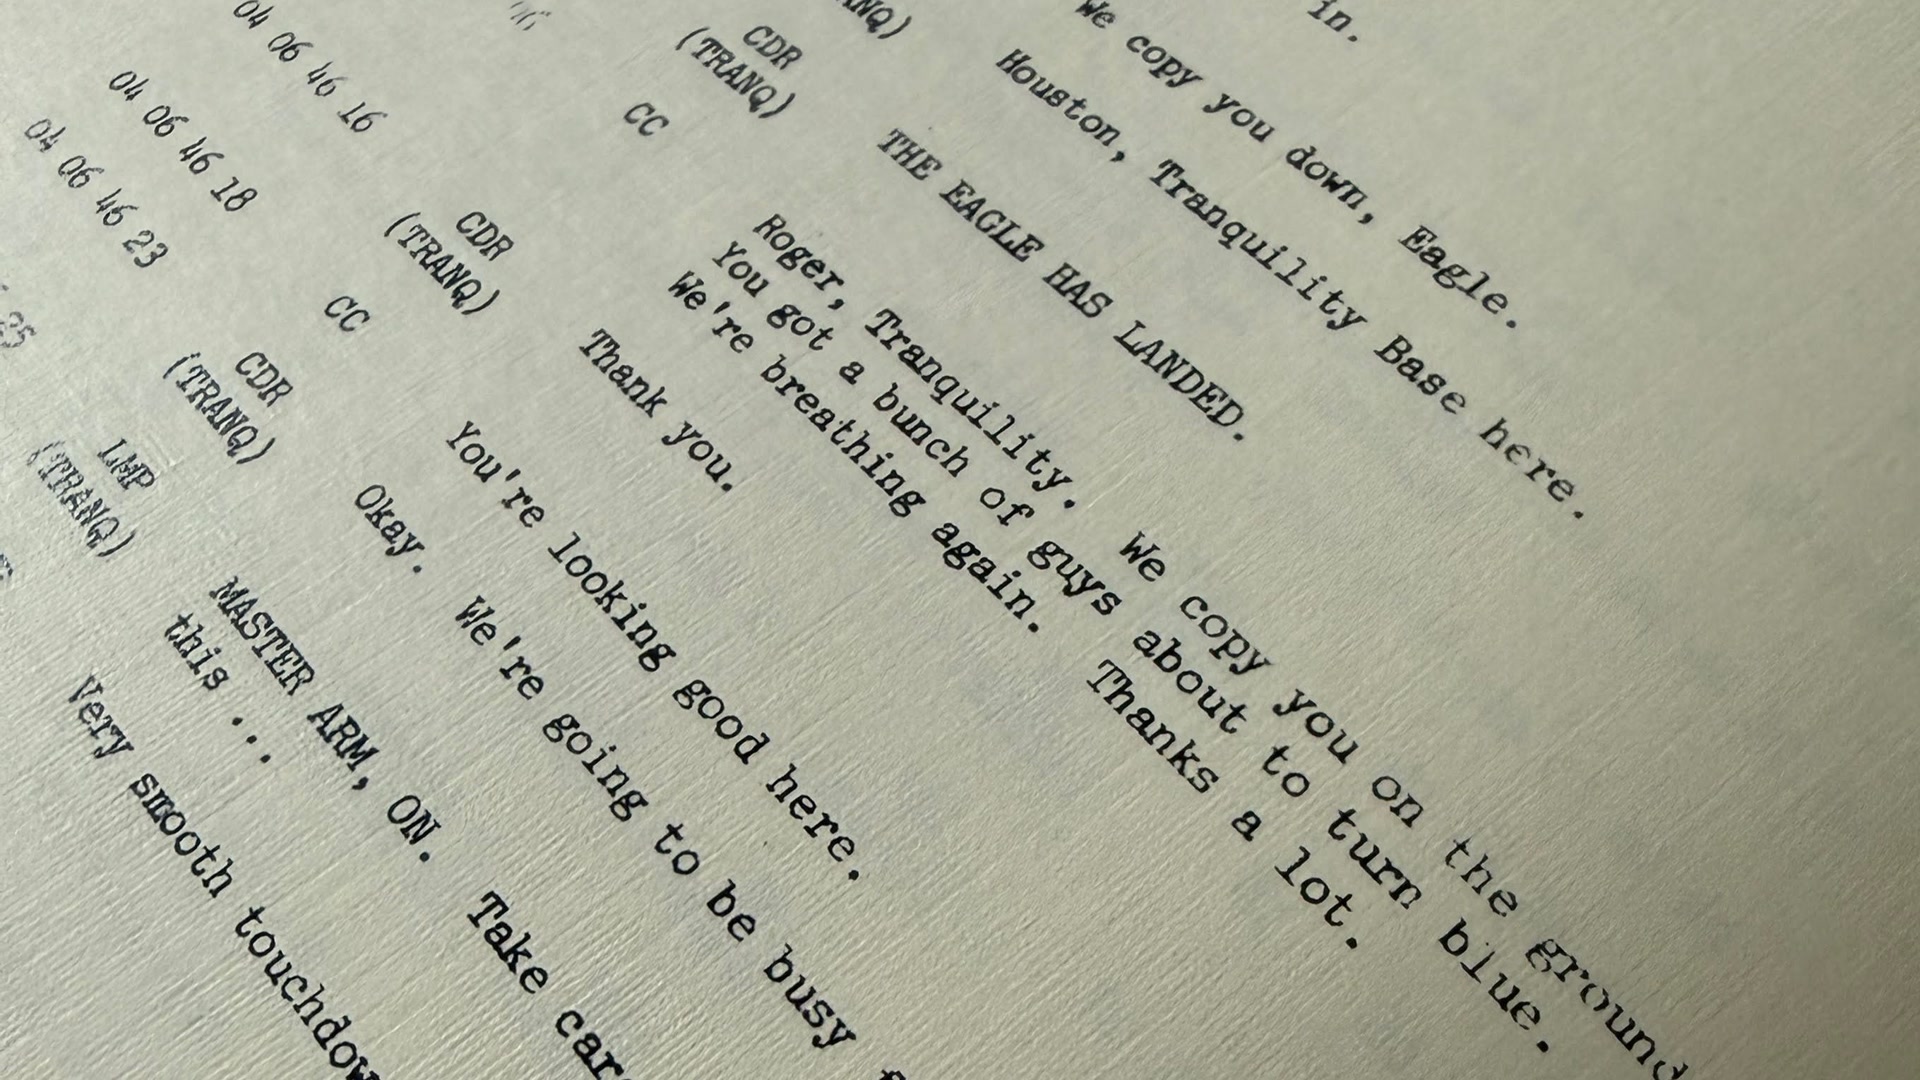
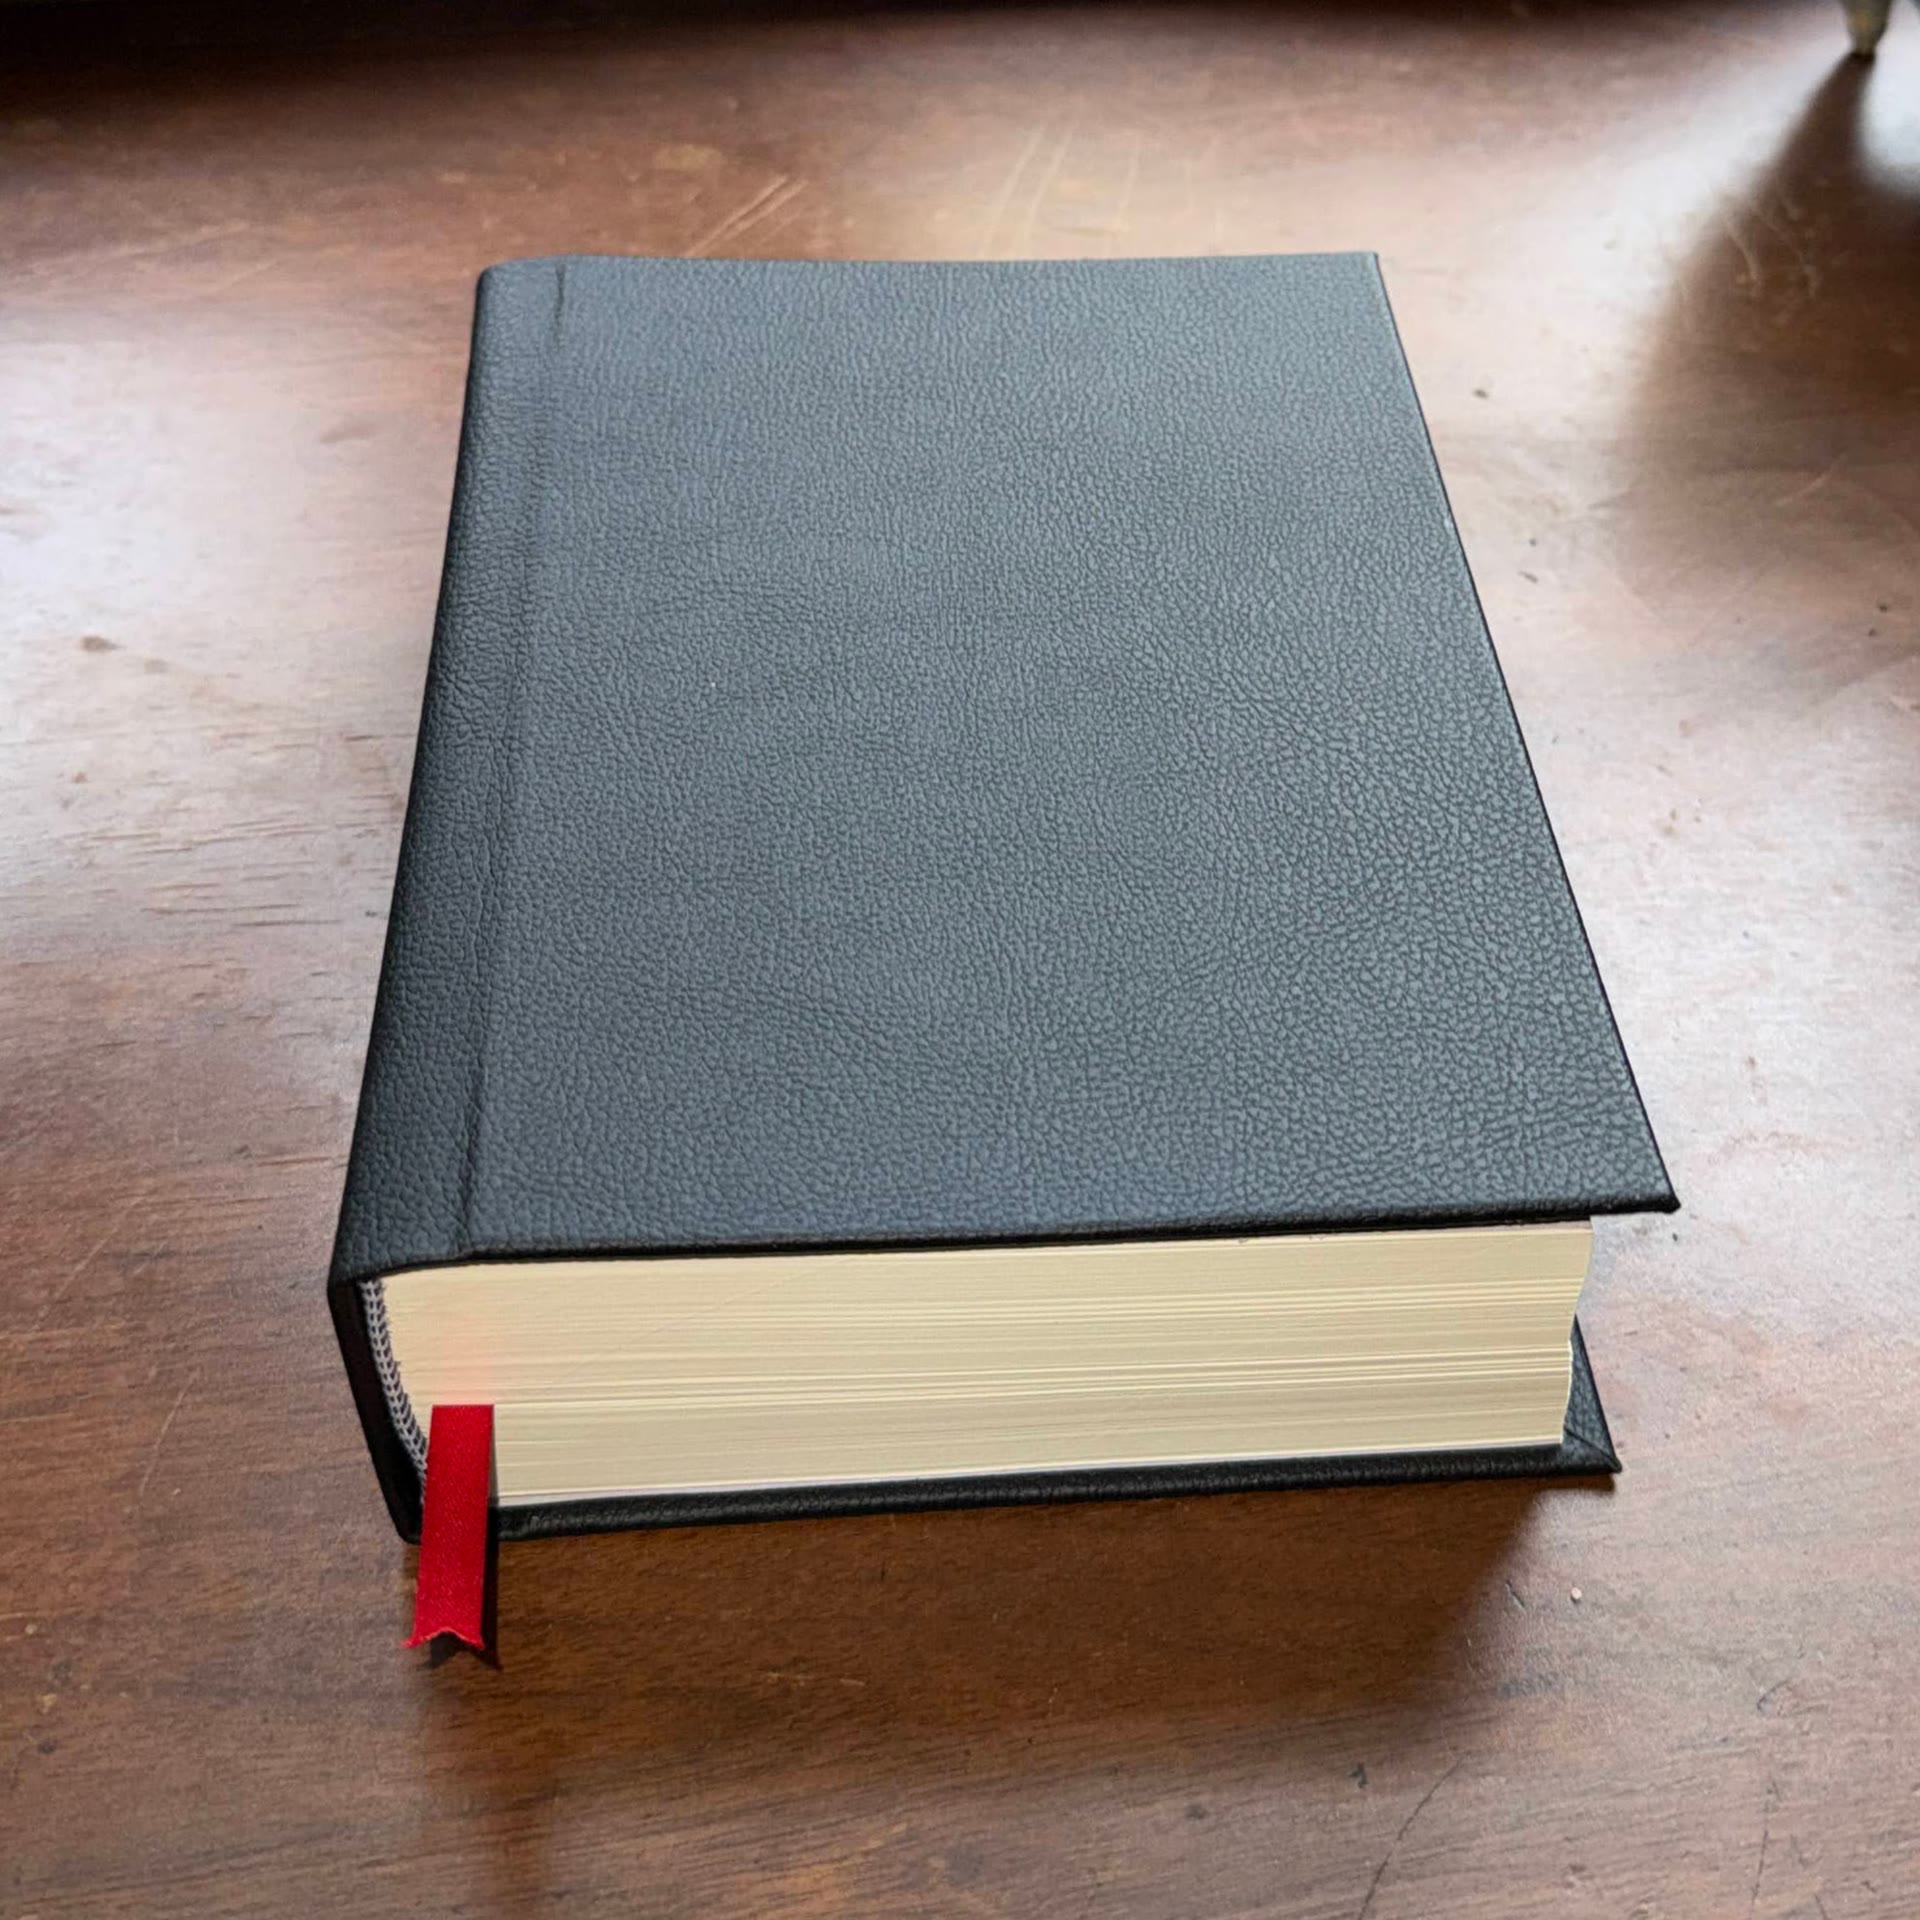
I wanted the next project to be bigger and more complete. After contemplating for a while, I chose the Apollo 11 Technical Air-to-Ground Voice Transcript, which is 626 pages long. The main competitor was a Space Shuttle operating manual, but at about 1,200 pages I deemed it too ambitious at this stage. I used much nicer paper with a slightly old-ish look which, in my eyes, goes well with the typewriter-style font.
I initially wanted to use genuine leather for the case. After reading up on it, I learned that thickness matters a lot and that it is not straightforward to obtain high-quality leather suitable for bookbinding. To make progress, I settled on imitation leather that was easier to work with.
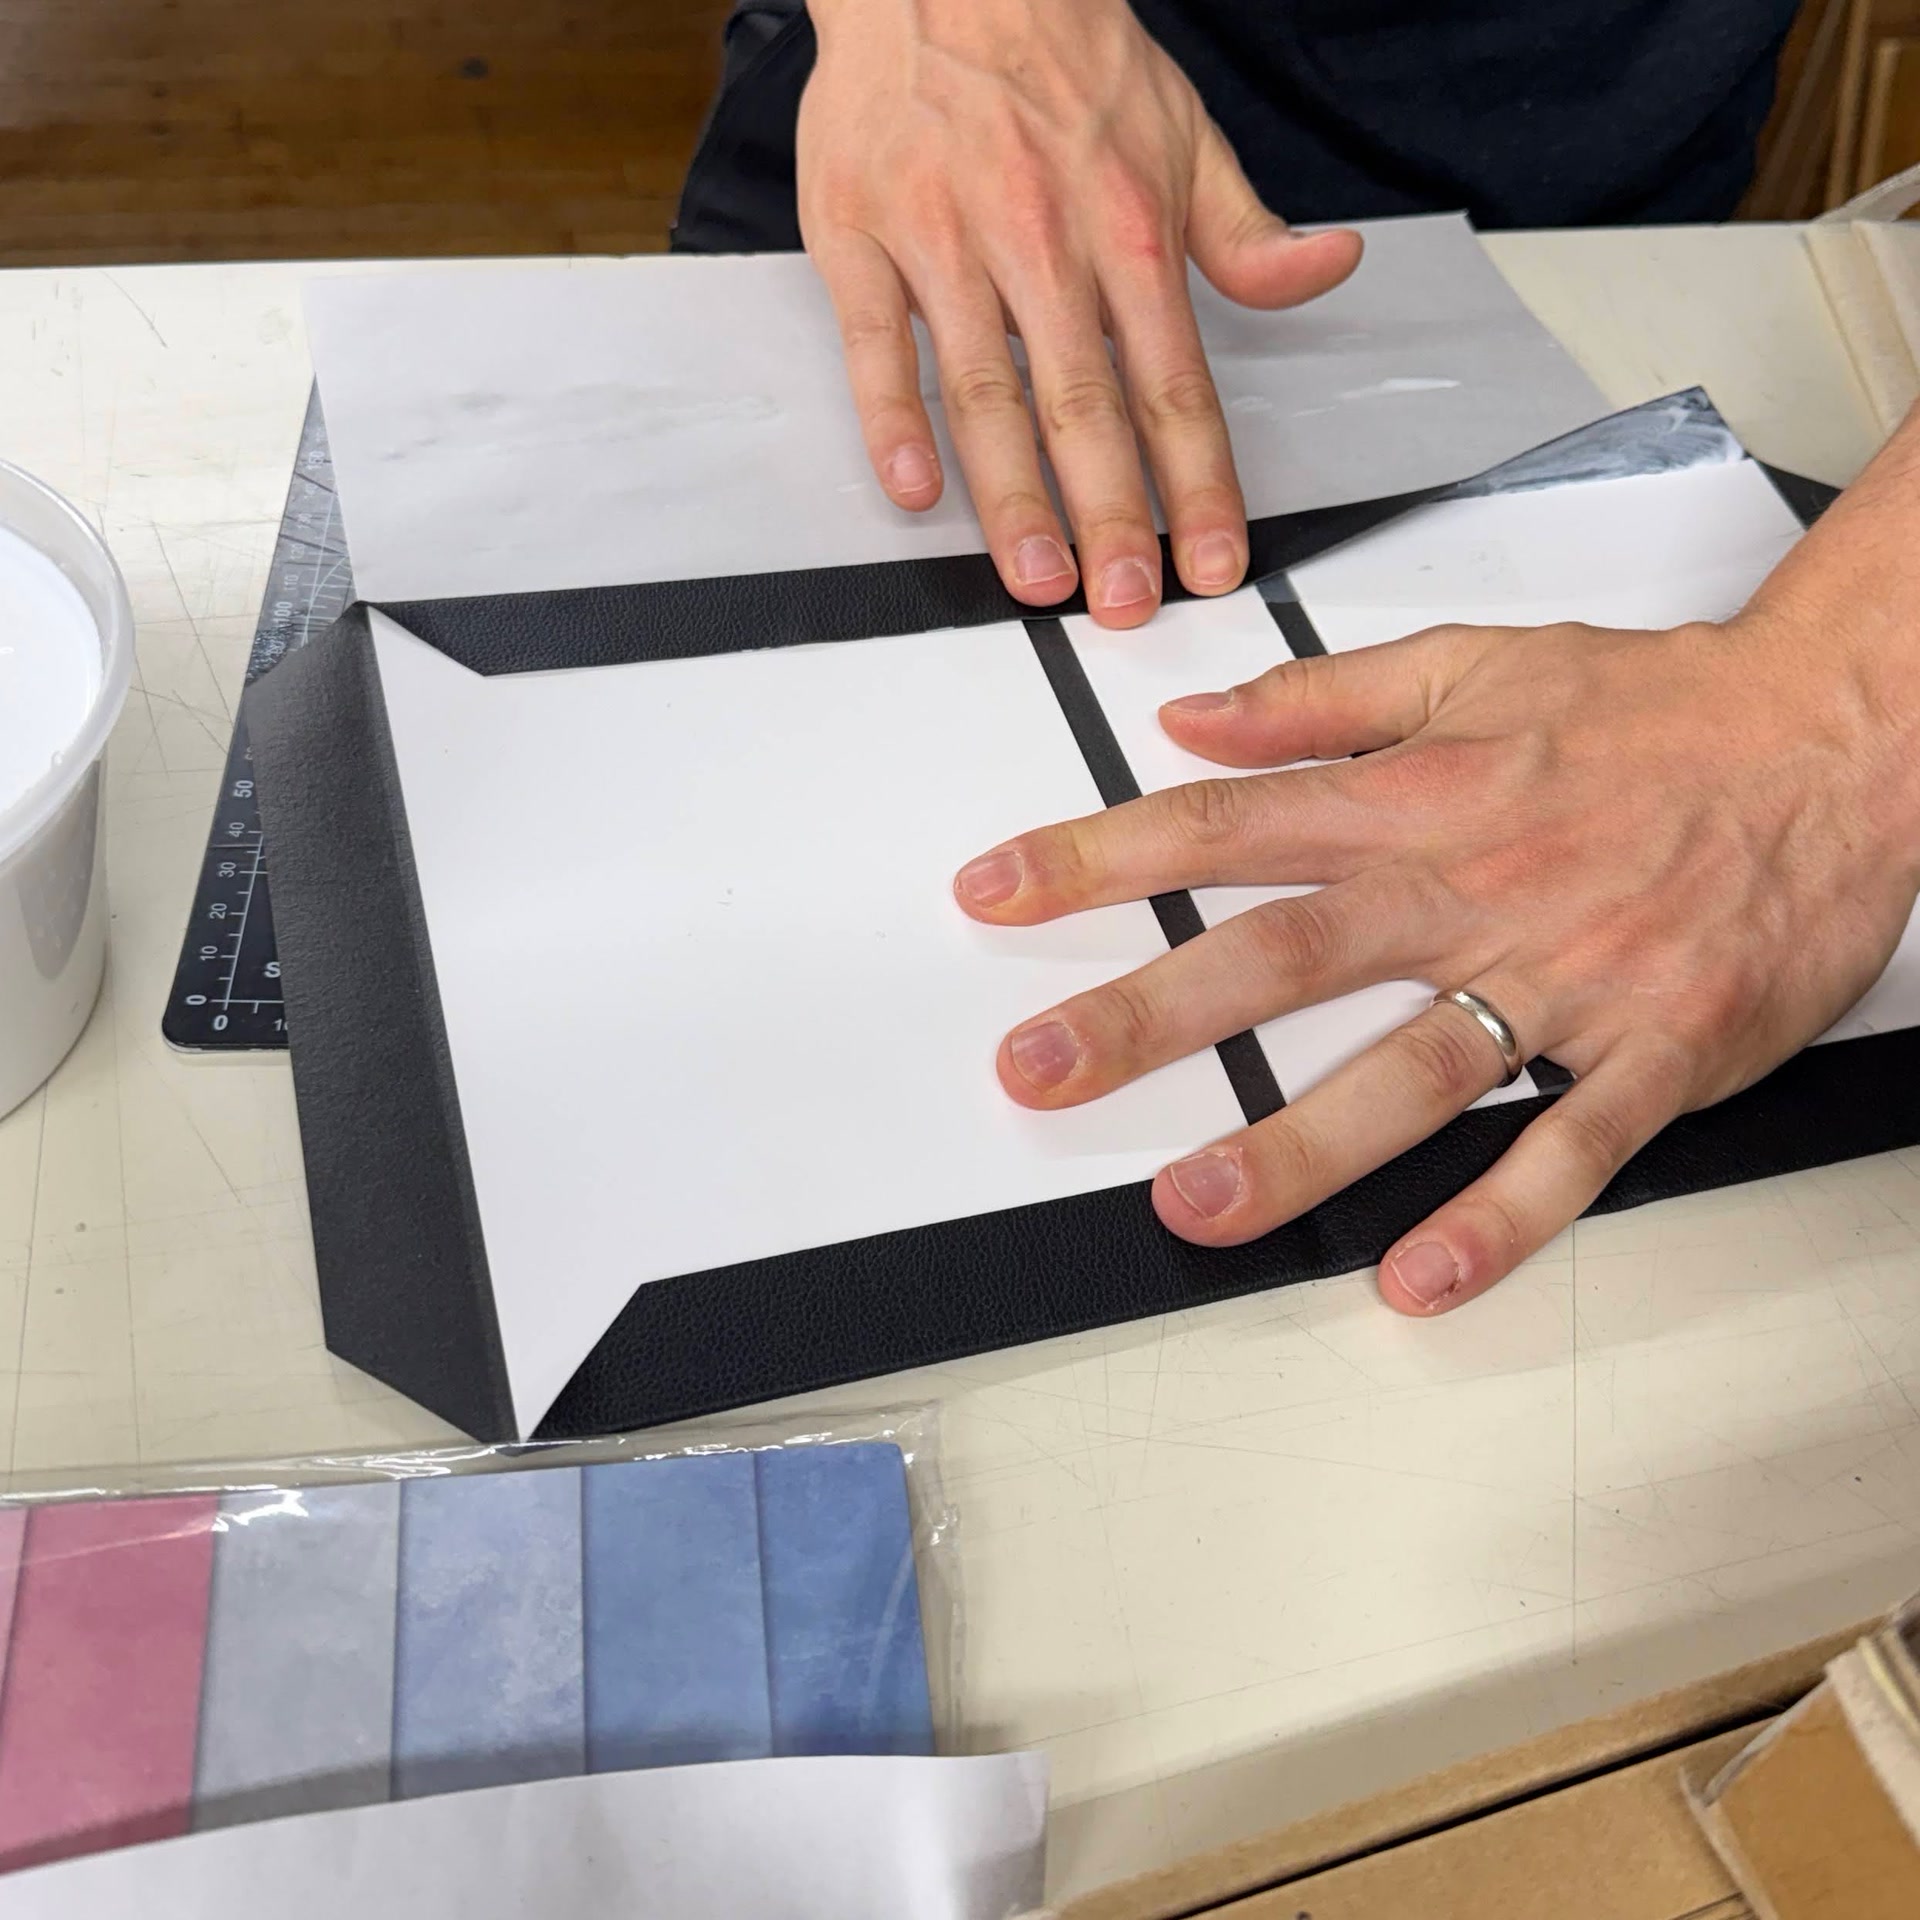
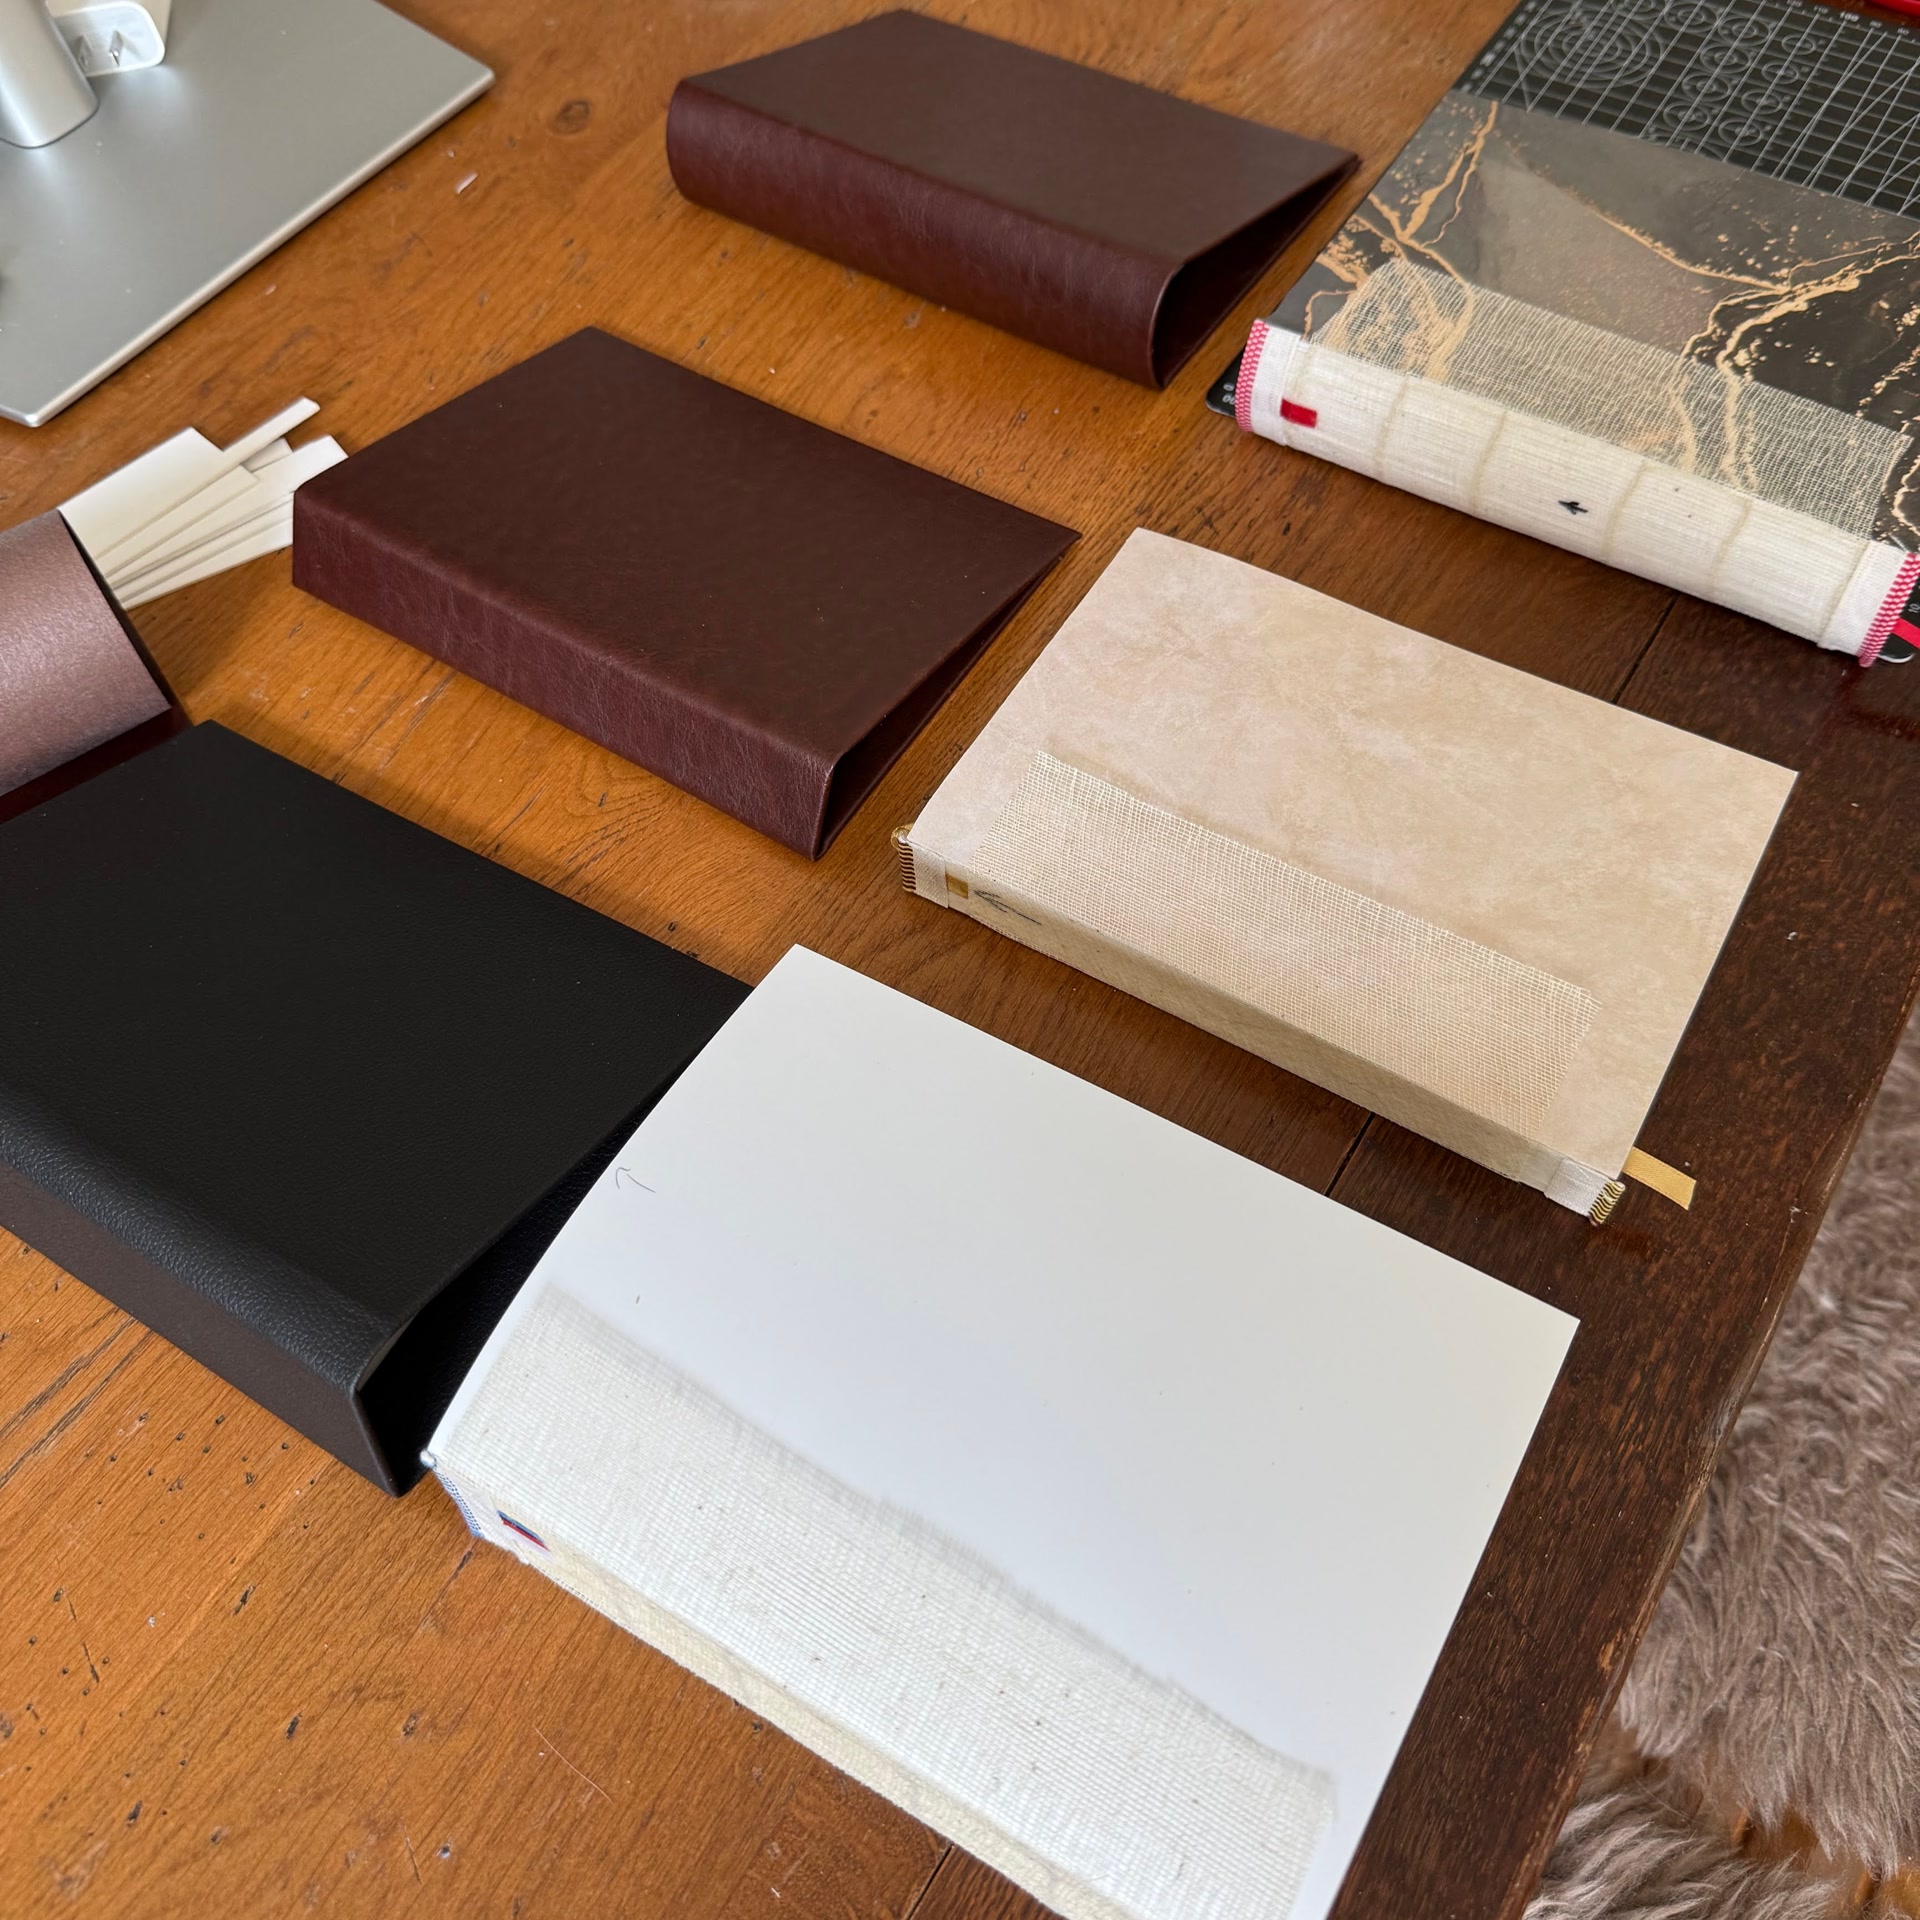
This book got many of the details the AN-2 handbook was missing: nice endpapers, decorative endbands, a ribbon marker, a better covering material, and a generally more carefully constructed case. I also protected the text block from excess glue.
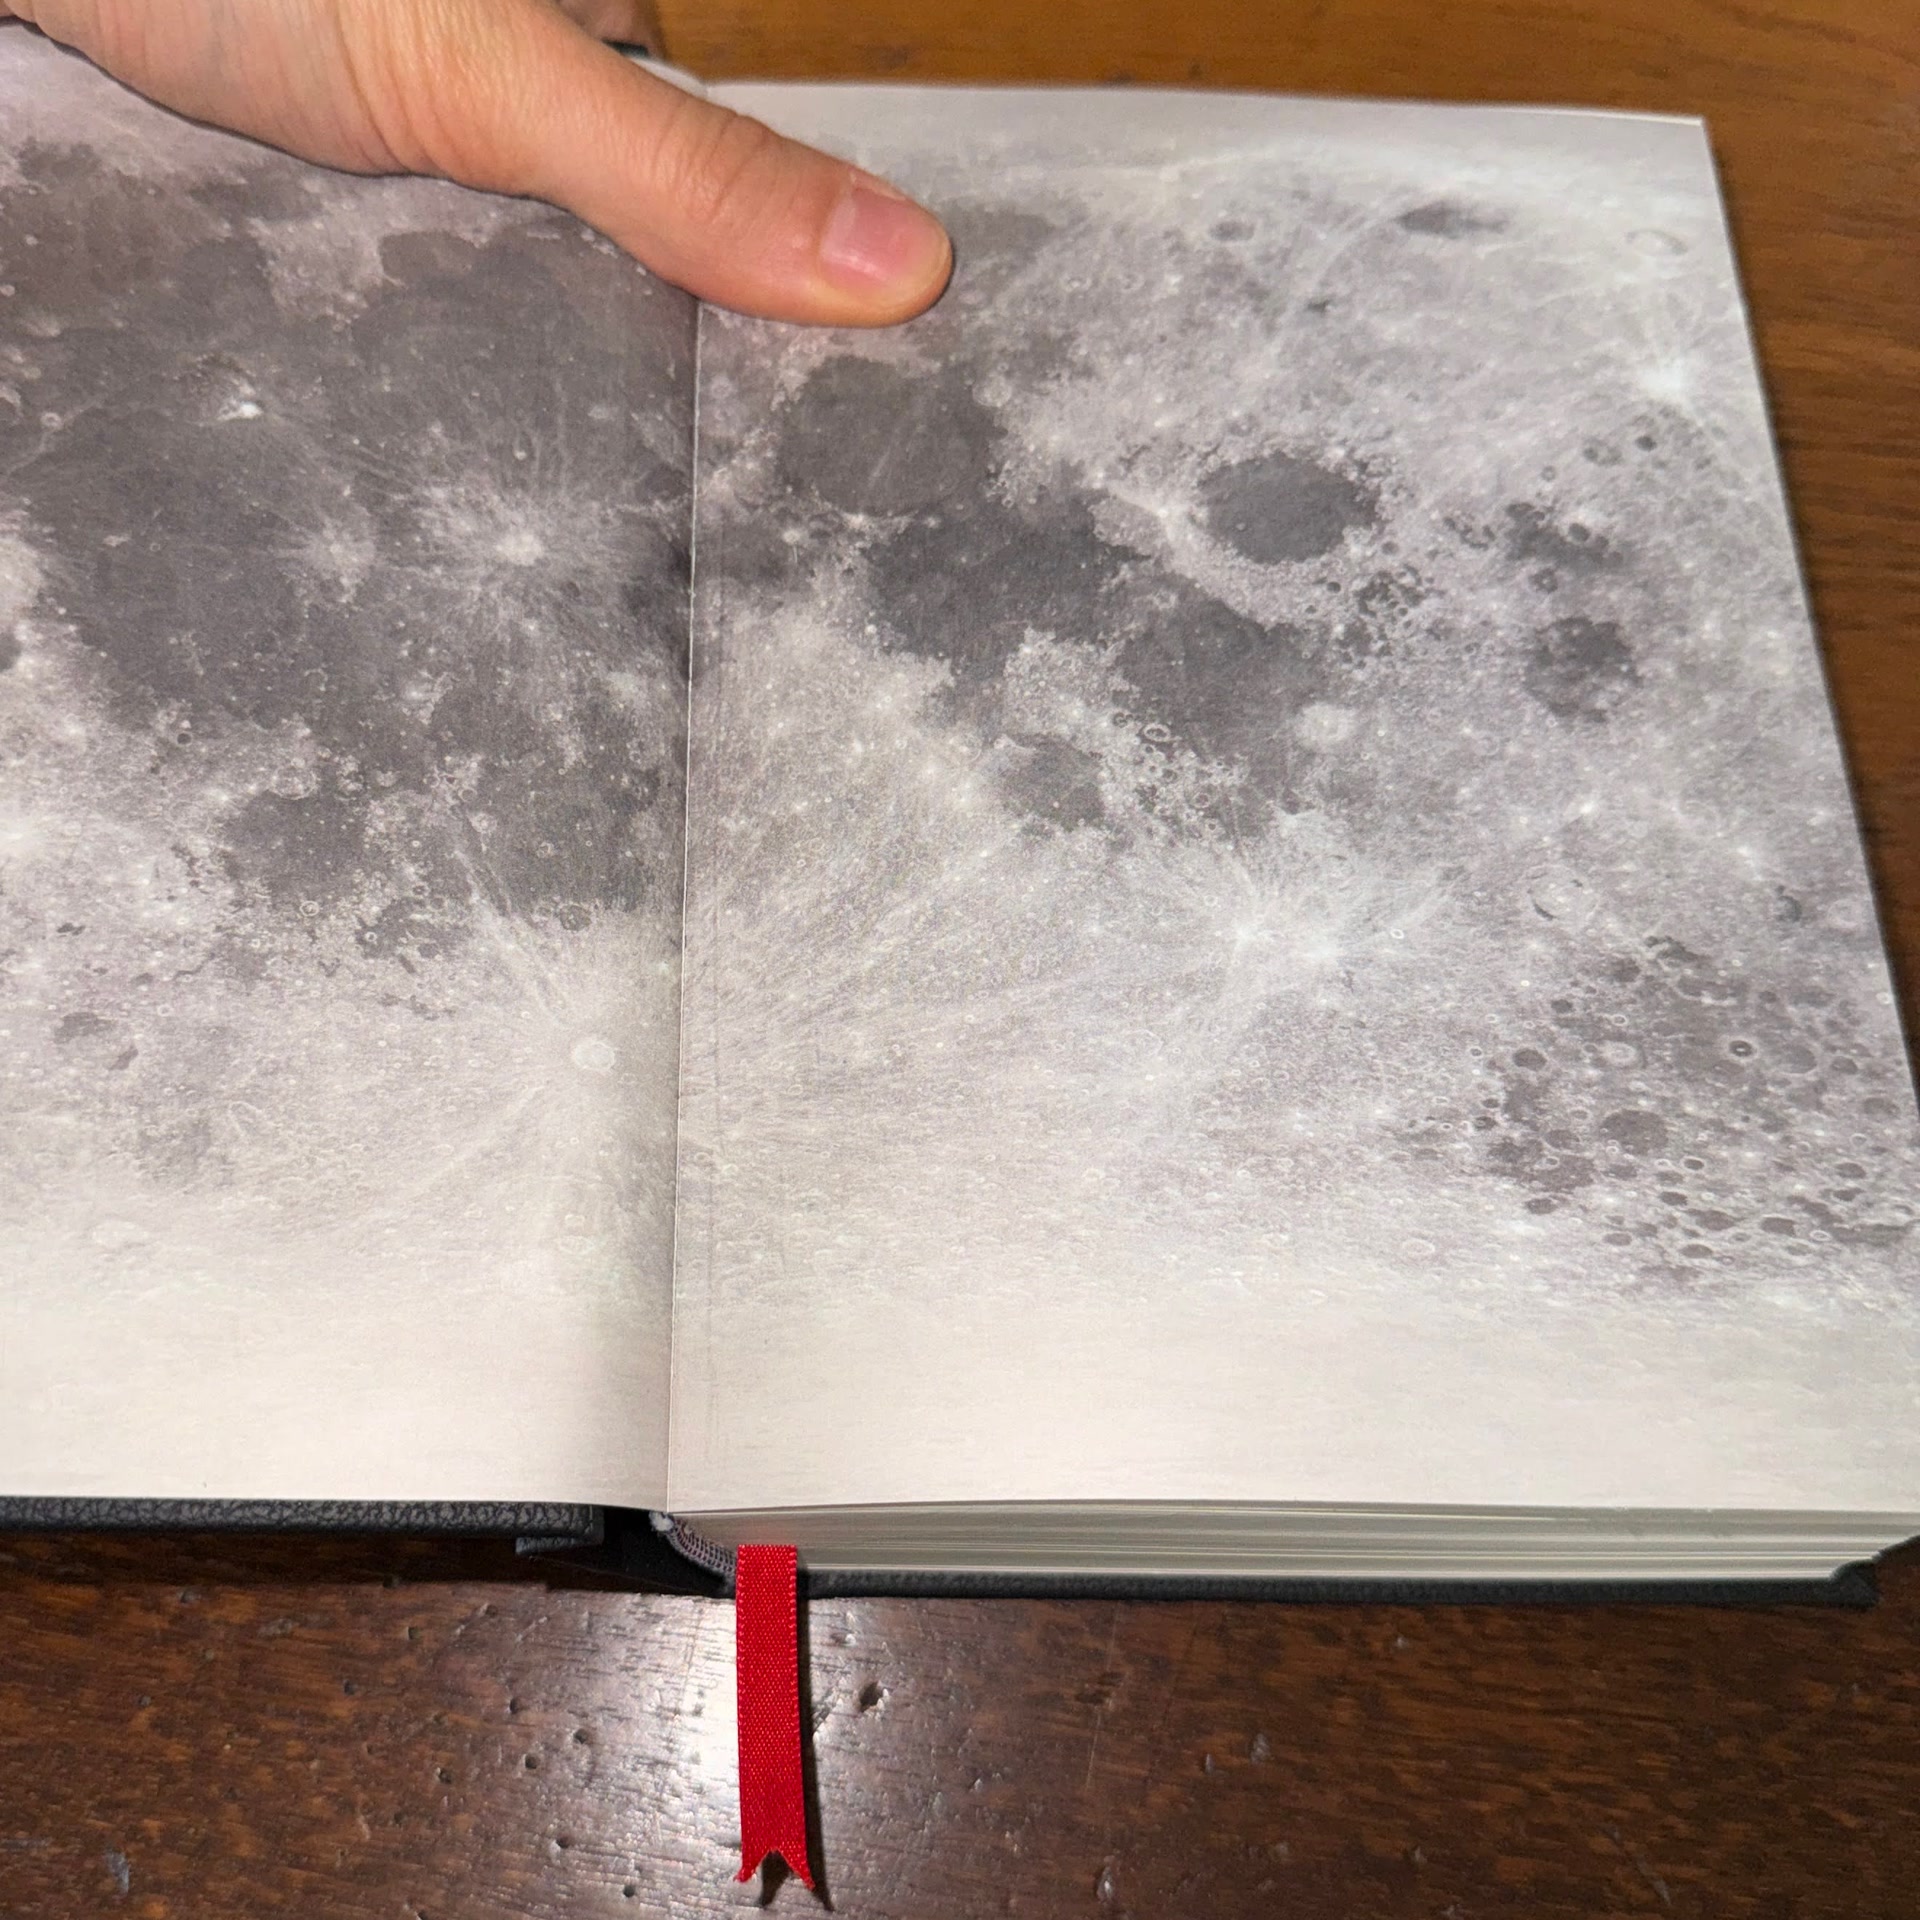
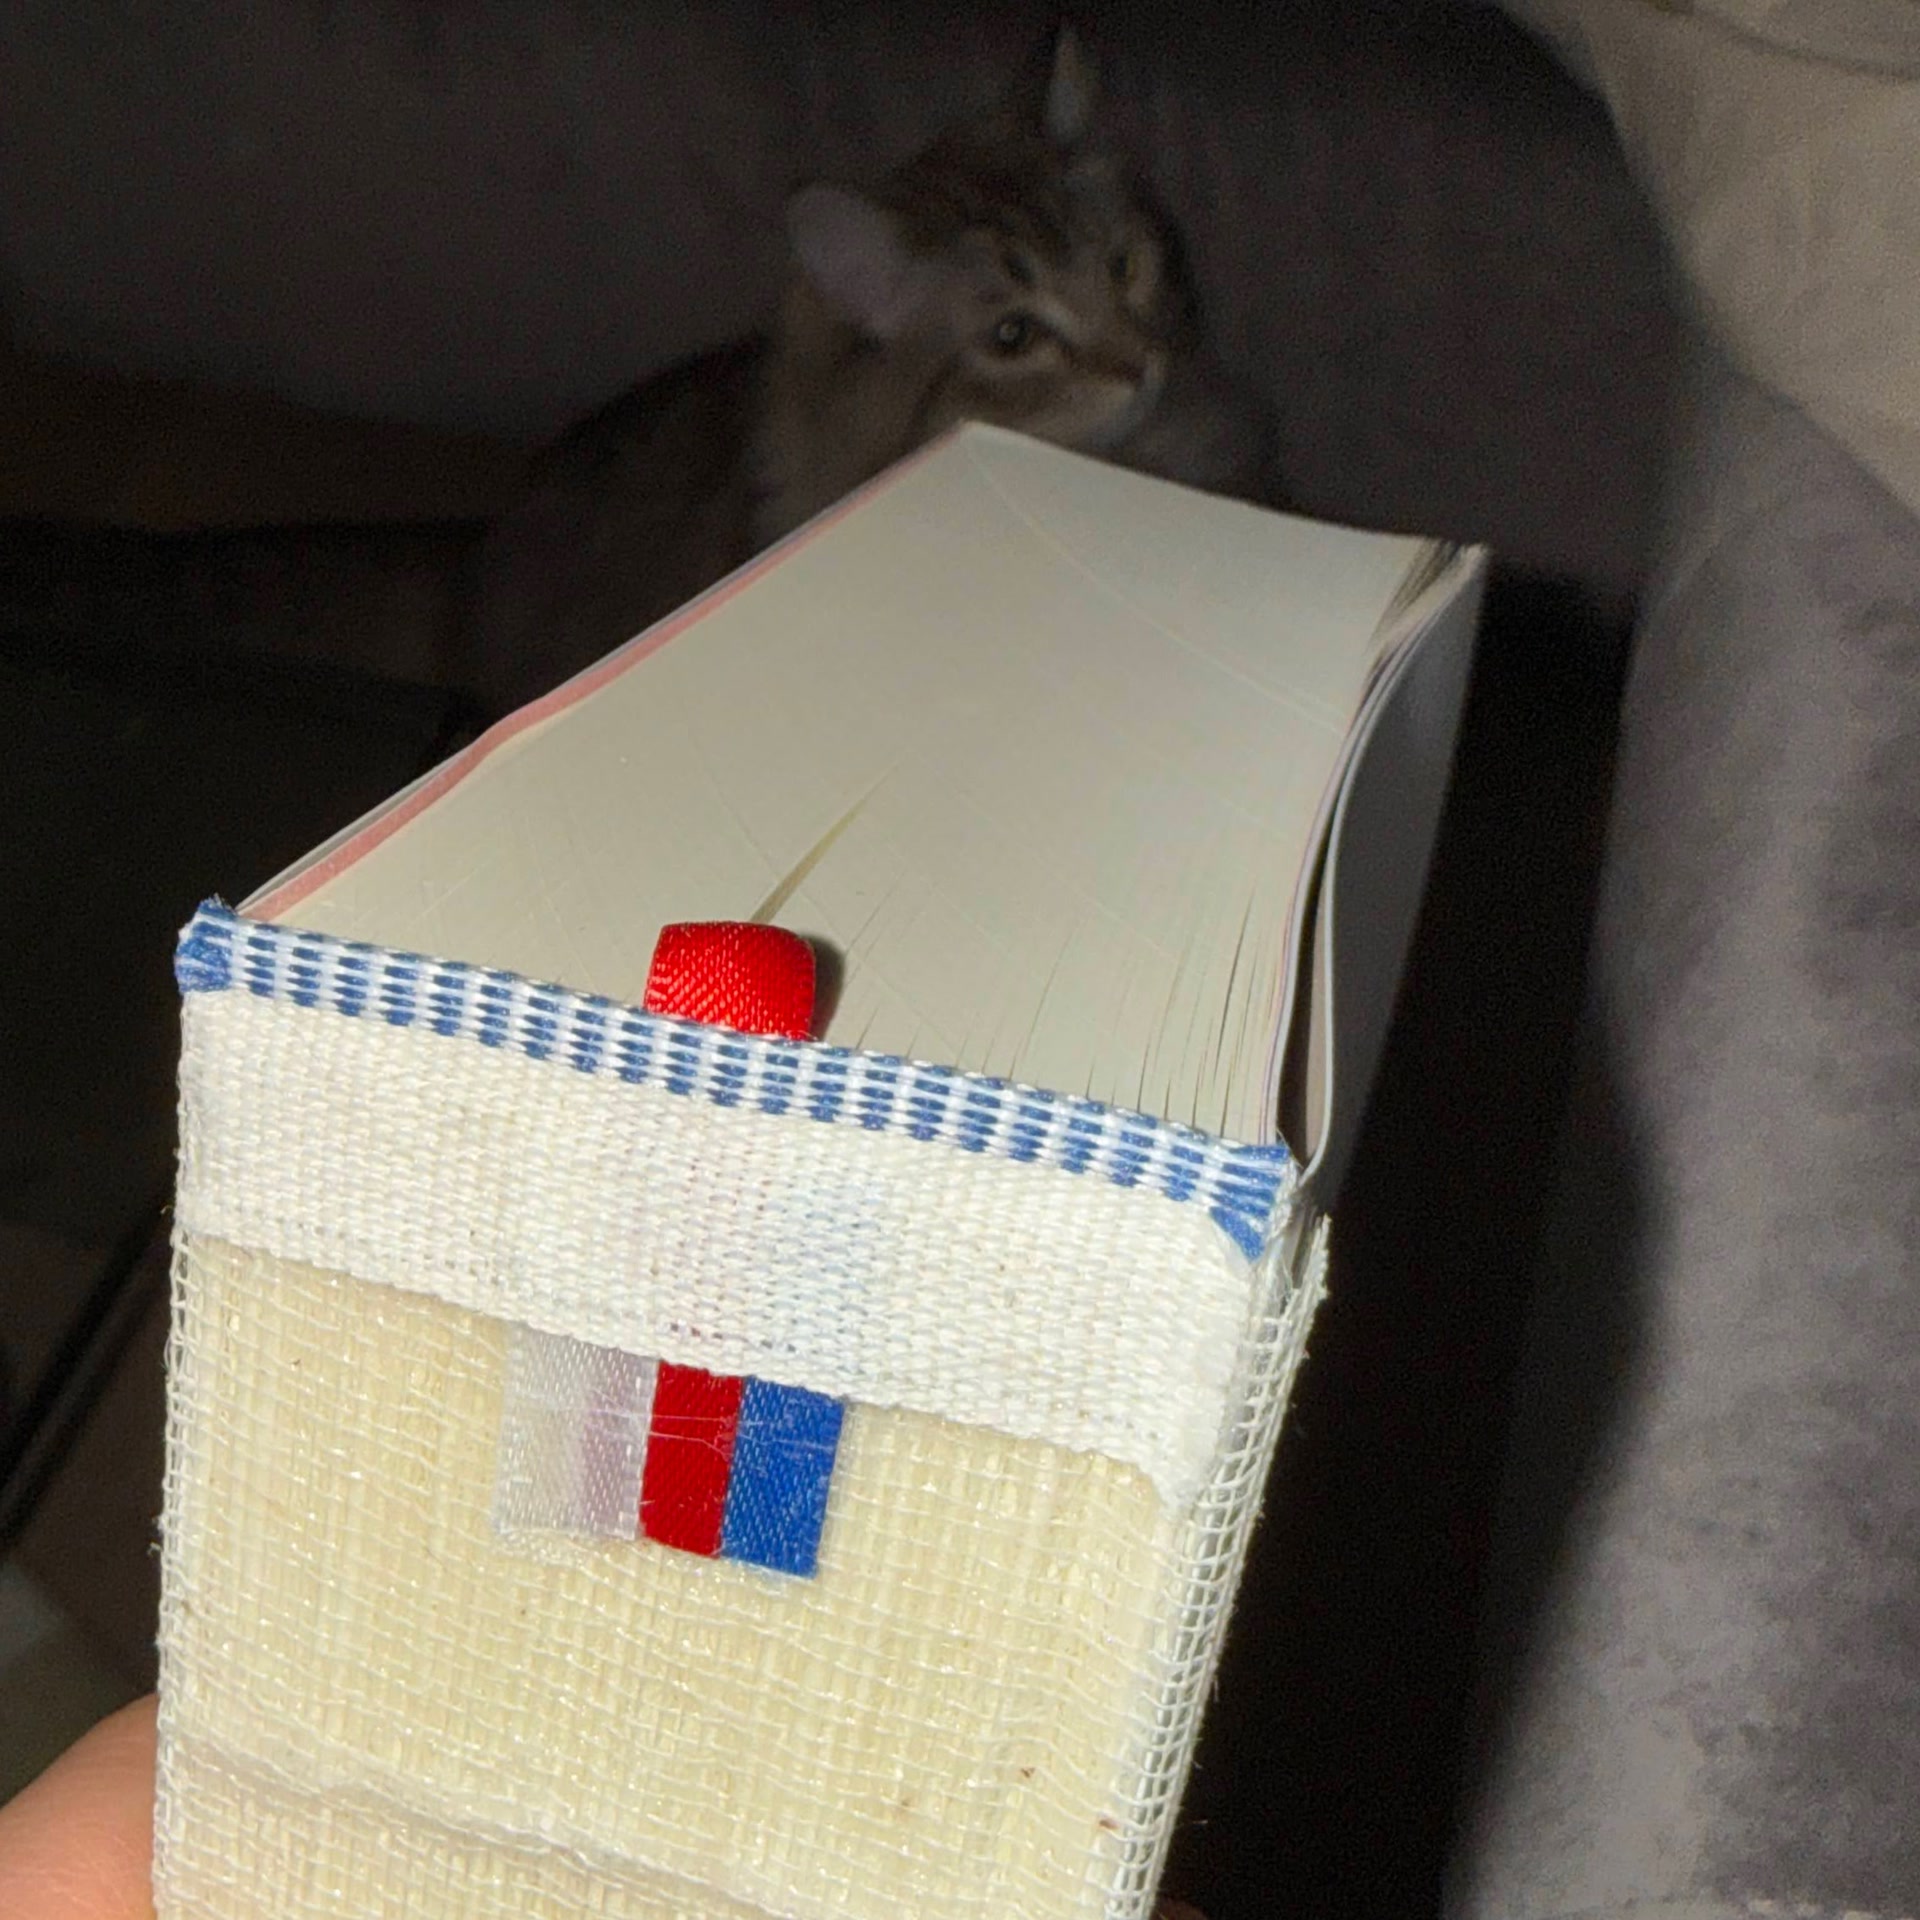
During sewing, I tied the signatures together much too firmly, overcorrecting after the AN-2 text block had felt a bit loose. The signatures could no longer move naturally, so I undid about half of the book and sewed that part again with less tension. I also started using waxed thread here. I chose a thread color similar to the paper to keep the sewing subtle.
After sewing, I trimmed the text block using the huge guillotine cutter that I was able to use through my membership at the Center for Book Arts. Only then did I notice that it would have been better to glue up the spine first. The glue stabilizes the signatures relative to each other and makes a clean trim easier. So I glued the spine and trimmed the edges a second time, which worked better but also made the margins smaller than planned.
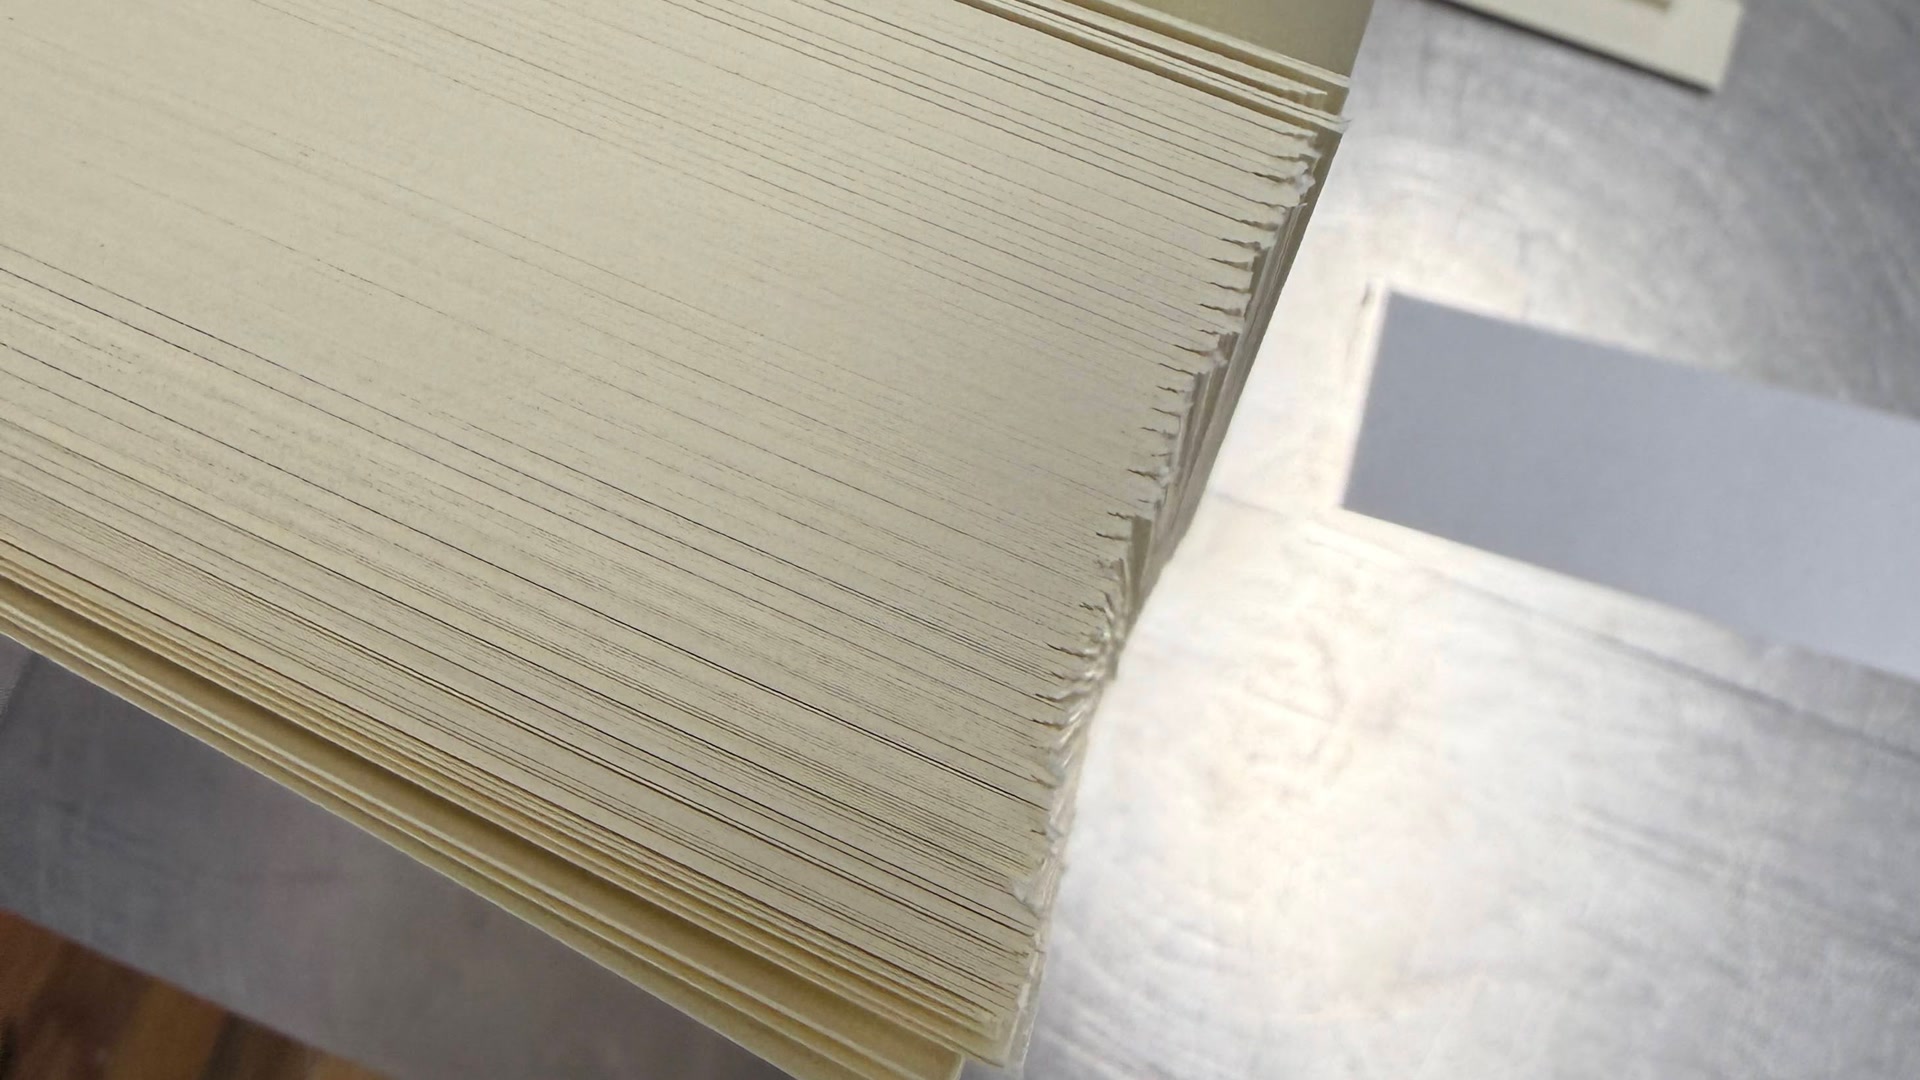
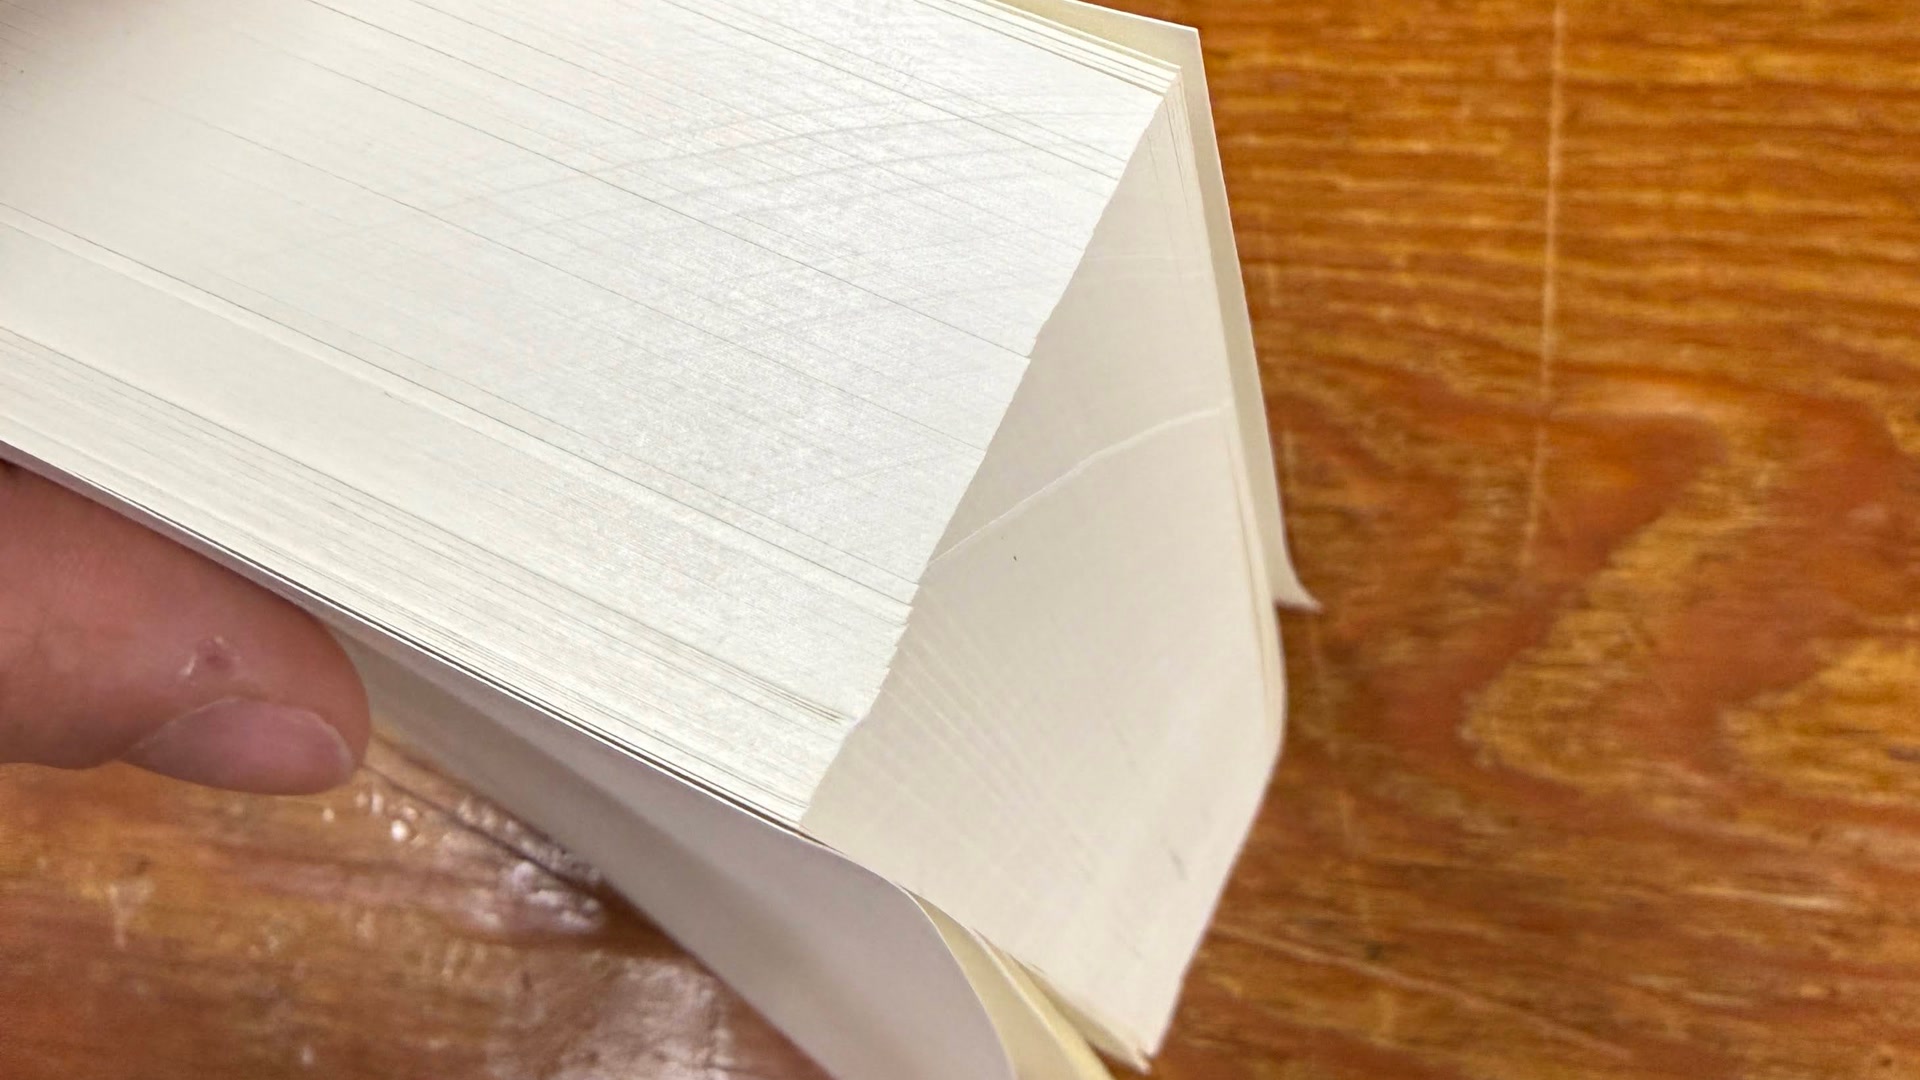
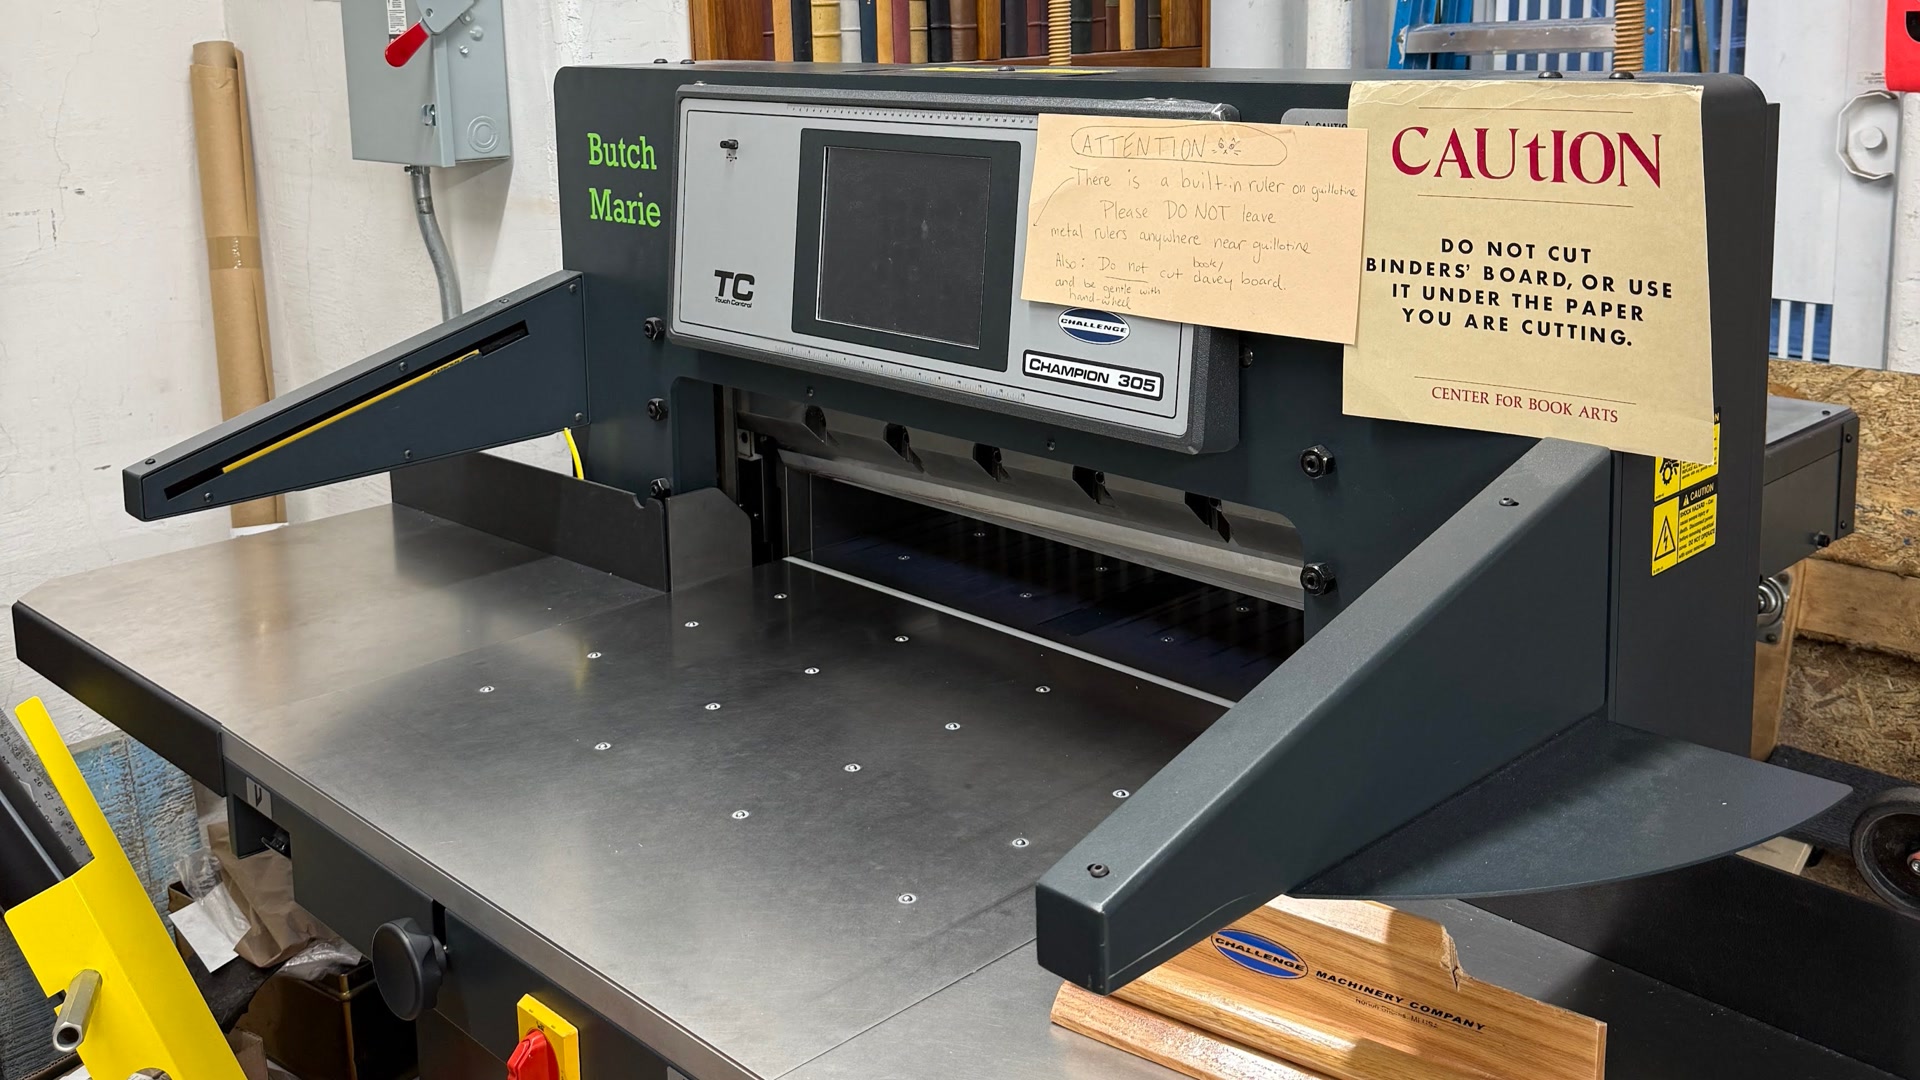
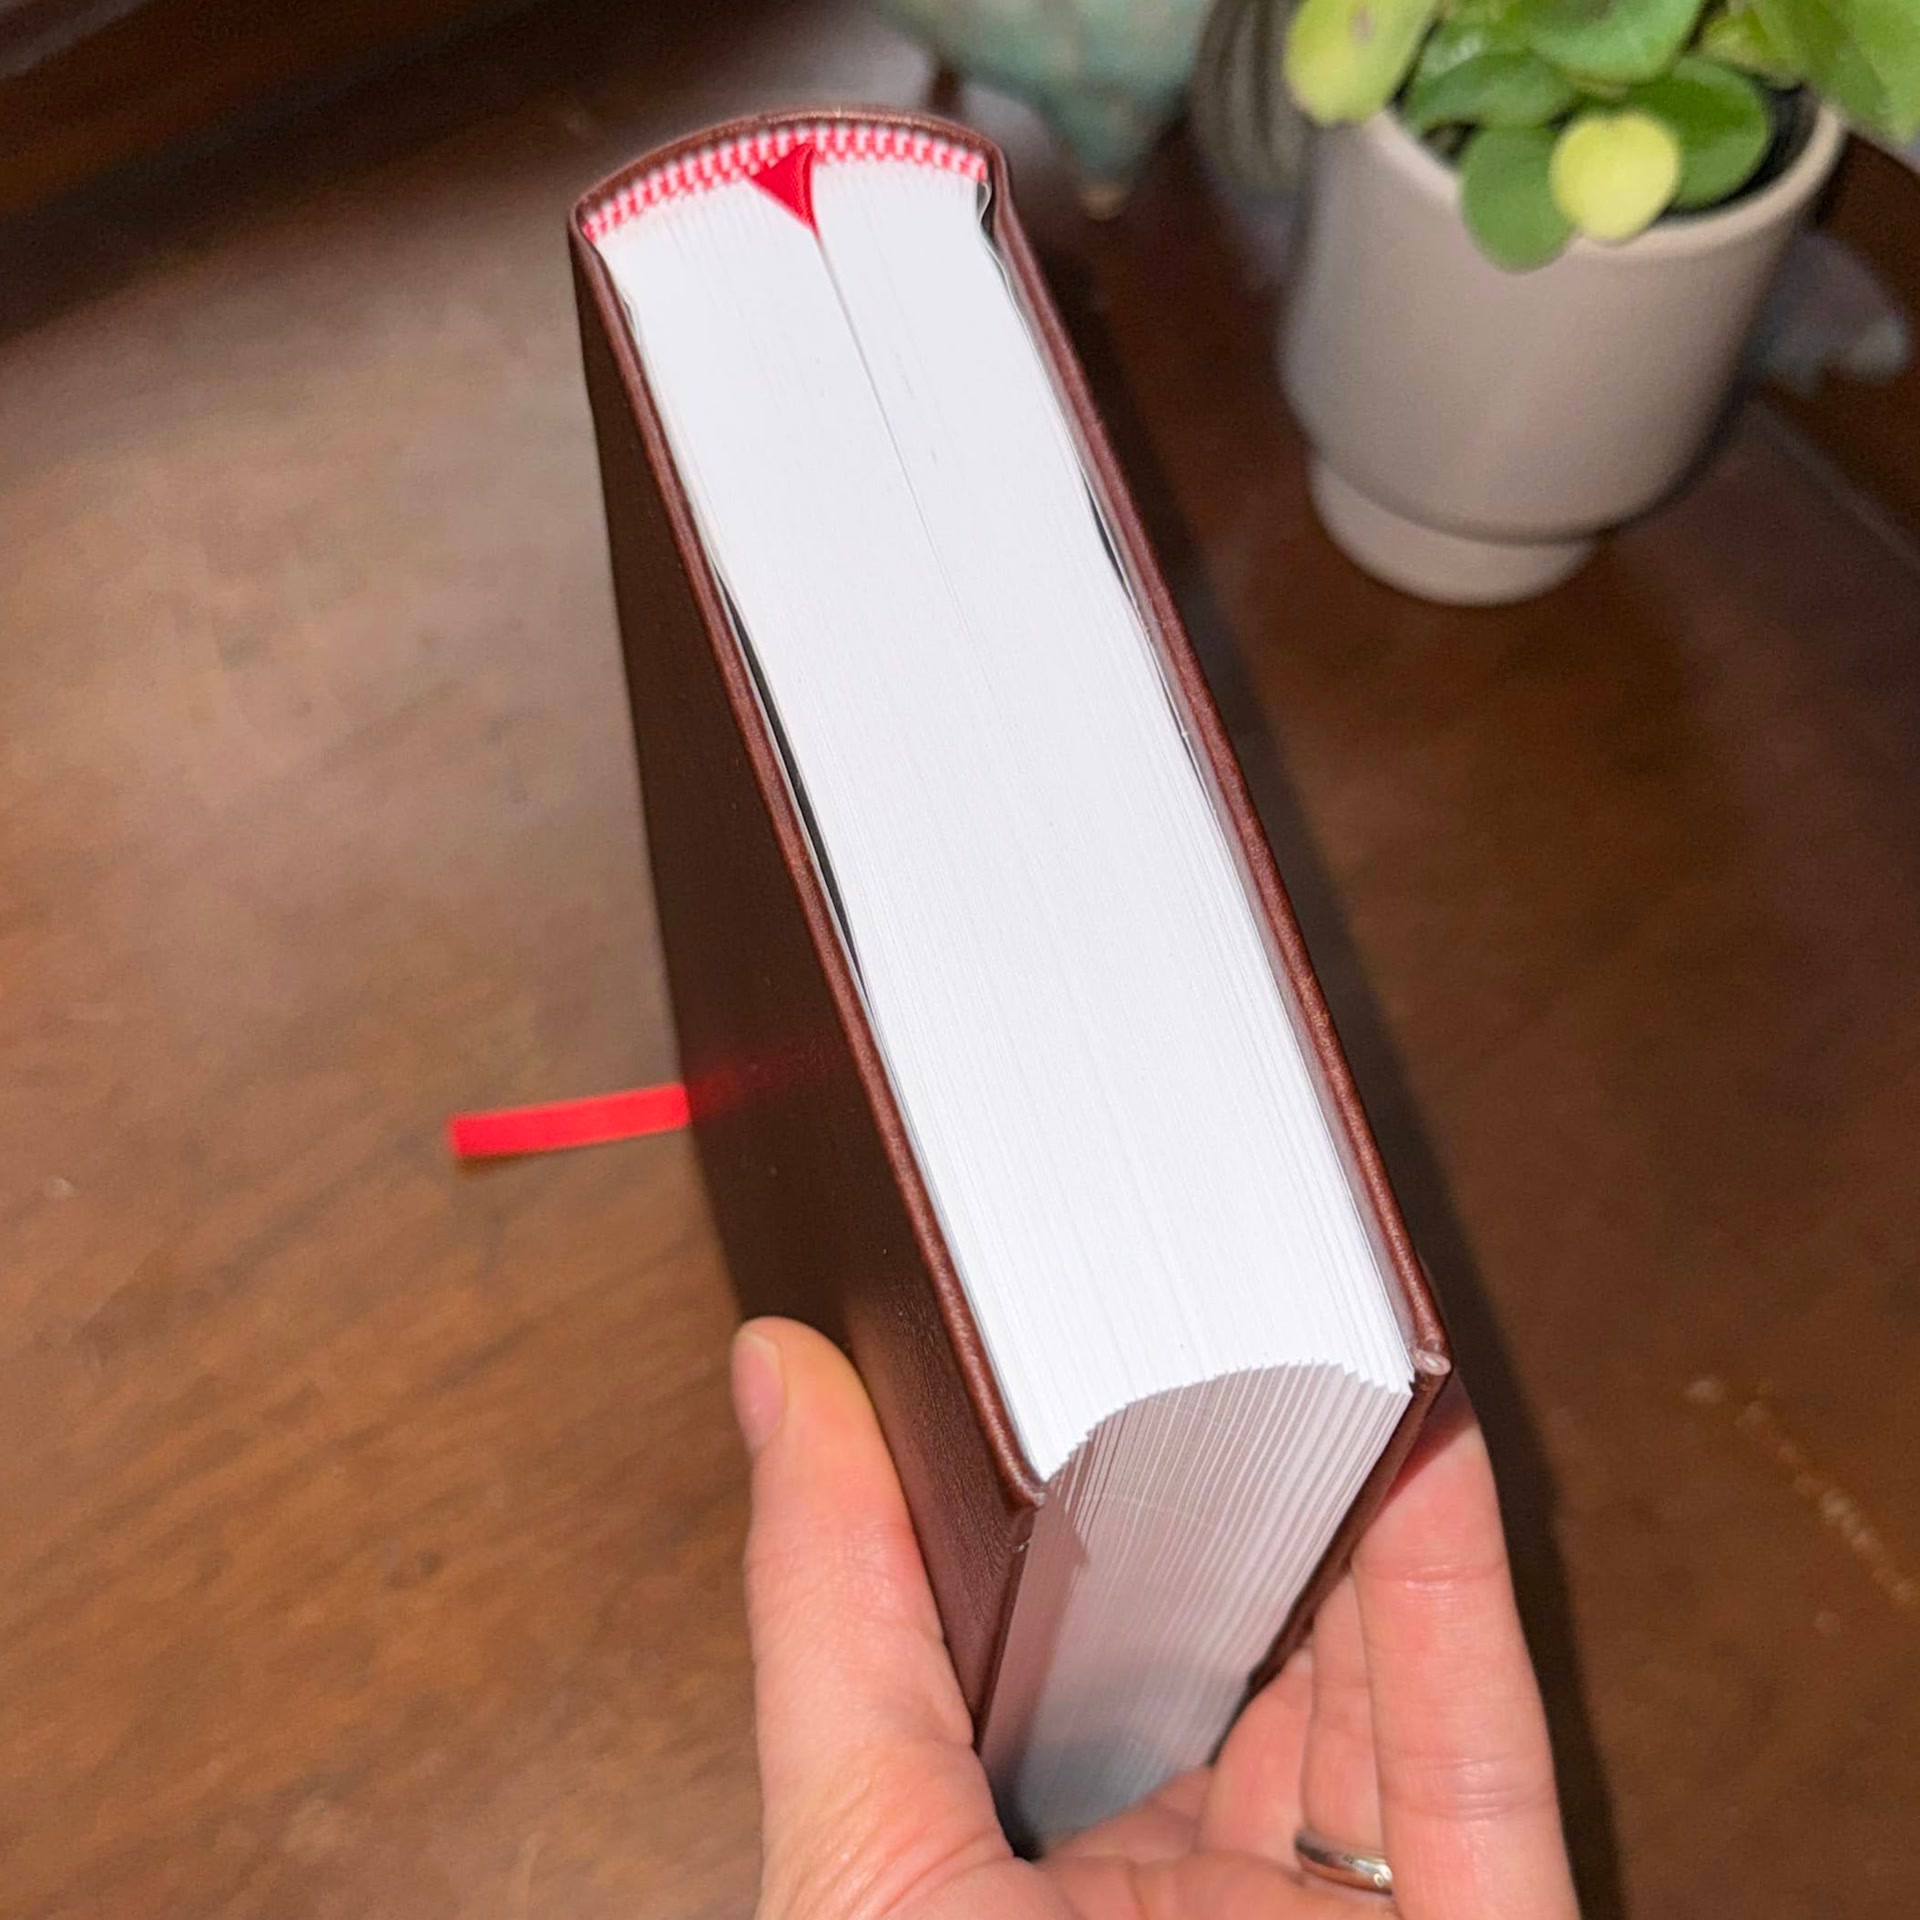
I ended up making two versions of the radio transcript in parallel: one with a rounded spine and one with a flat back. I found working on n > 1 copies in parallel very helpful for experimentation.
Rounding the text block’s spine added another collection of parameters to pay attention to. The big lessons were twofold: leave enough slack in the thread for the signatures to move, and account for the swell – the extra thickness at the spine created by the folds and sewing thread. A certain amount of sewing swell is useful when rounding a text block, which I had not known when choosing the thread.
Choosing when to trim the text block was also tricky. As alluded to earlier, trimming after gluing is better because the pages do not move relative to each other. With a rounded text block, however, trimming after rounding would leave the fore edge flat. I wanted the concave fore edge that naturally results when a previously flat text block is rounded. My solution was to glue up the spine while the text block was flat, wait about 30 minutes, and trim it in the guillotine. Then, with the glue still somewhat wet, I rounded the text block with a hammer and let the glue dry in that shape. There may be more elegant ways of doing this, but it worked well for me.
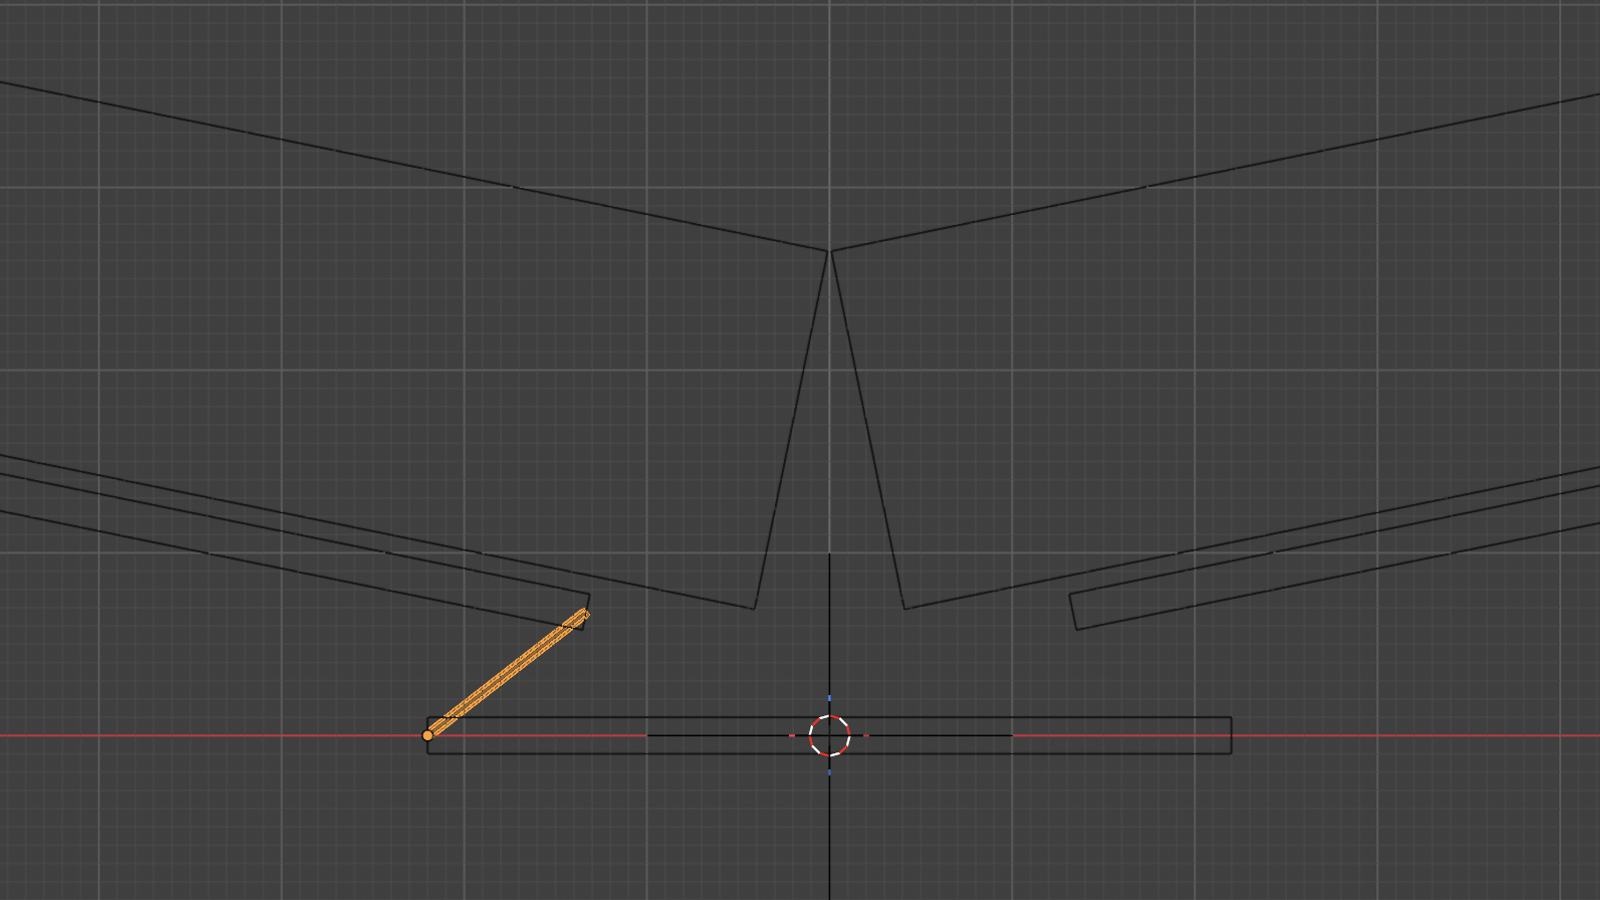
I guessed the joint gaps incorrectly again and realized that the book would not open if I used the first case. This time, I had enough and wanted to understand from first principles how the spacing should be chosen. After fiddling around with Blender’s armature system, I made a model of the case, text block, and moving boards. For this particular flat-backed book, the model suggested a joint gap of approximately one quarter of the text block’s thickness.
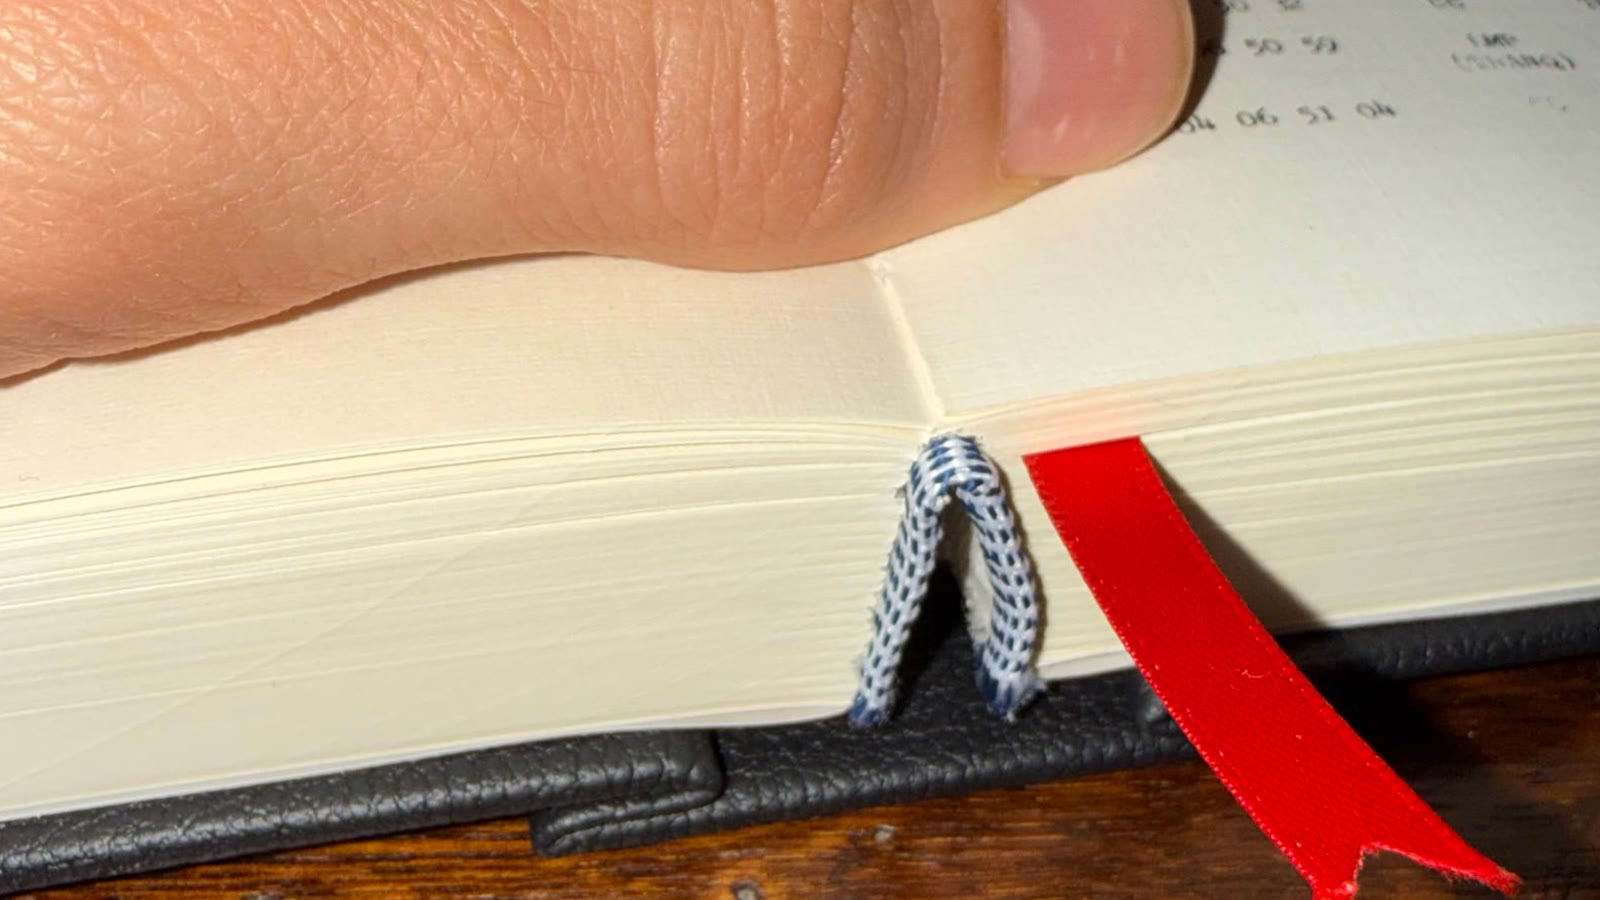
Putting the model to use, I made another case and cased in the text block. The book opened swimmingly. I am happy with how both books turned out and spent some time reading the mission transcript. It really puts you back in time to read how the astronauts discuss the operation of their lander and the surface of the Moon. Amazing!
Recasing a Paperback: A Childhood Memory
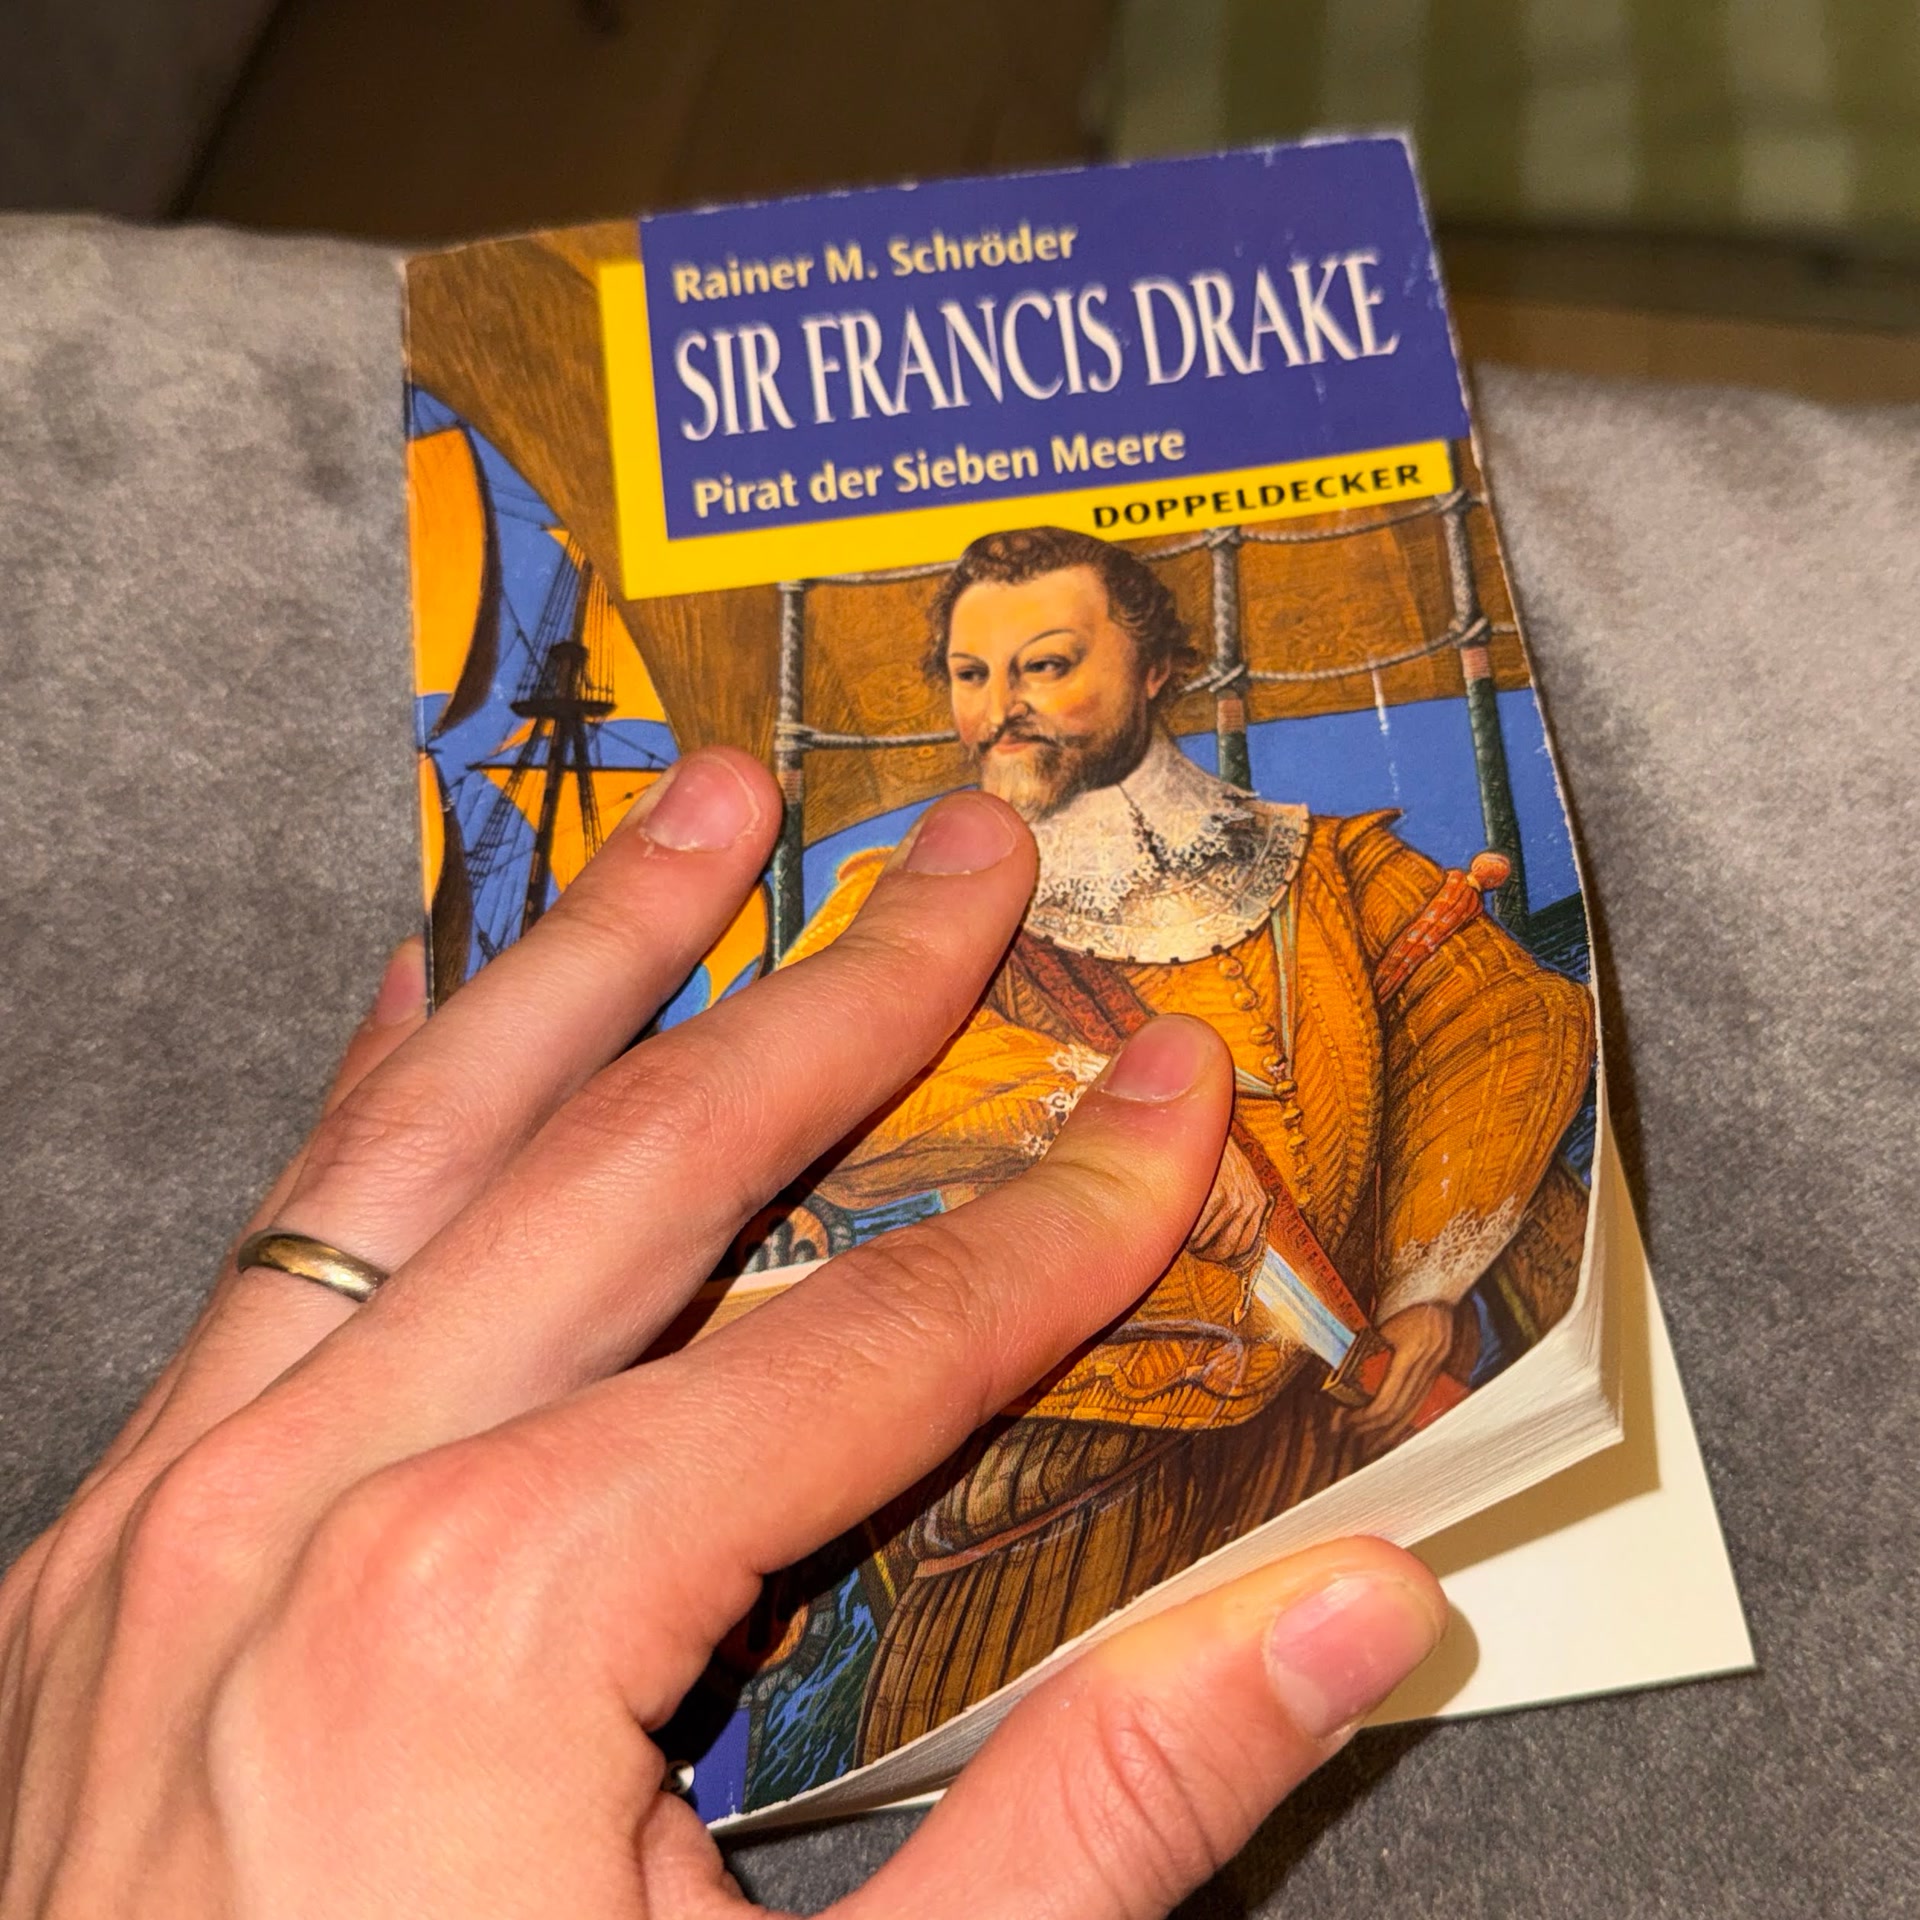
The next project started with a used paperback that I bought for $7: a German book about the pirate Sir Francis Drake that I had read as a kid. Some memories are tied to it, so I was excited to work on this book.
I removed its original paperback cover and was left with the intact text block. This skipped the printing, folding, sewing, and gluing stages and let me concentrate on fitting a case.
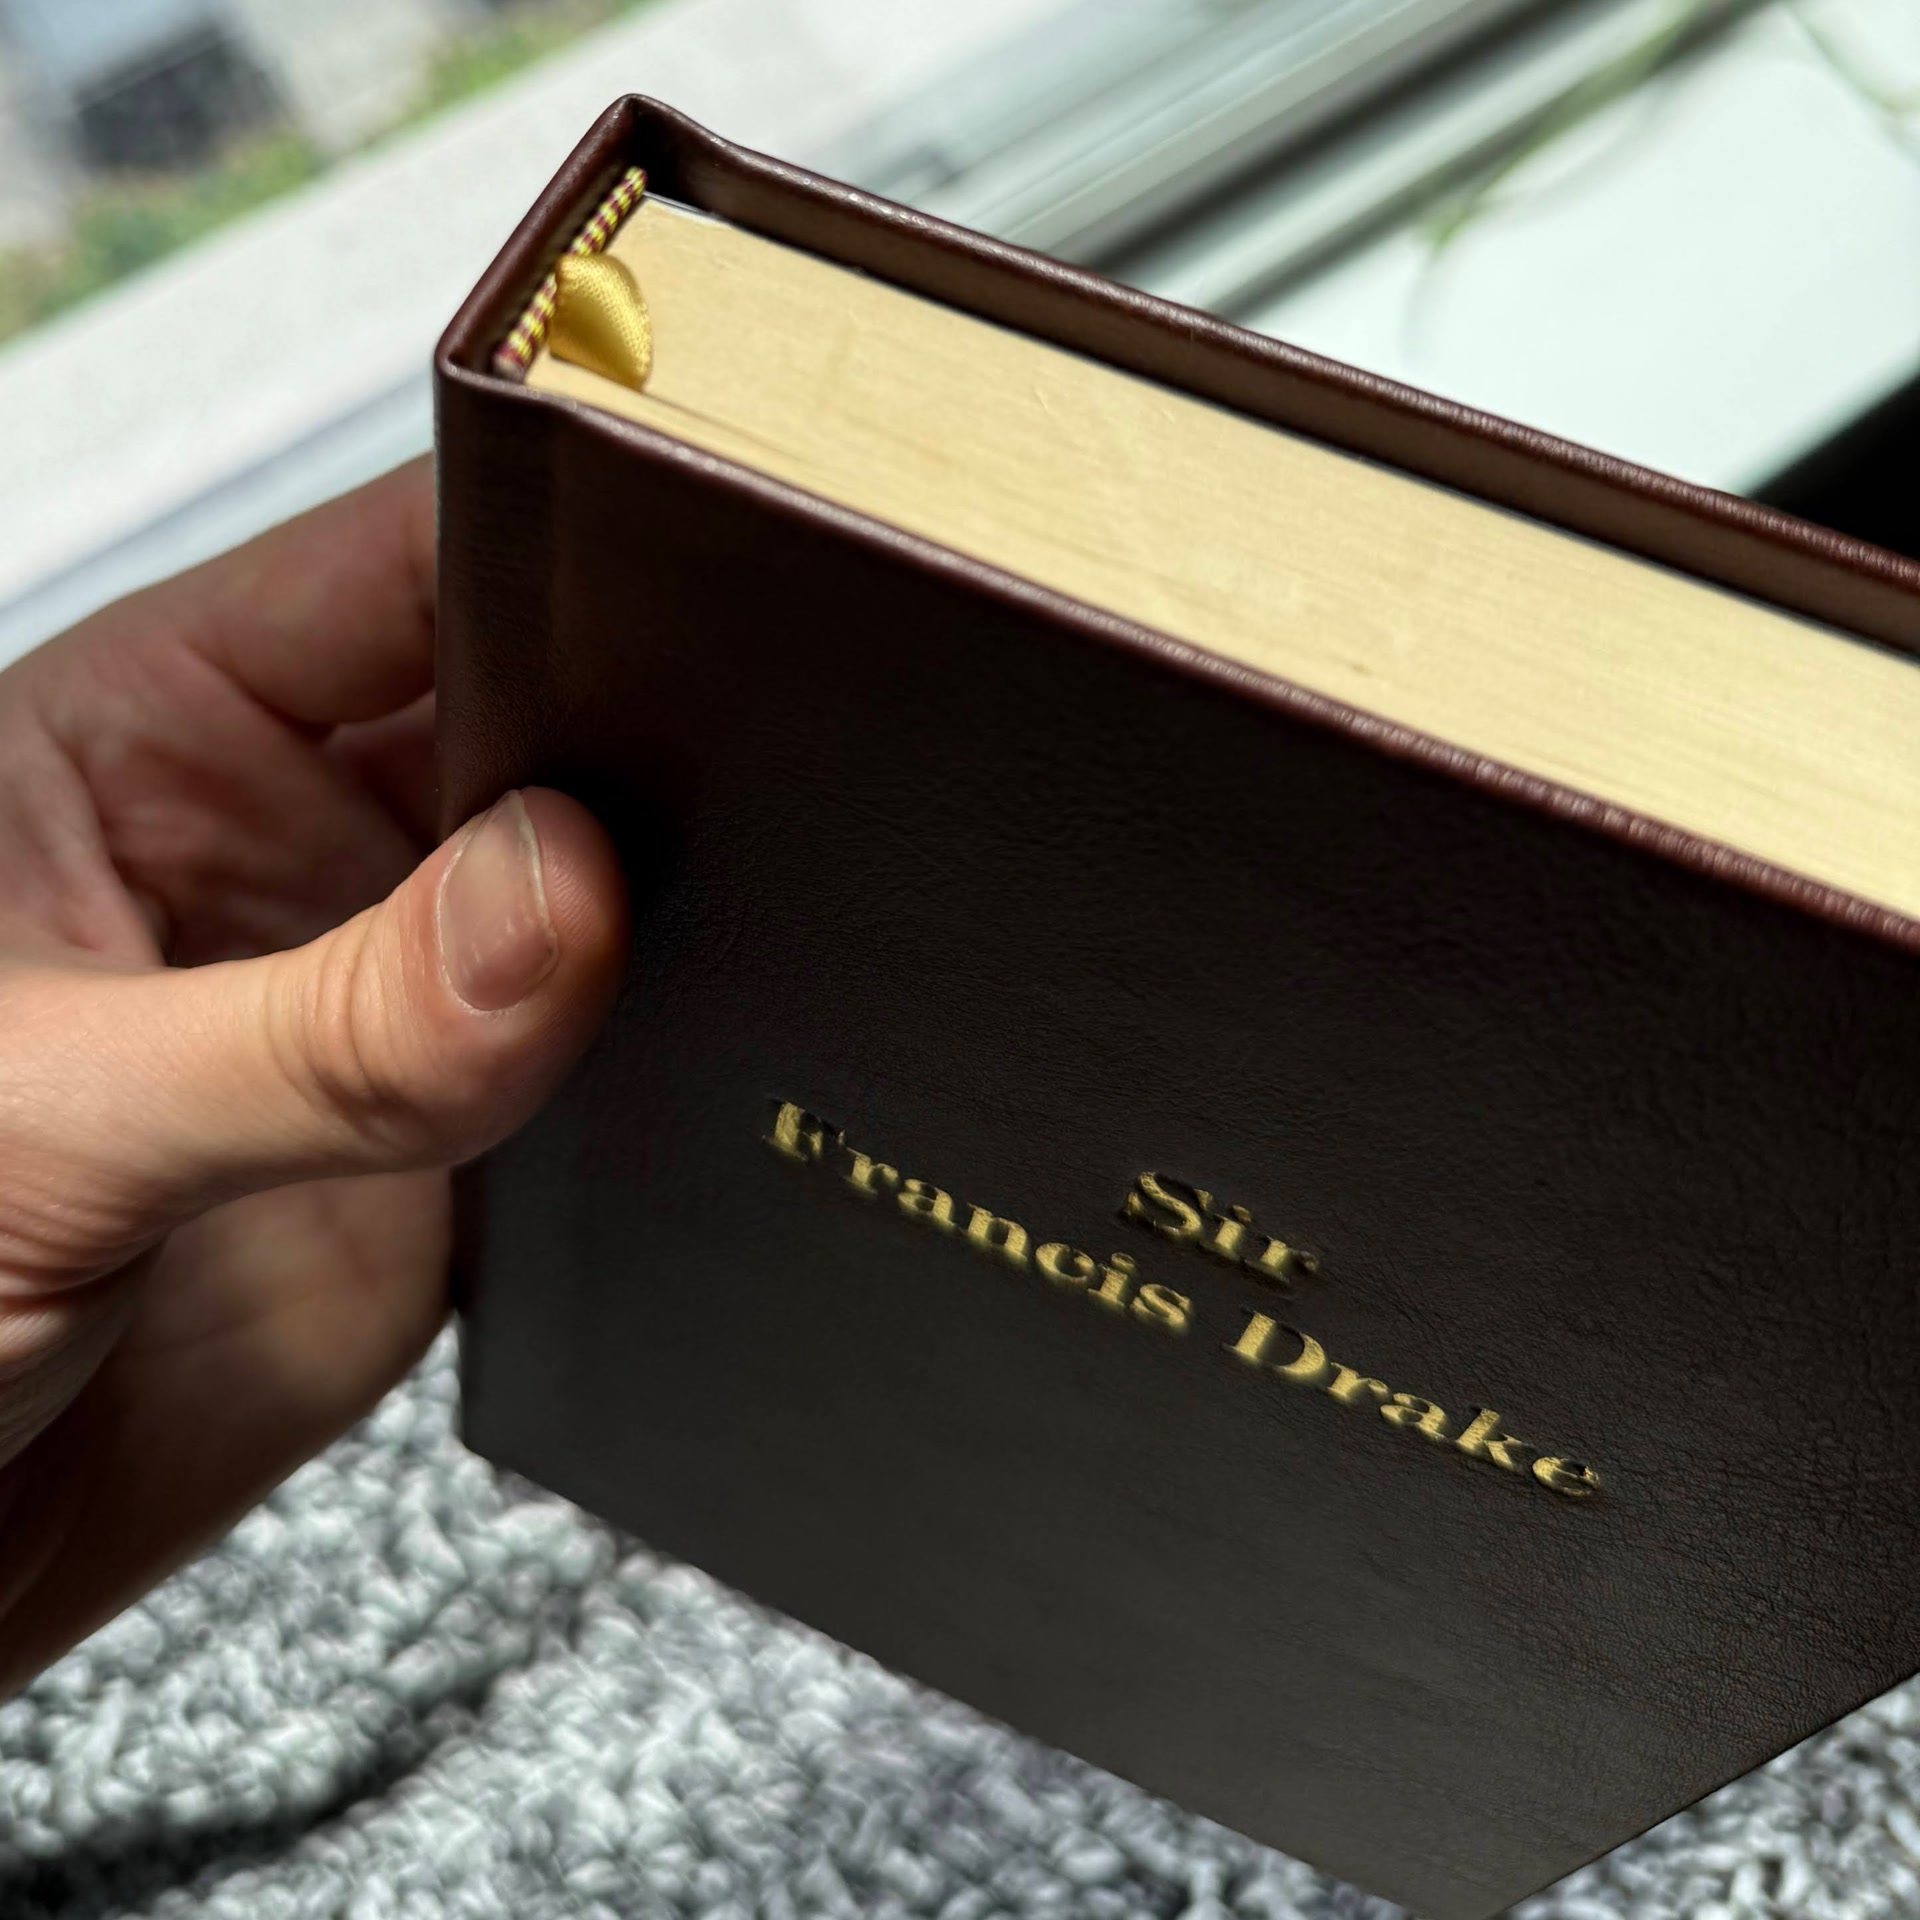
I chose a more piratey look with brown imitation leather, a gold ribbon marker, and a matching endband. I tipped the endpapers onto the text block with just a narrow line of adhesive. The title is hot-stamped onto the front cover in gold foil. I am quite happy with the result and will read this book to my son once he is old enough, to teach him some German.
Two Coptic Bindings: English Words I Looked Up
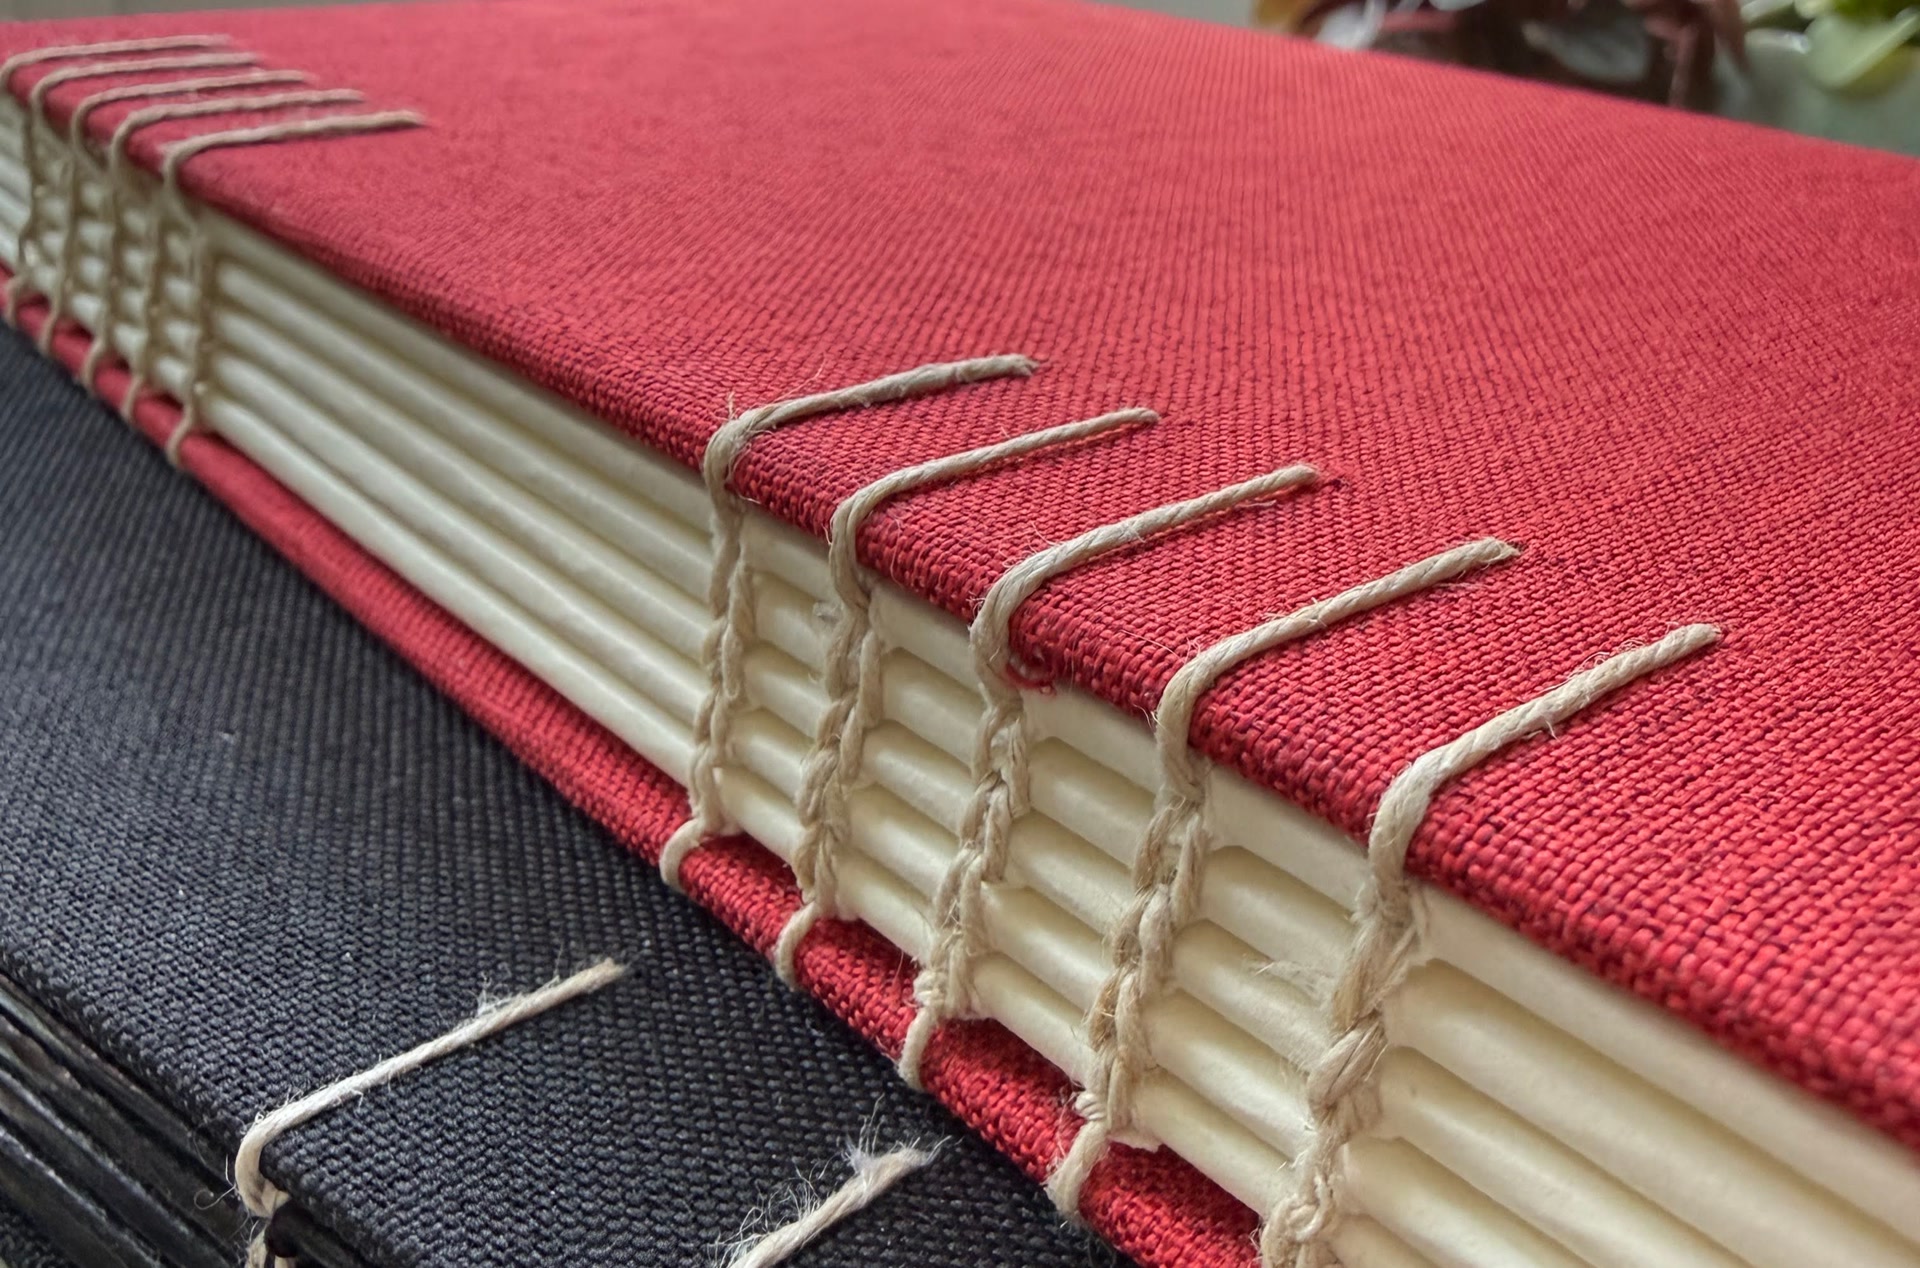
After several books in which the sewing was hidden inside a case, I tried two Coptic bindings. Here the sewing is exposed and connects the signatures directly to the cover boards. For that reason, the thread and sewing technique require more care.
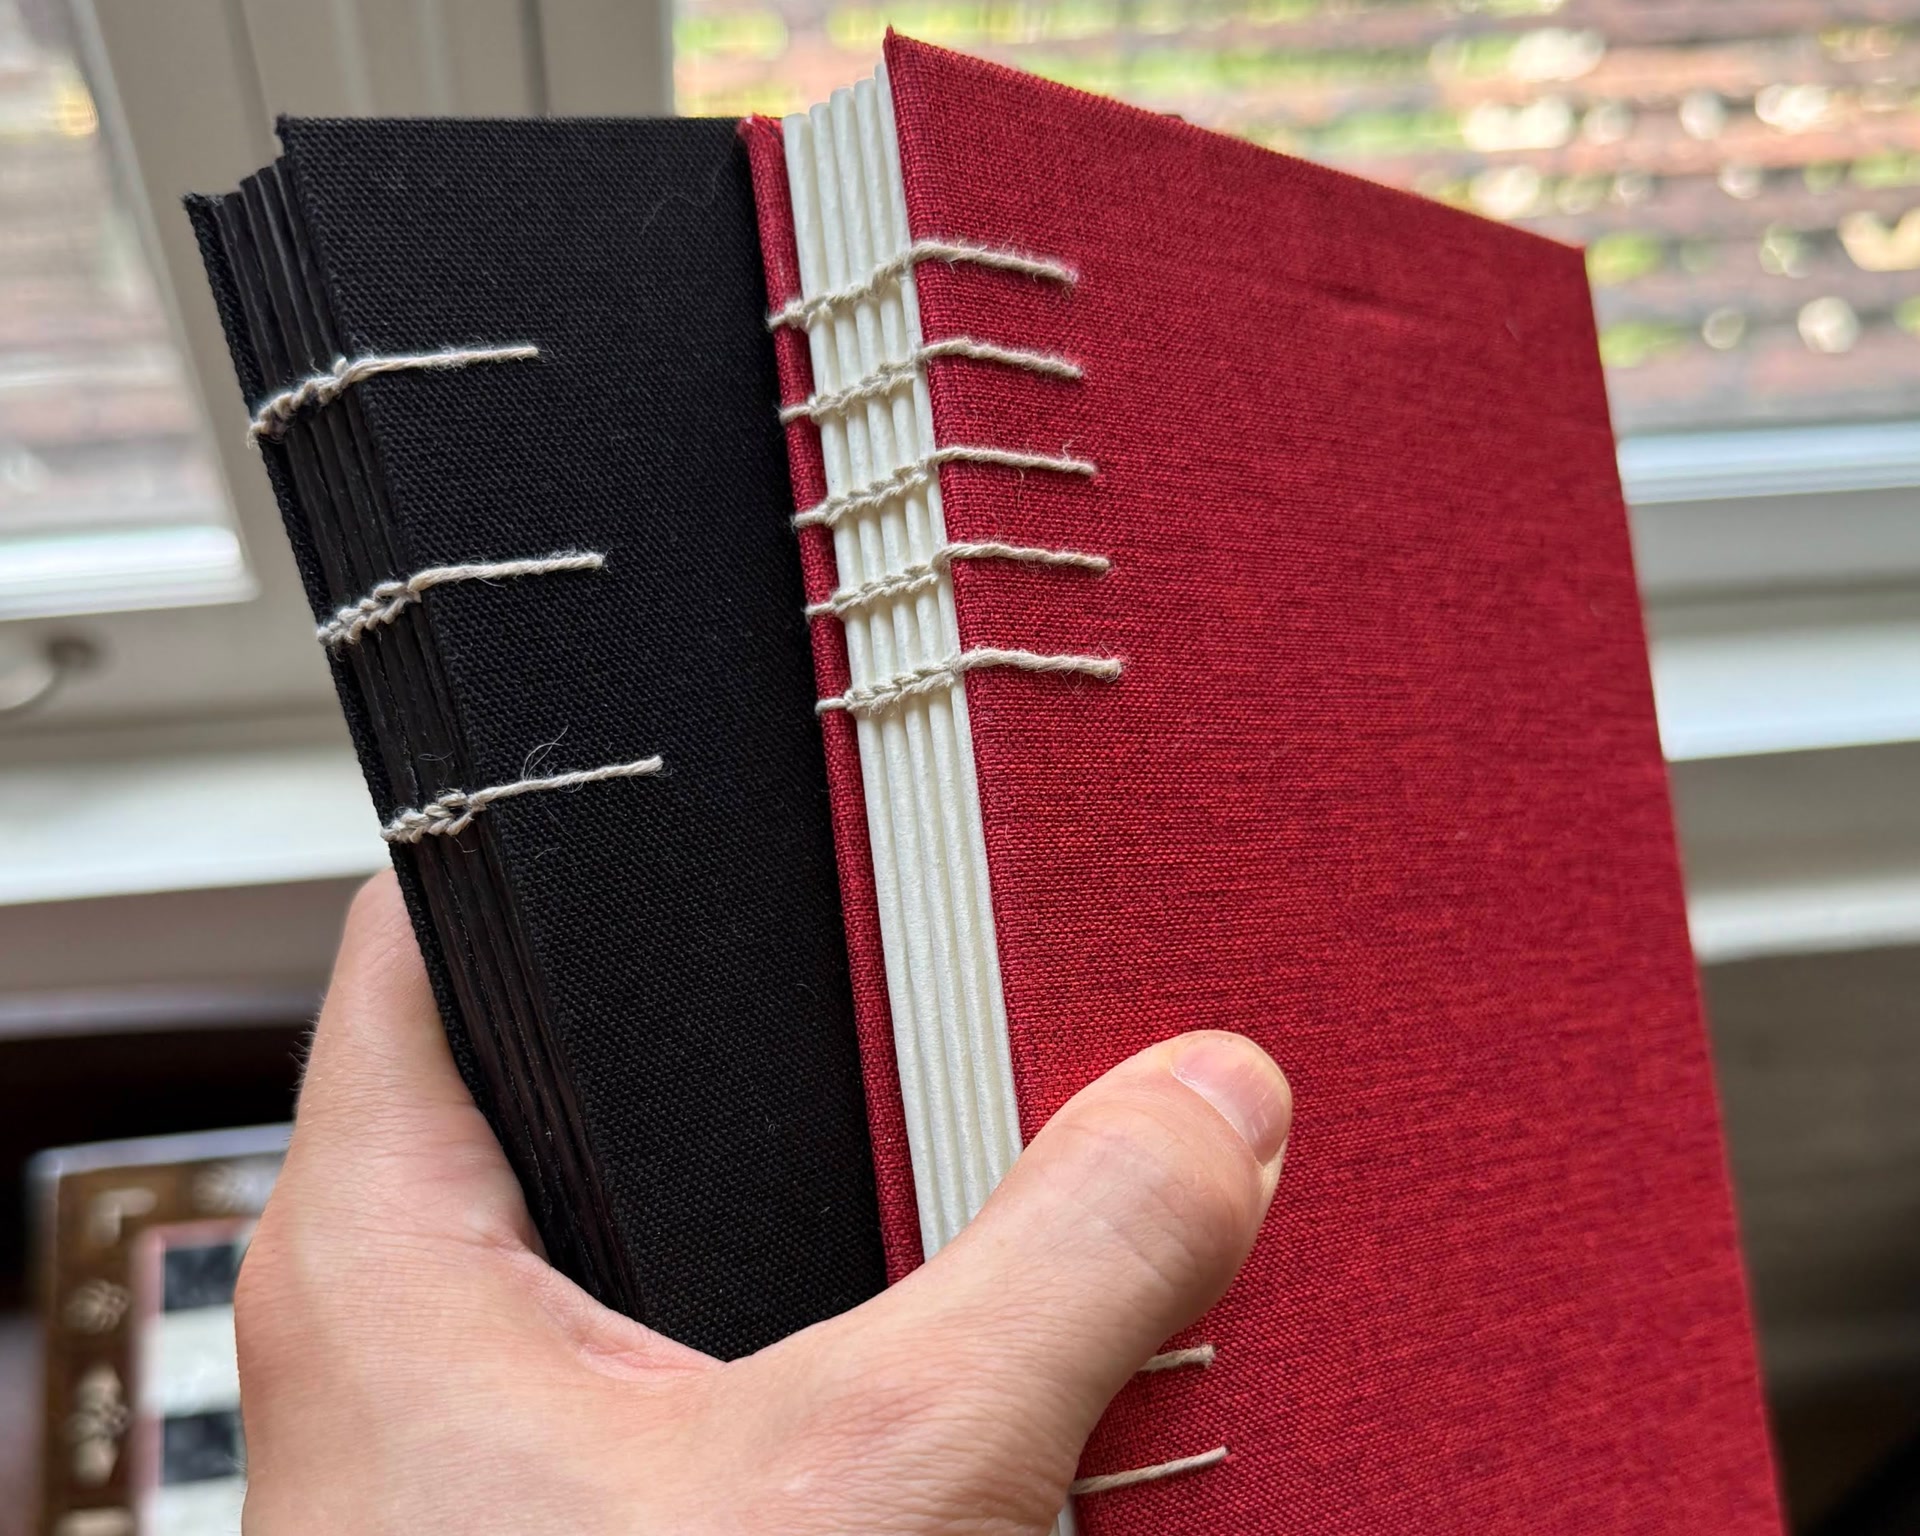
Again, I made two books in parallel and varied some parameters. Most notably, the black book is in dark mode, with all pages black and the text printed in a light color. I find that kind of original and cool-looking.
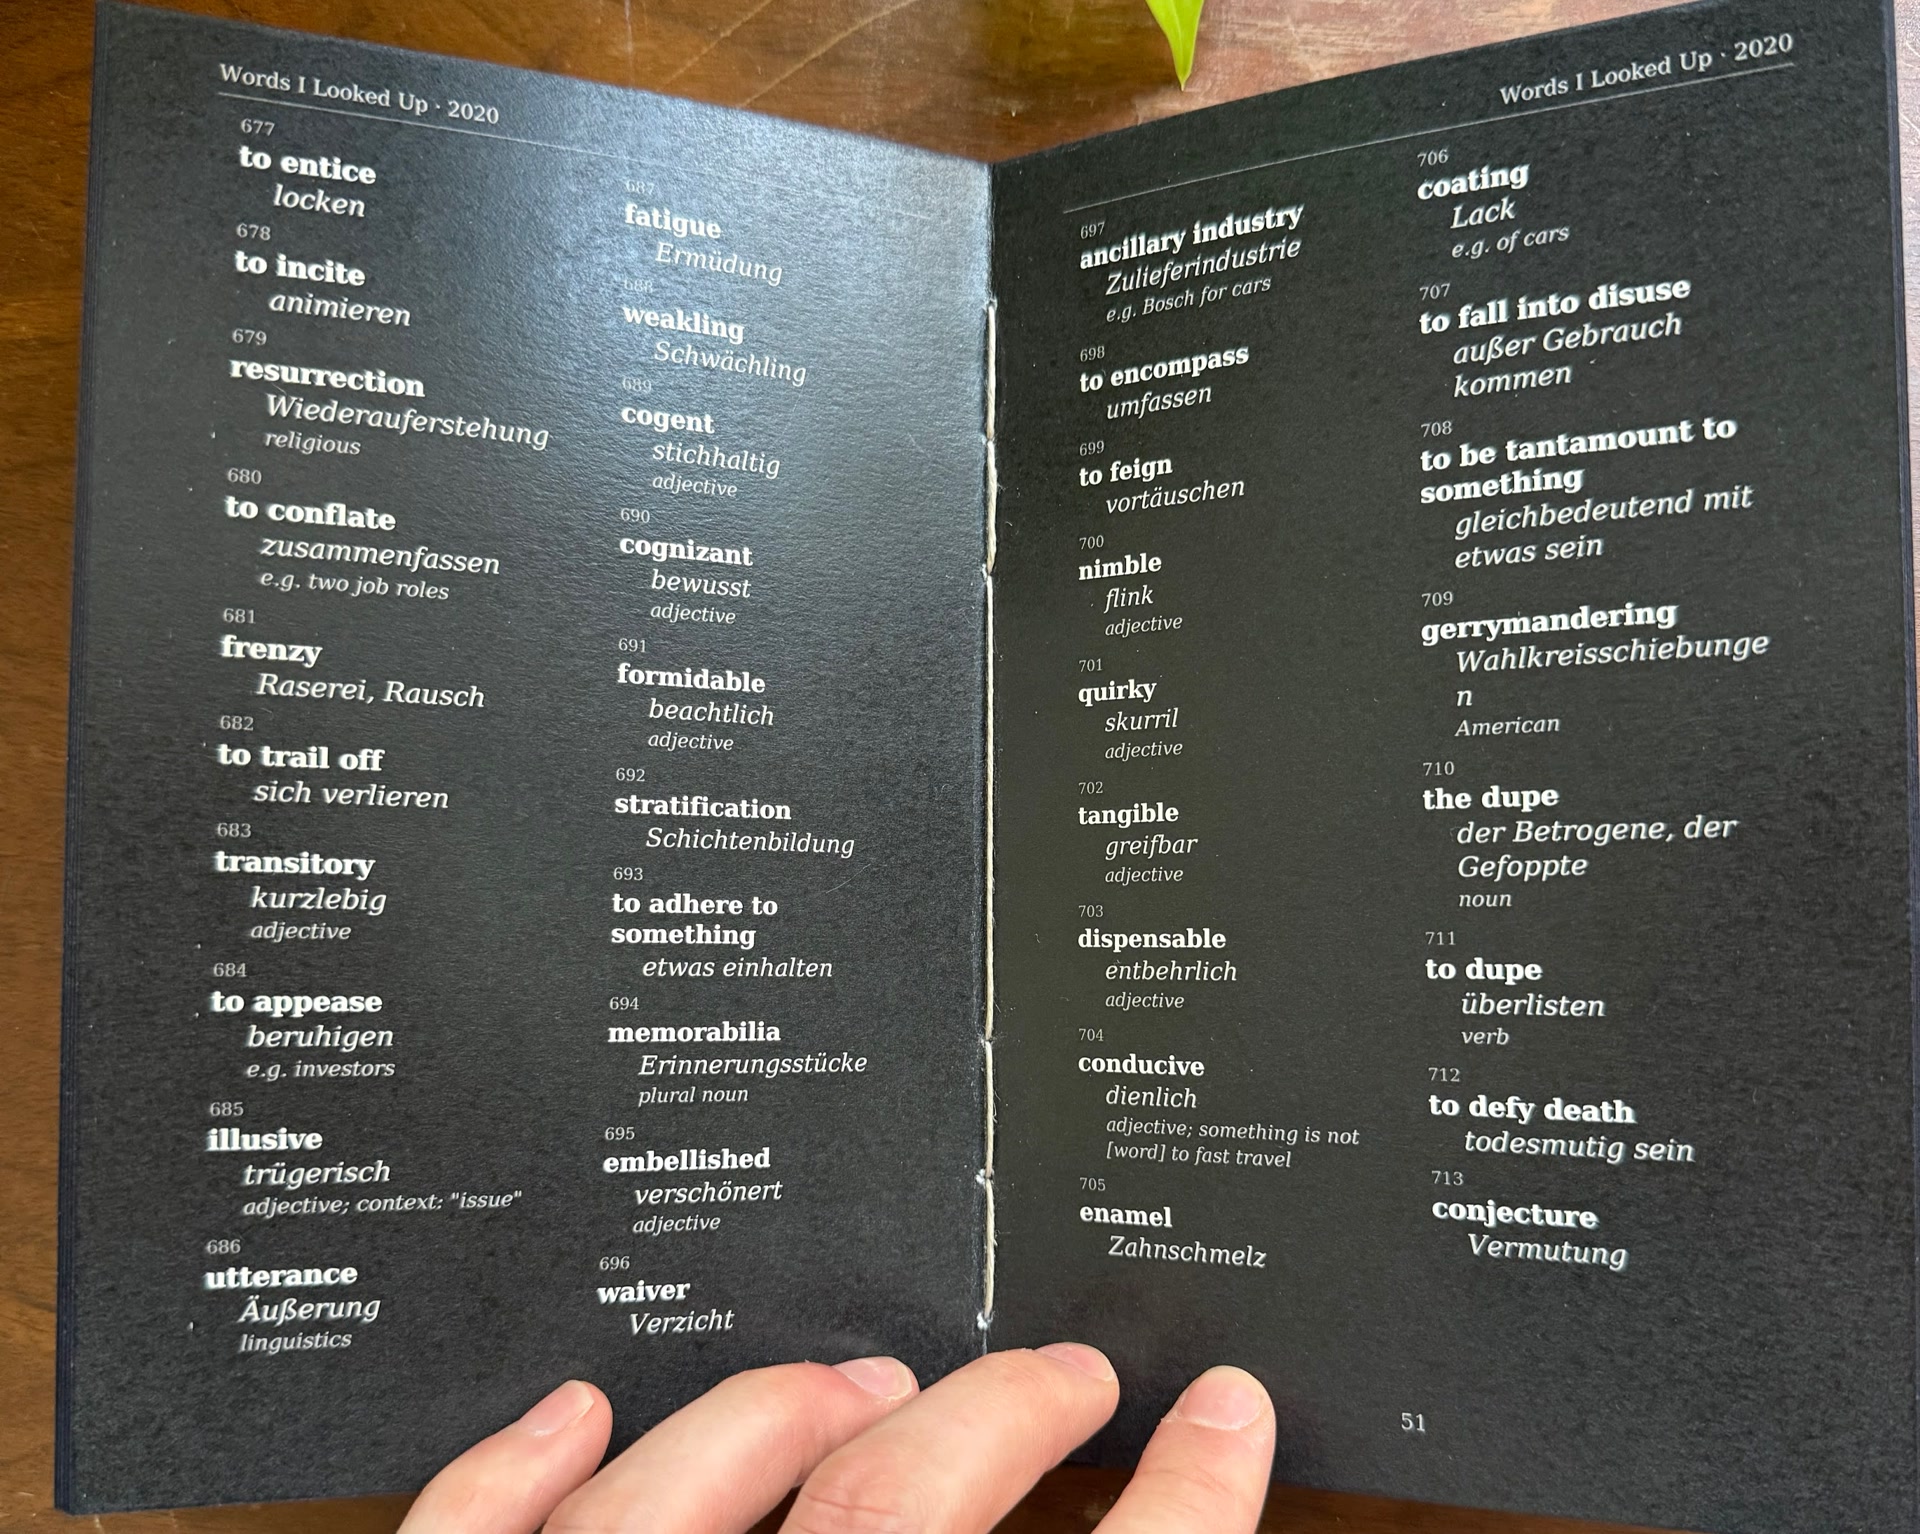
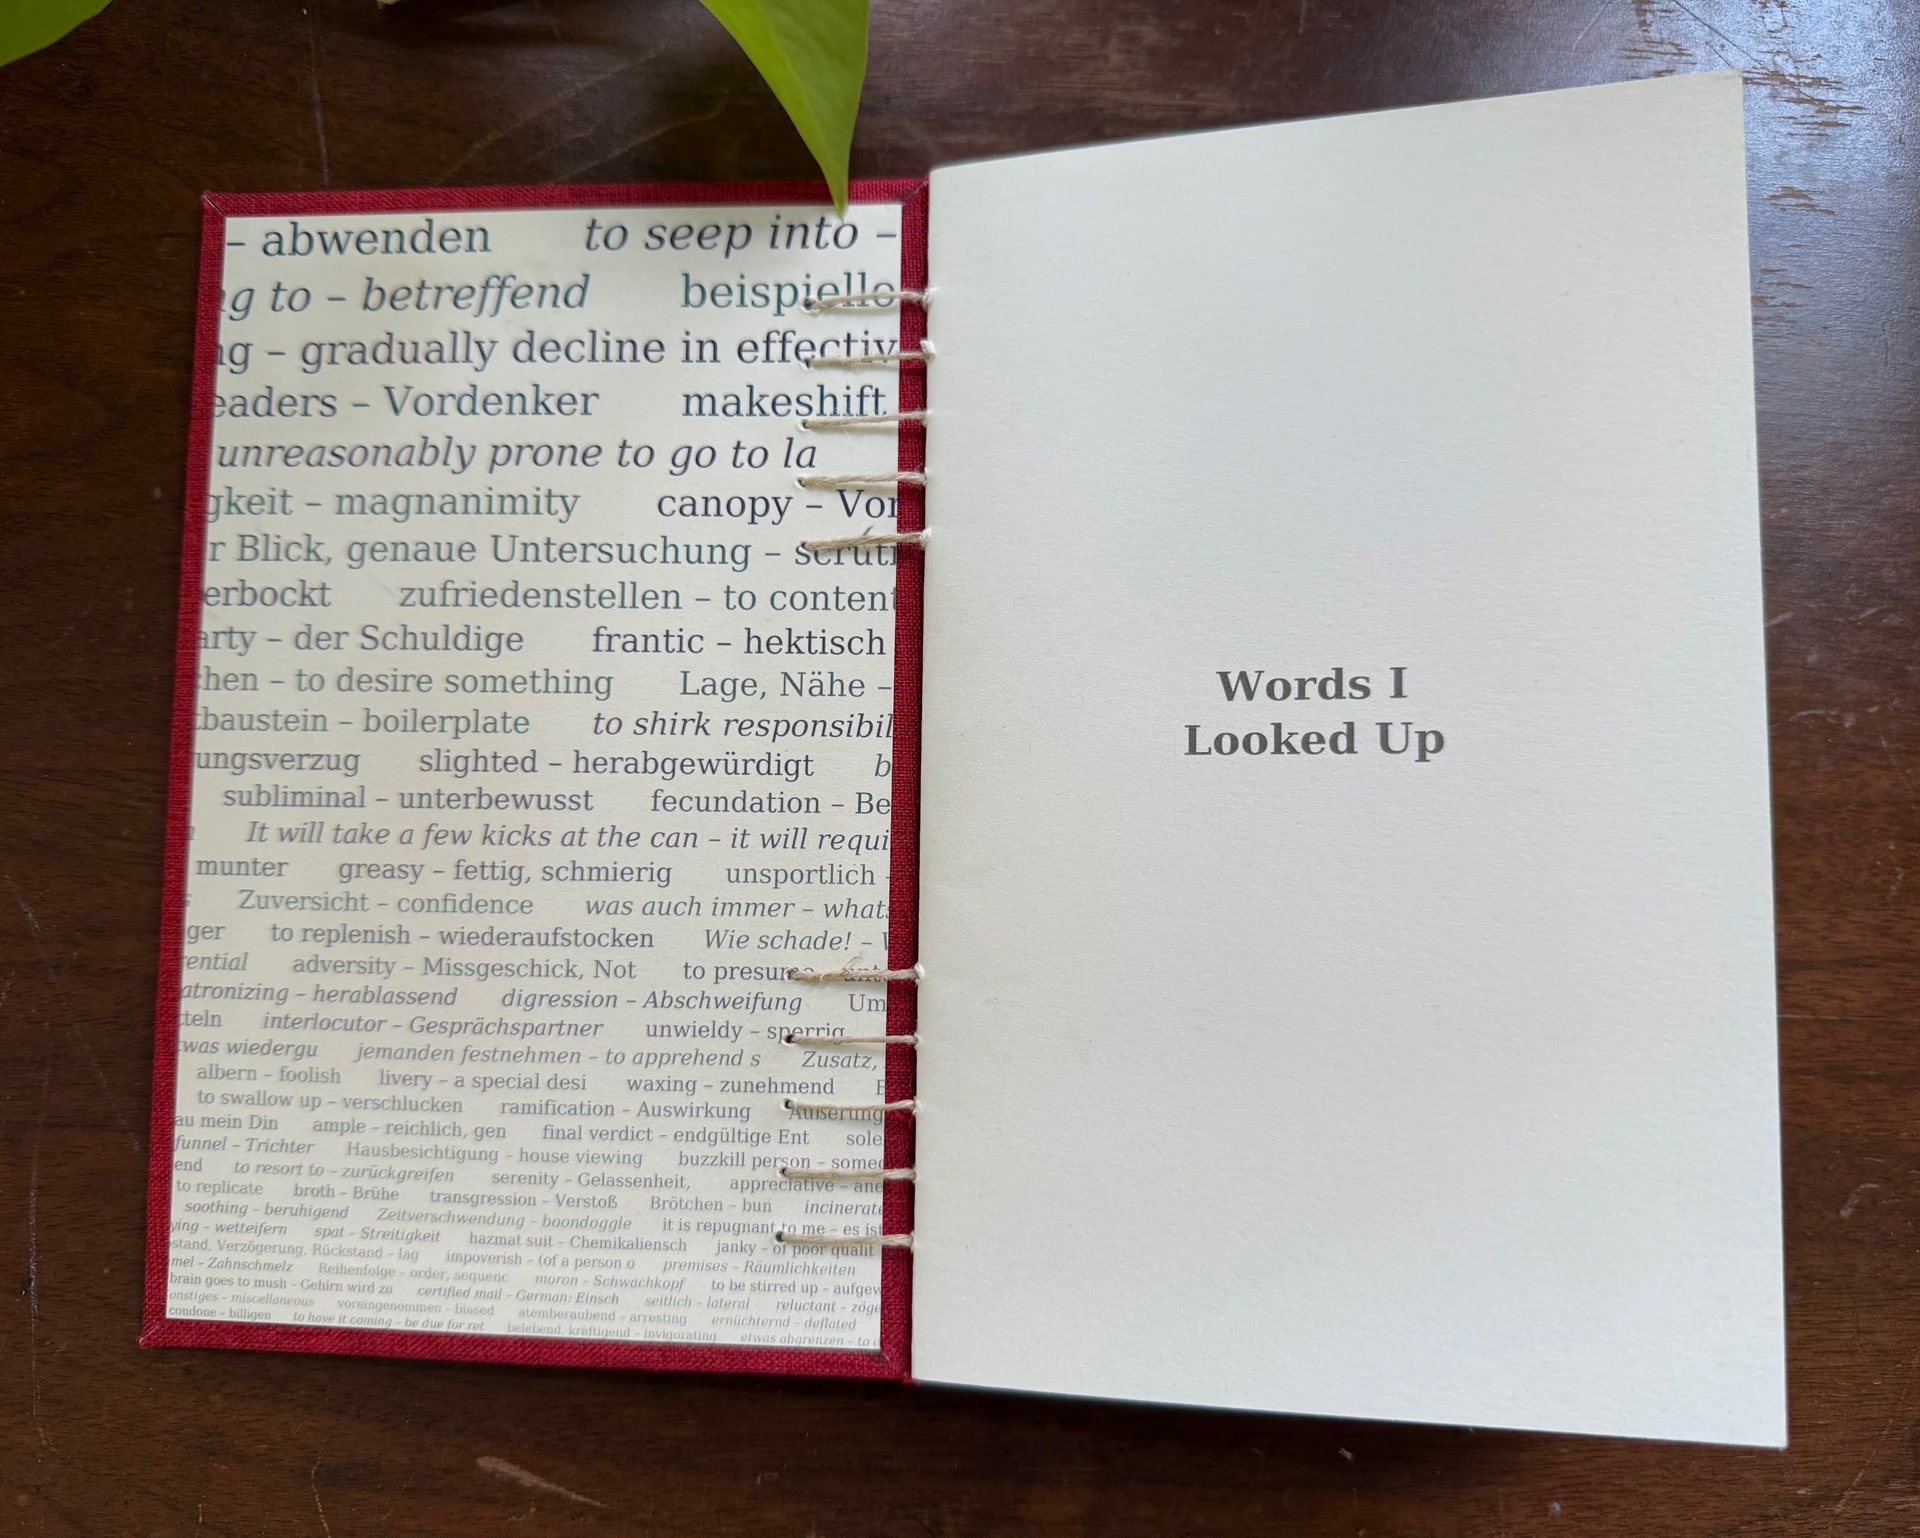
For the first time in this series, the content of the book is my own too. It is a list of all the words I looked up between 2015 and 2025. I have kept track of them since 2015 and previously published the growing list on this blog. I used software I wrote to collect them and Claude to format them nicely into a printable PDF. The pastedowns also use a custom design made from words appearing in the book. It is fun to compare the difficulty of the words I looked up in 2015 with those I looked up ten years later.
A Miniature Book: For My Son
Finally, I made a tiny book. It uses the same recipe as the larger ones – folded pages, signatures, thread, glue, boards, endpapers, an endband, and covering material – but at a finger-sized scale. This book was surprisingly easy to produce and was done in one evening.
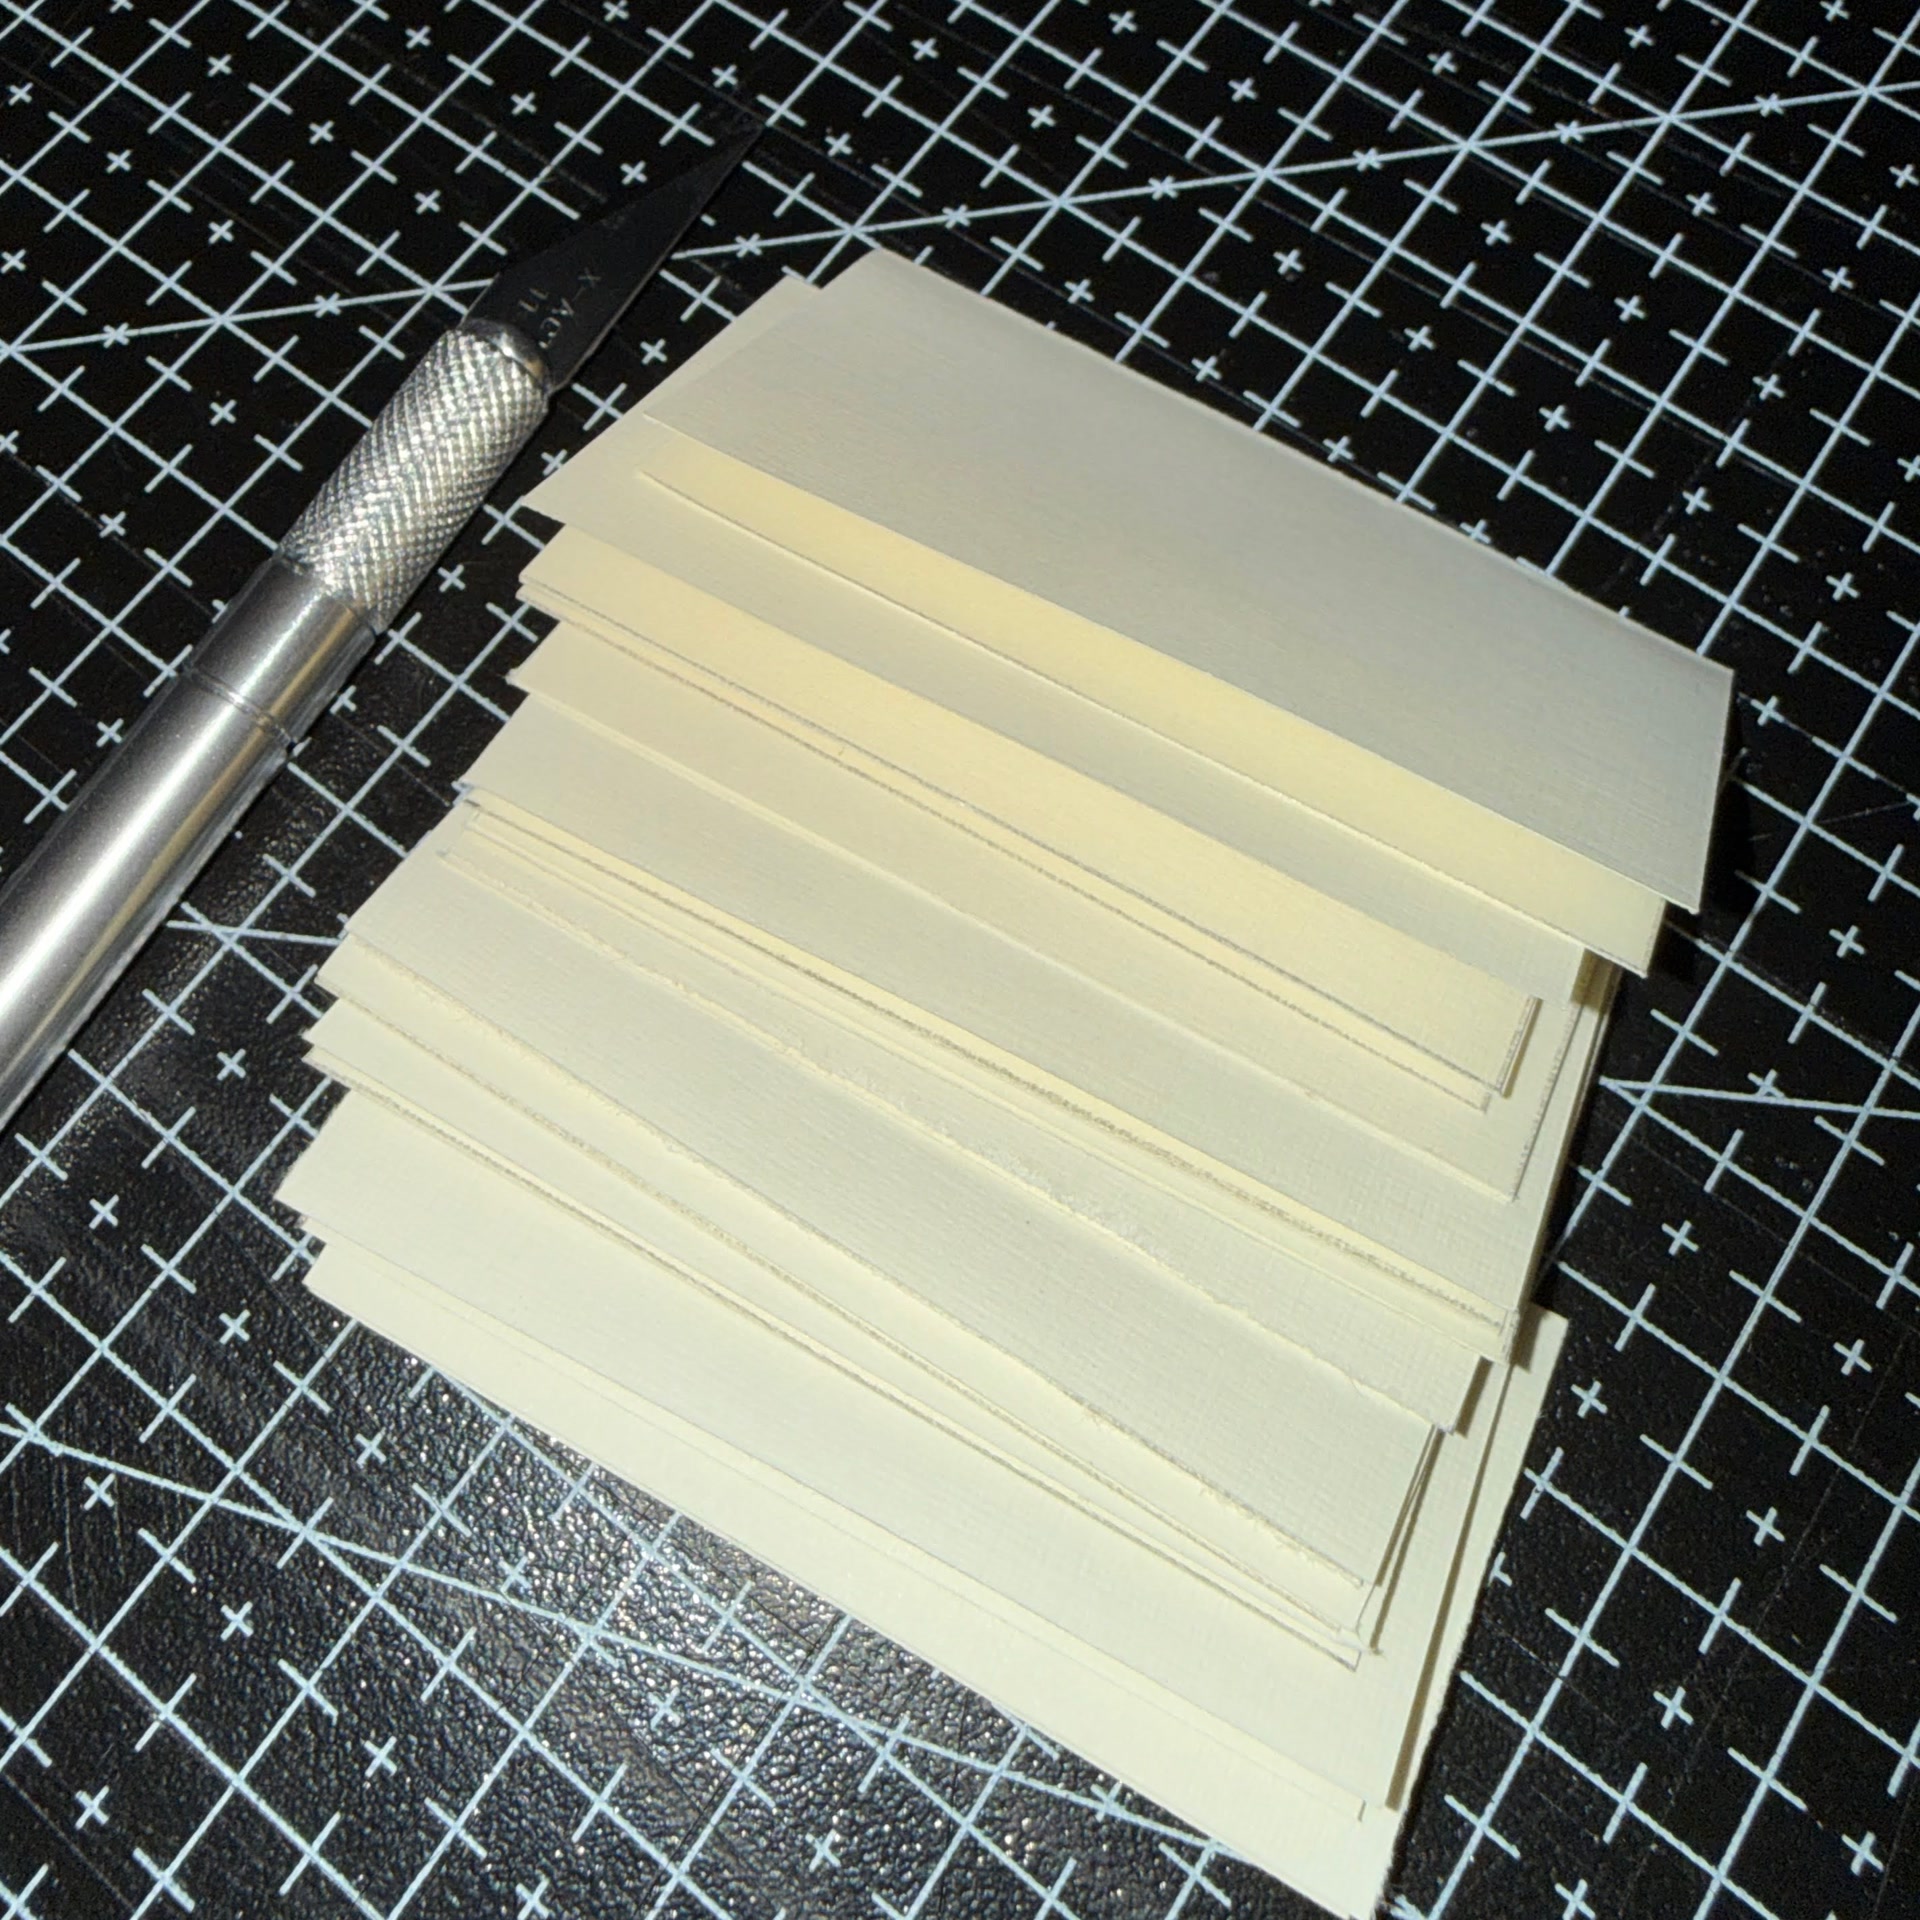
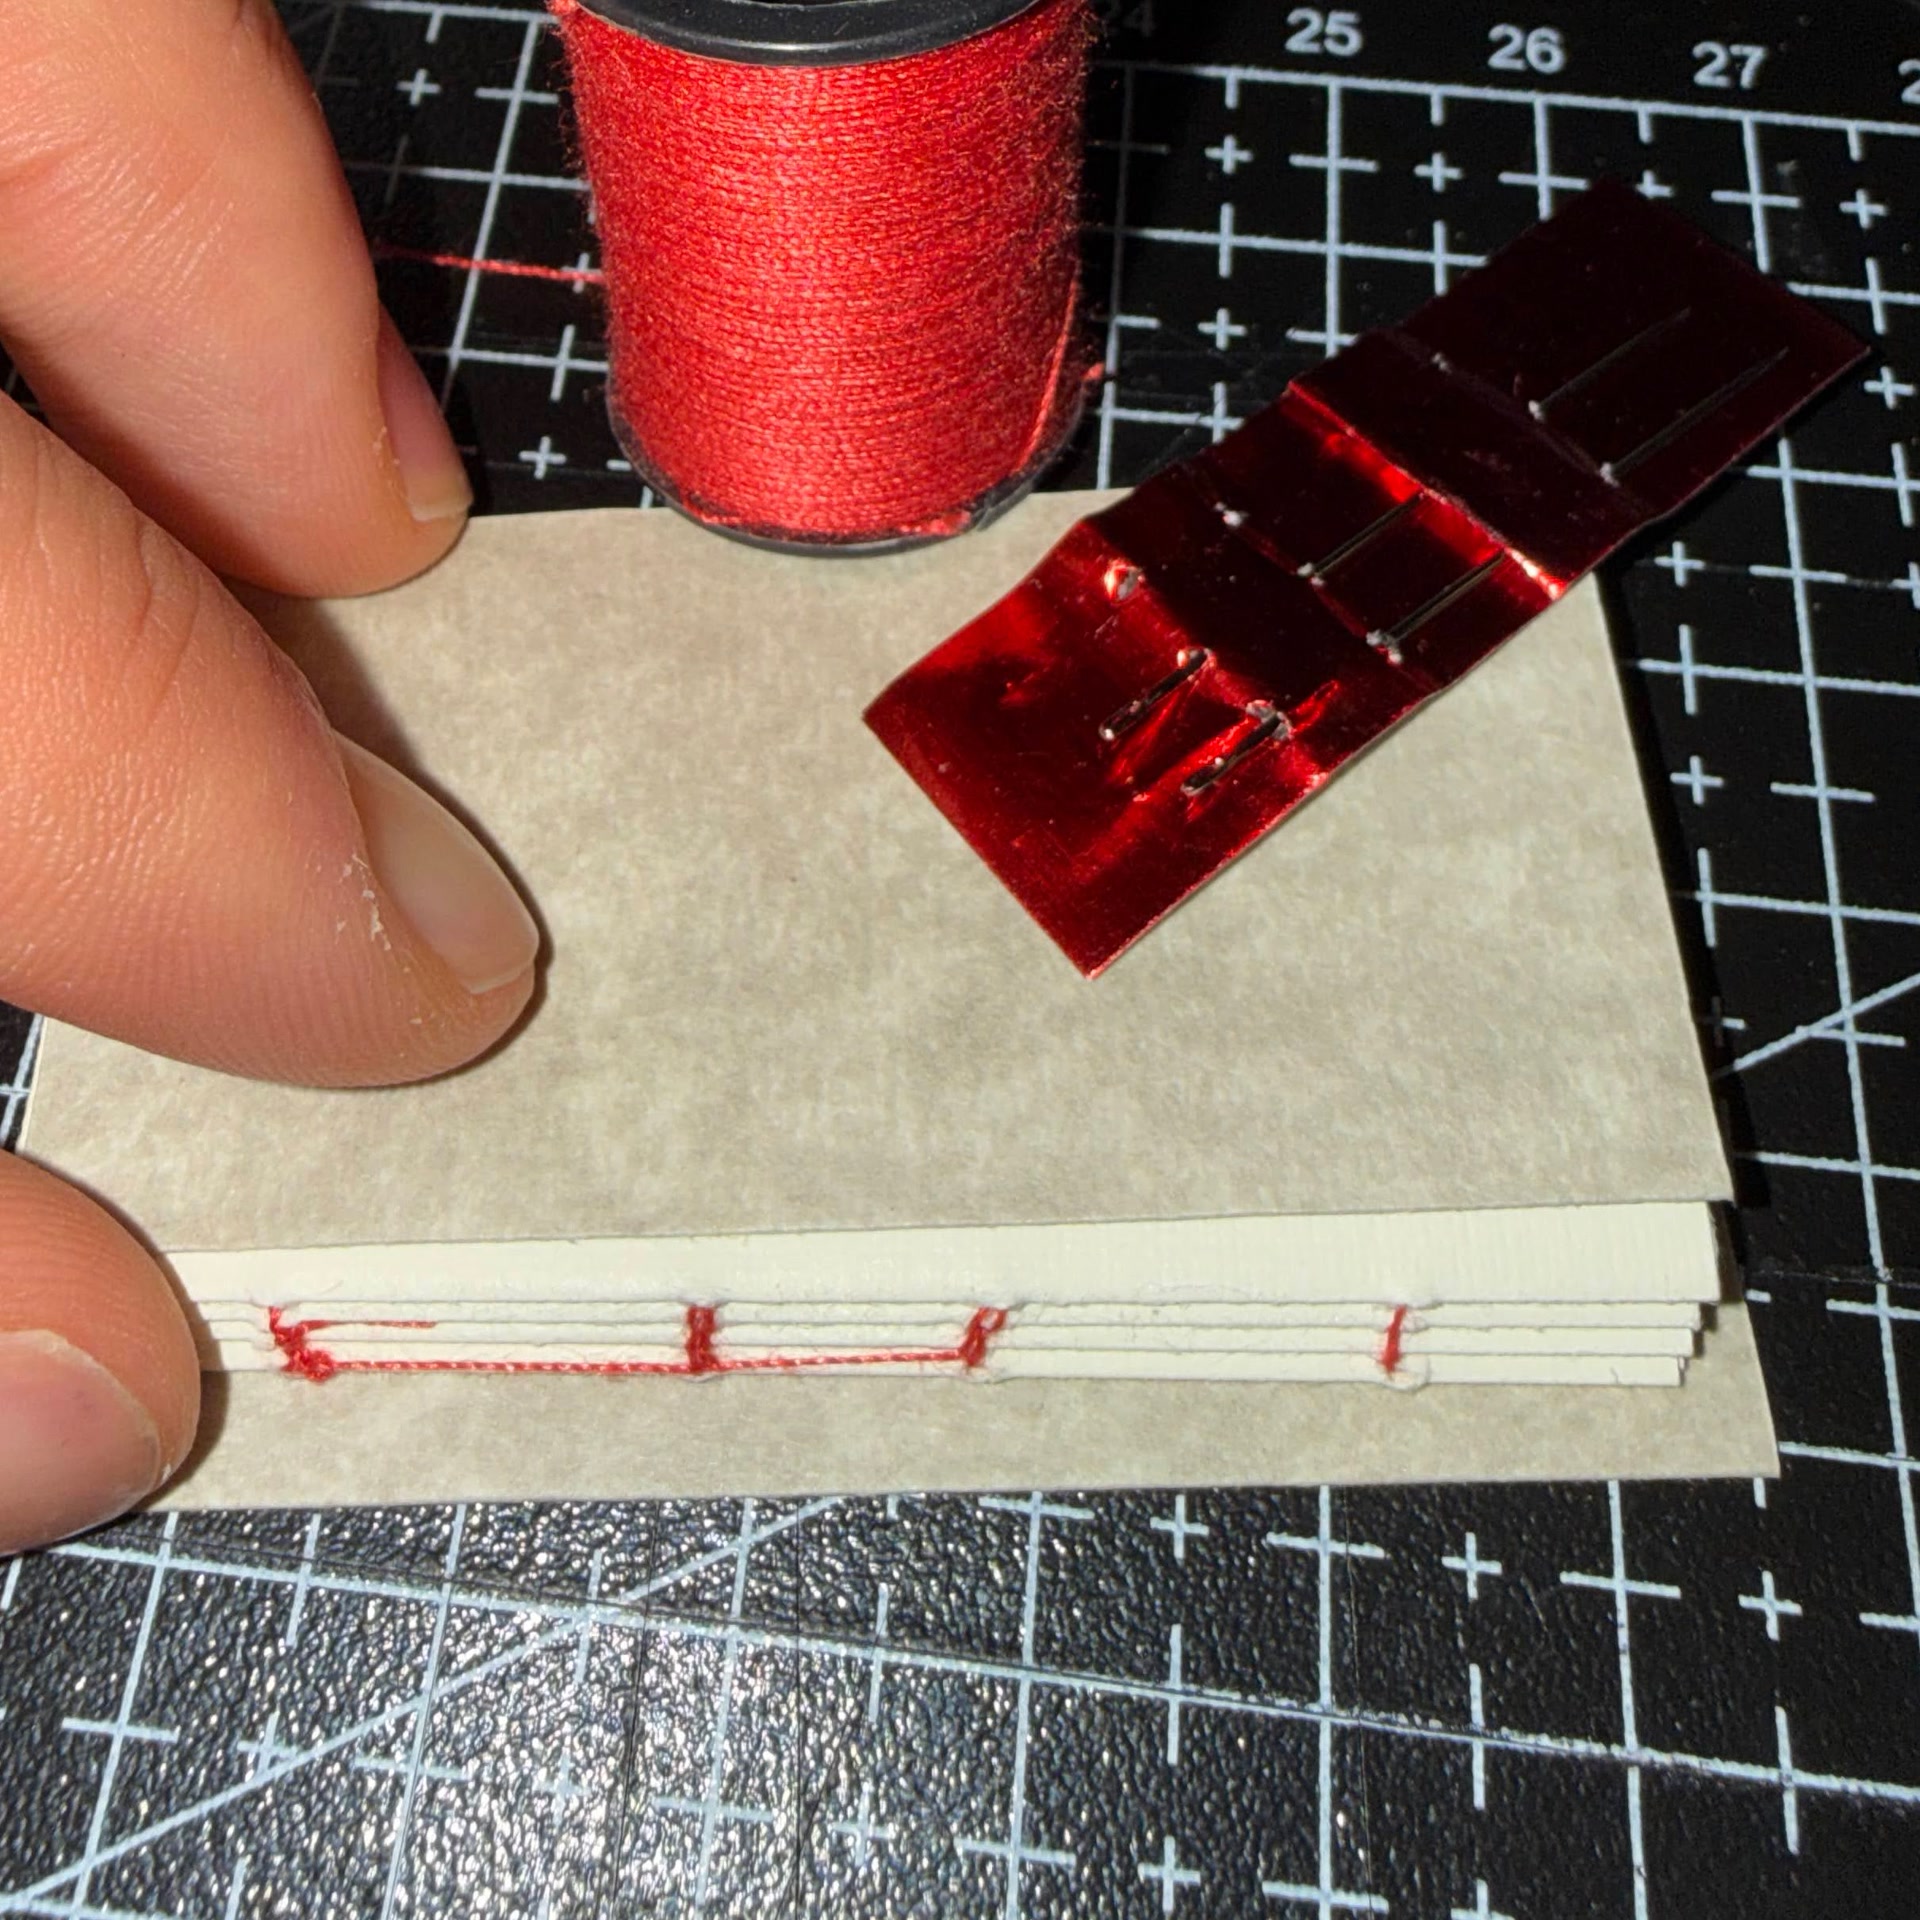
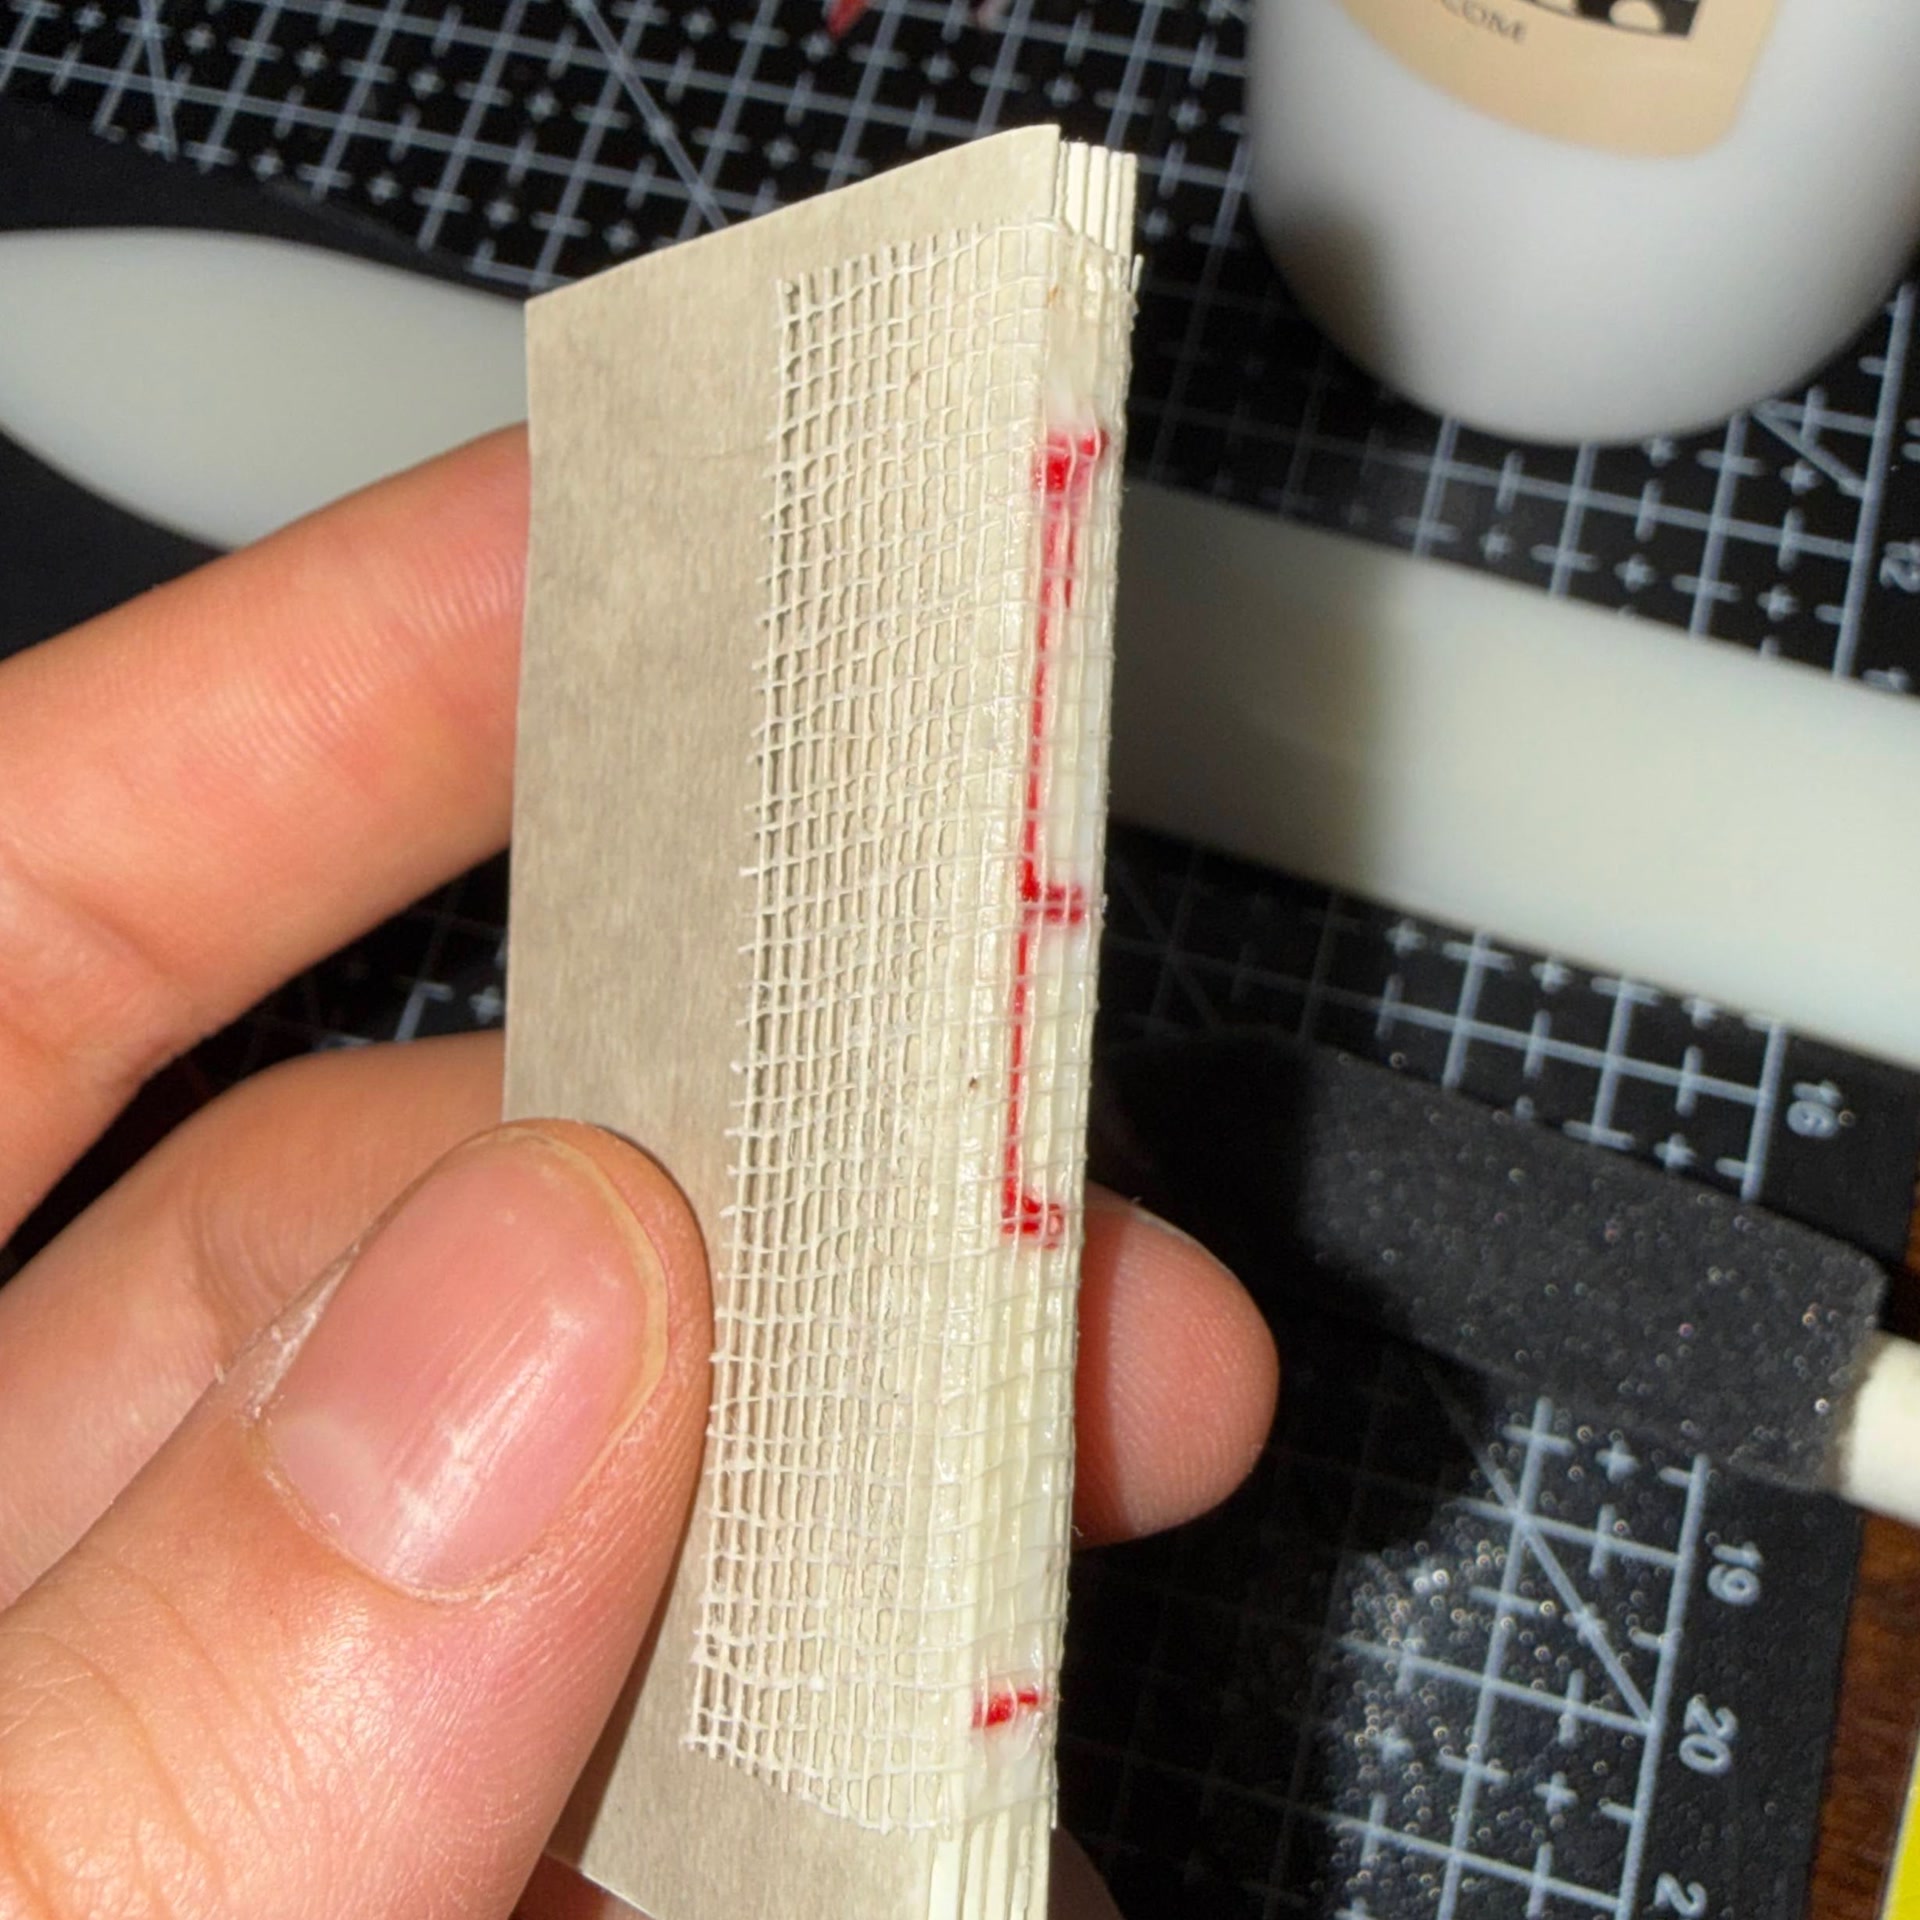
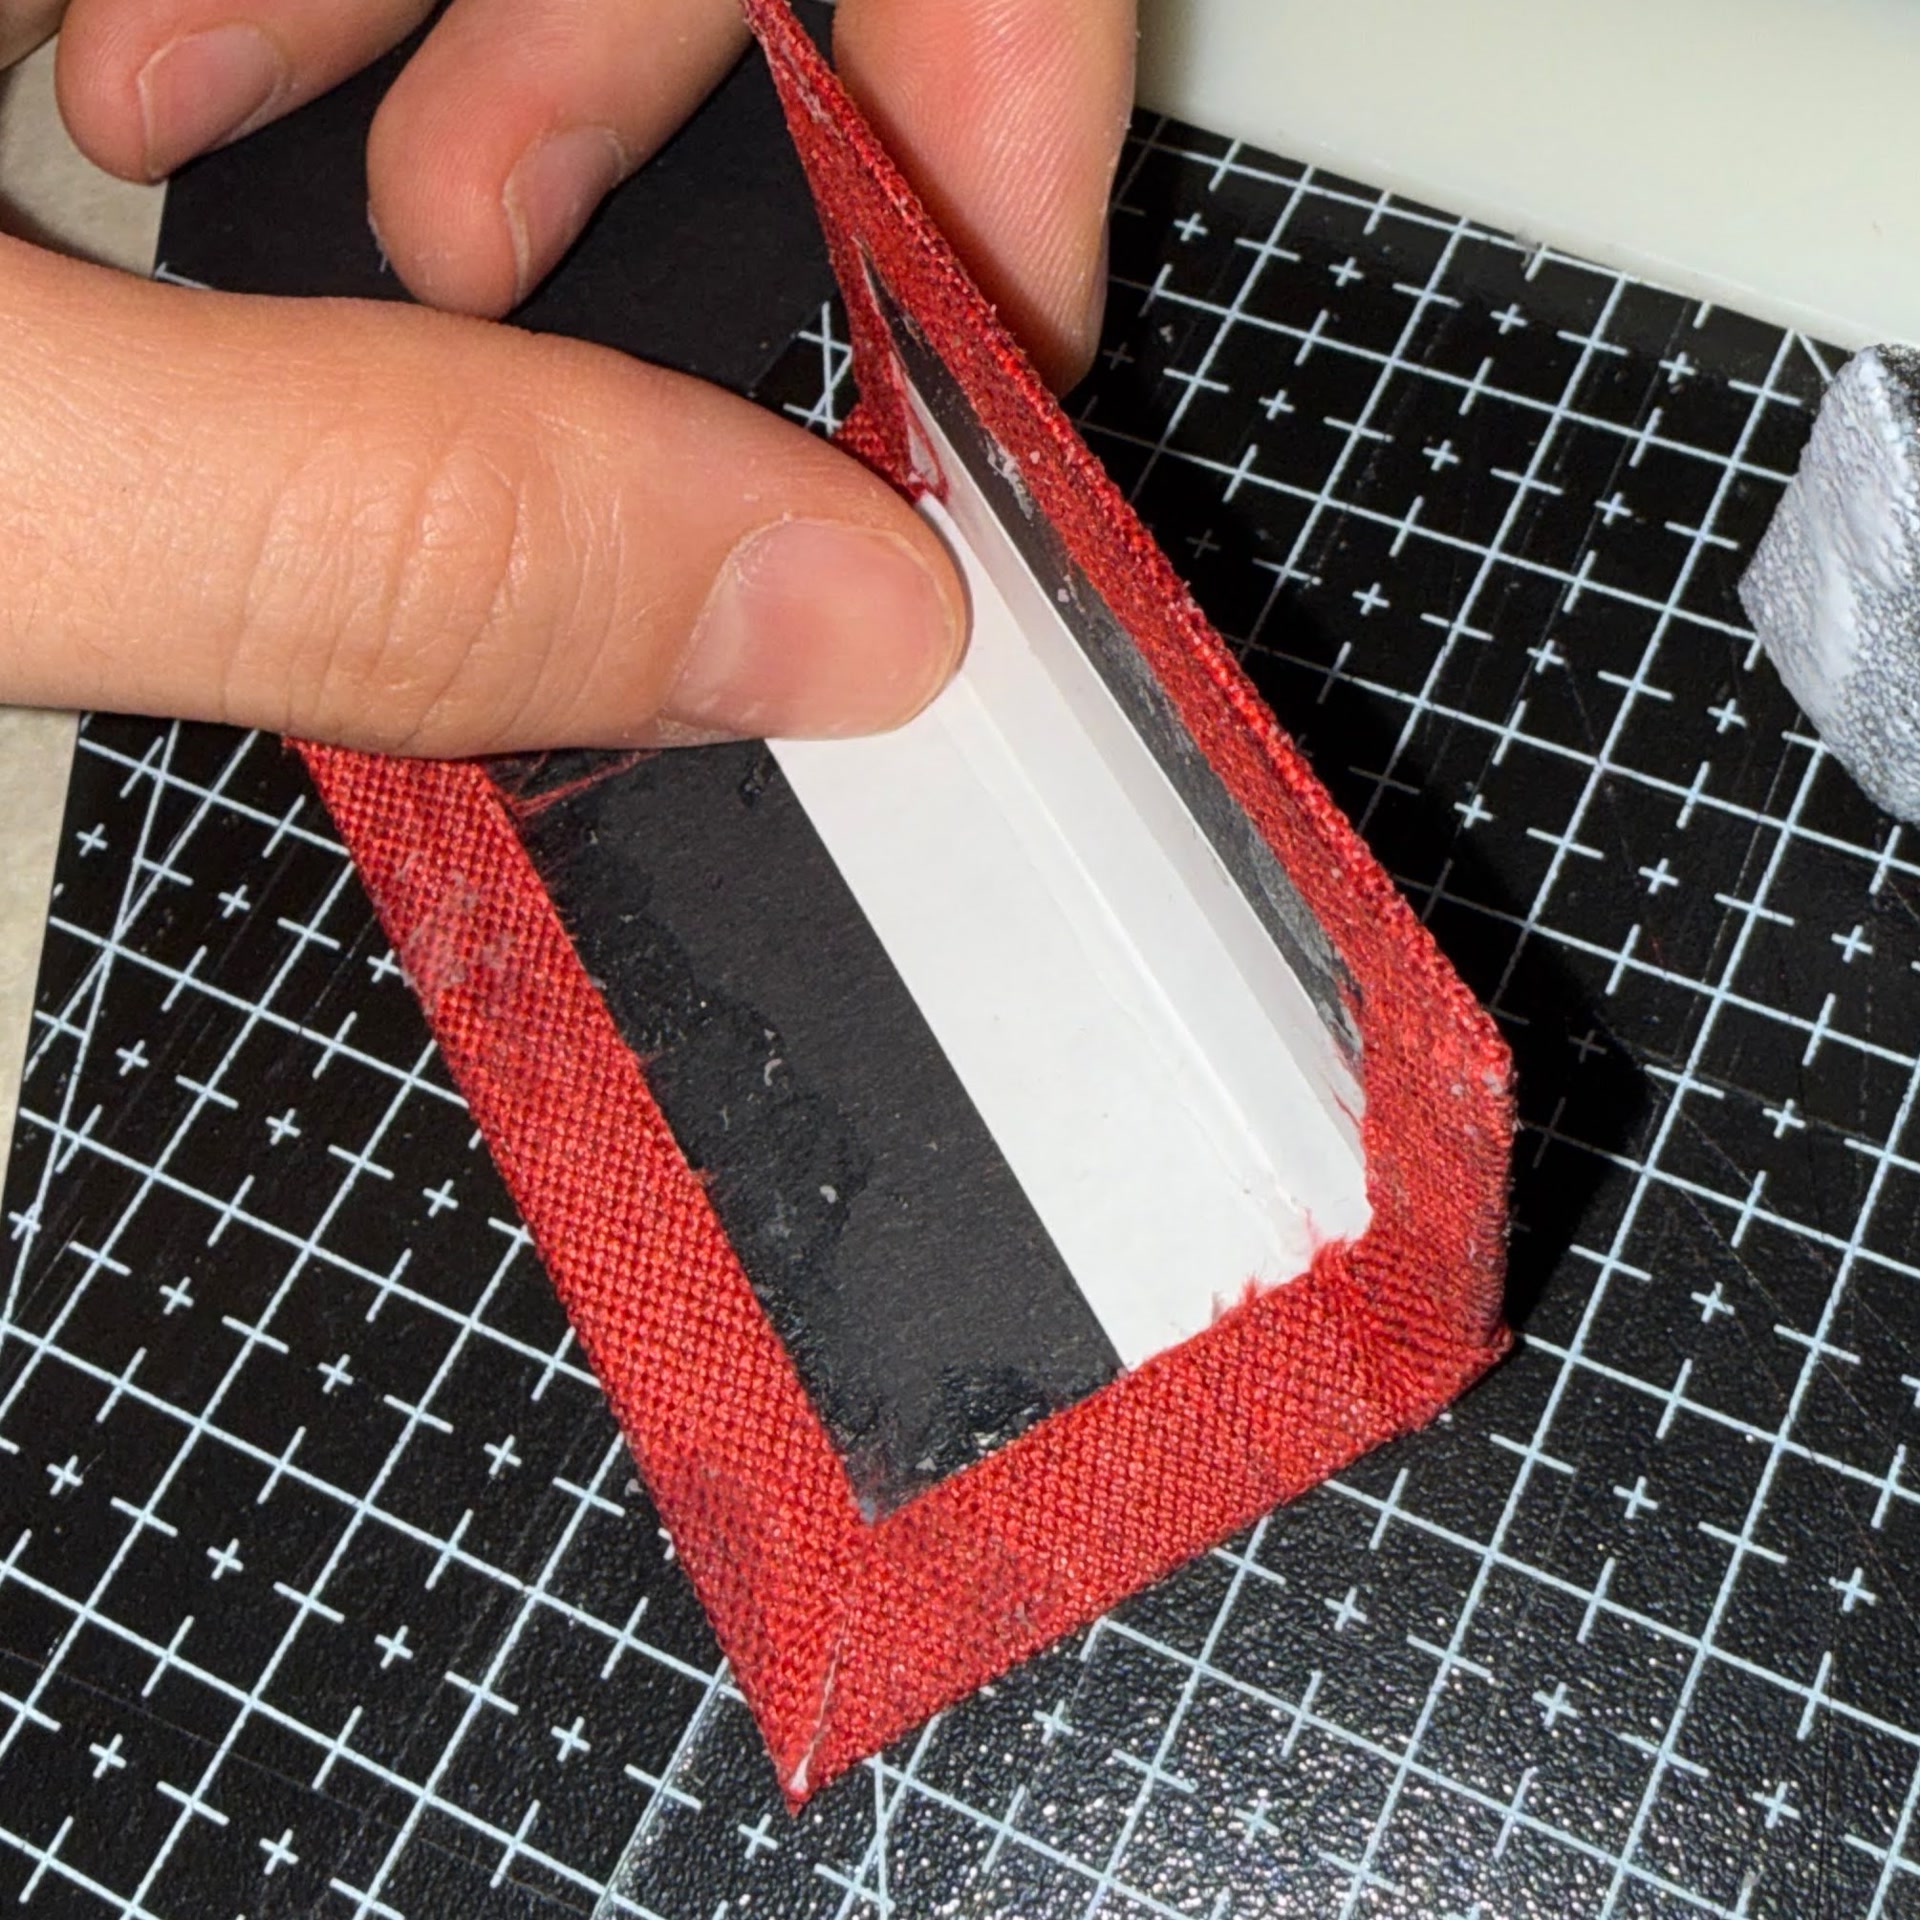
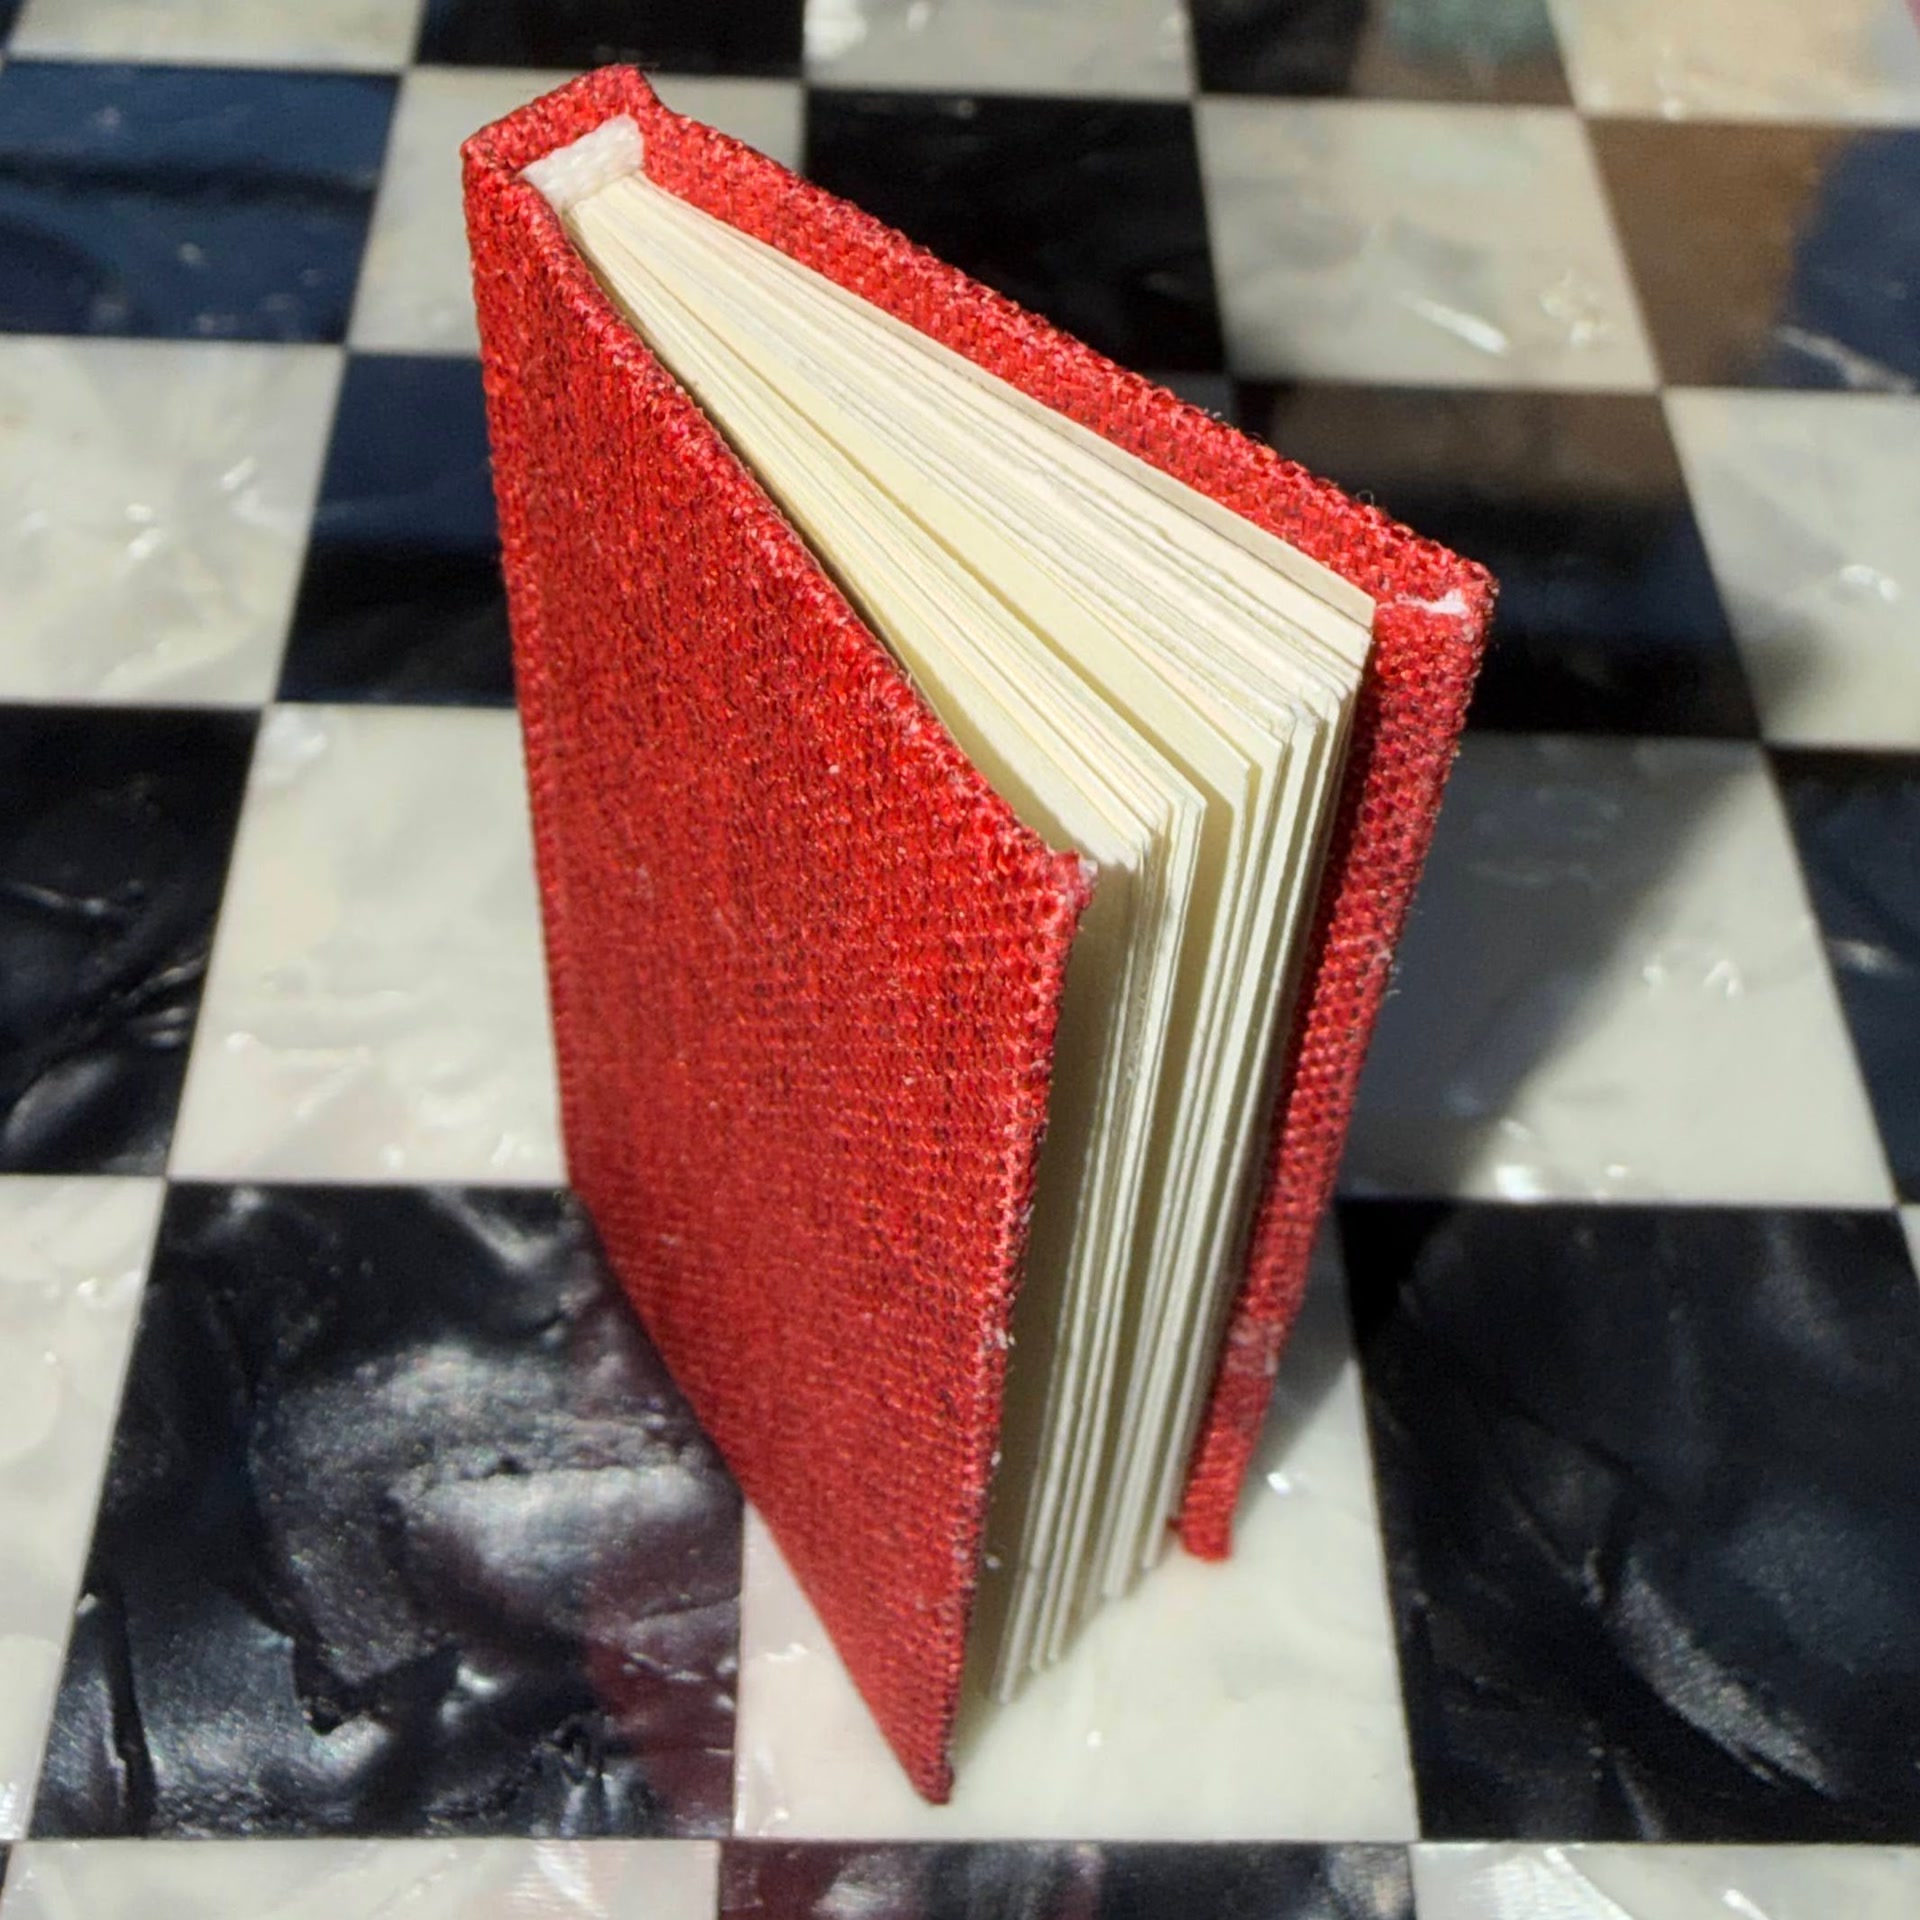
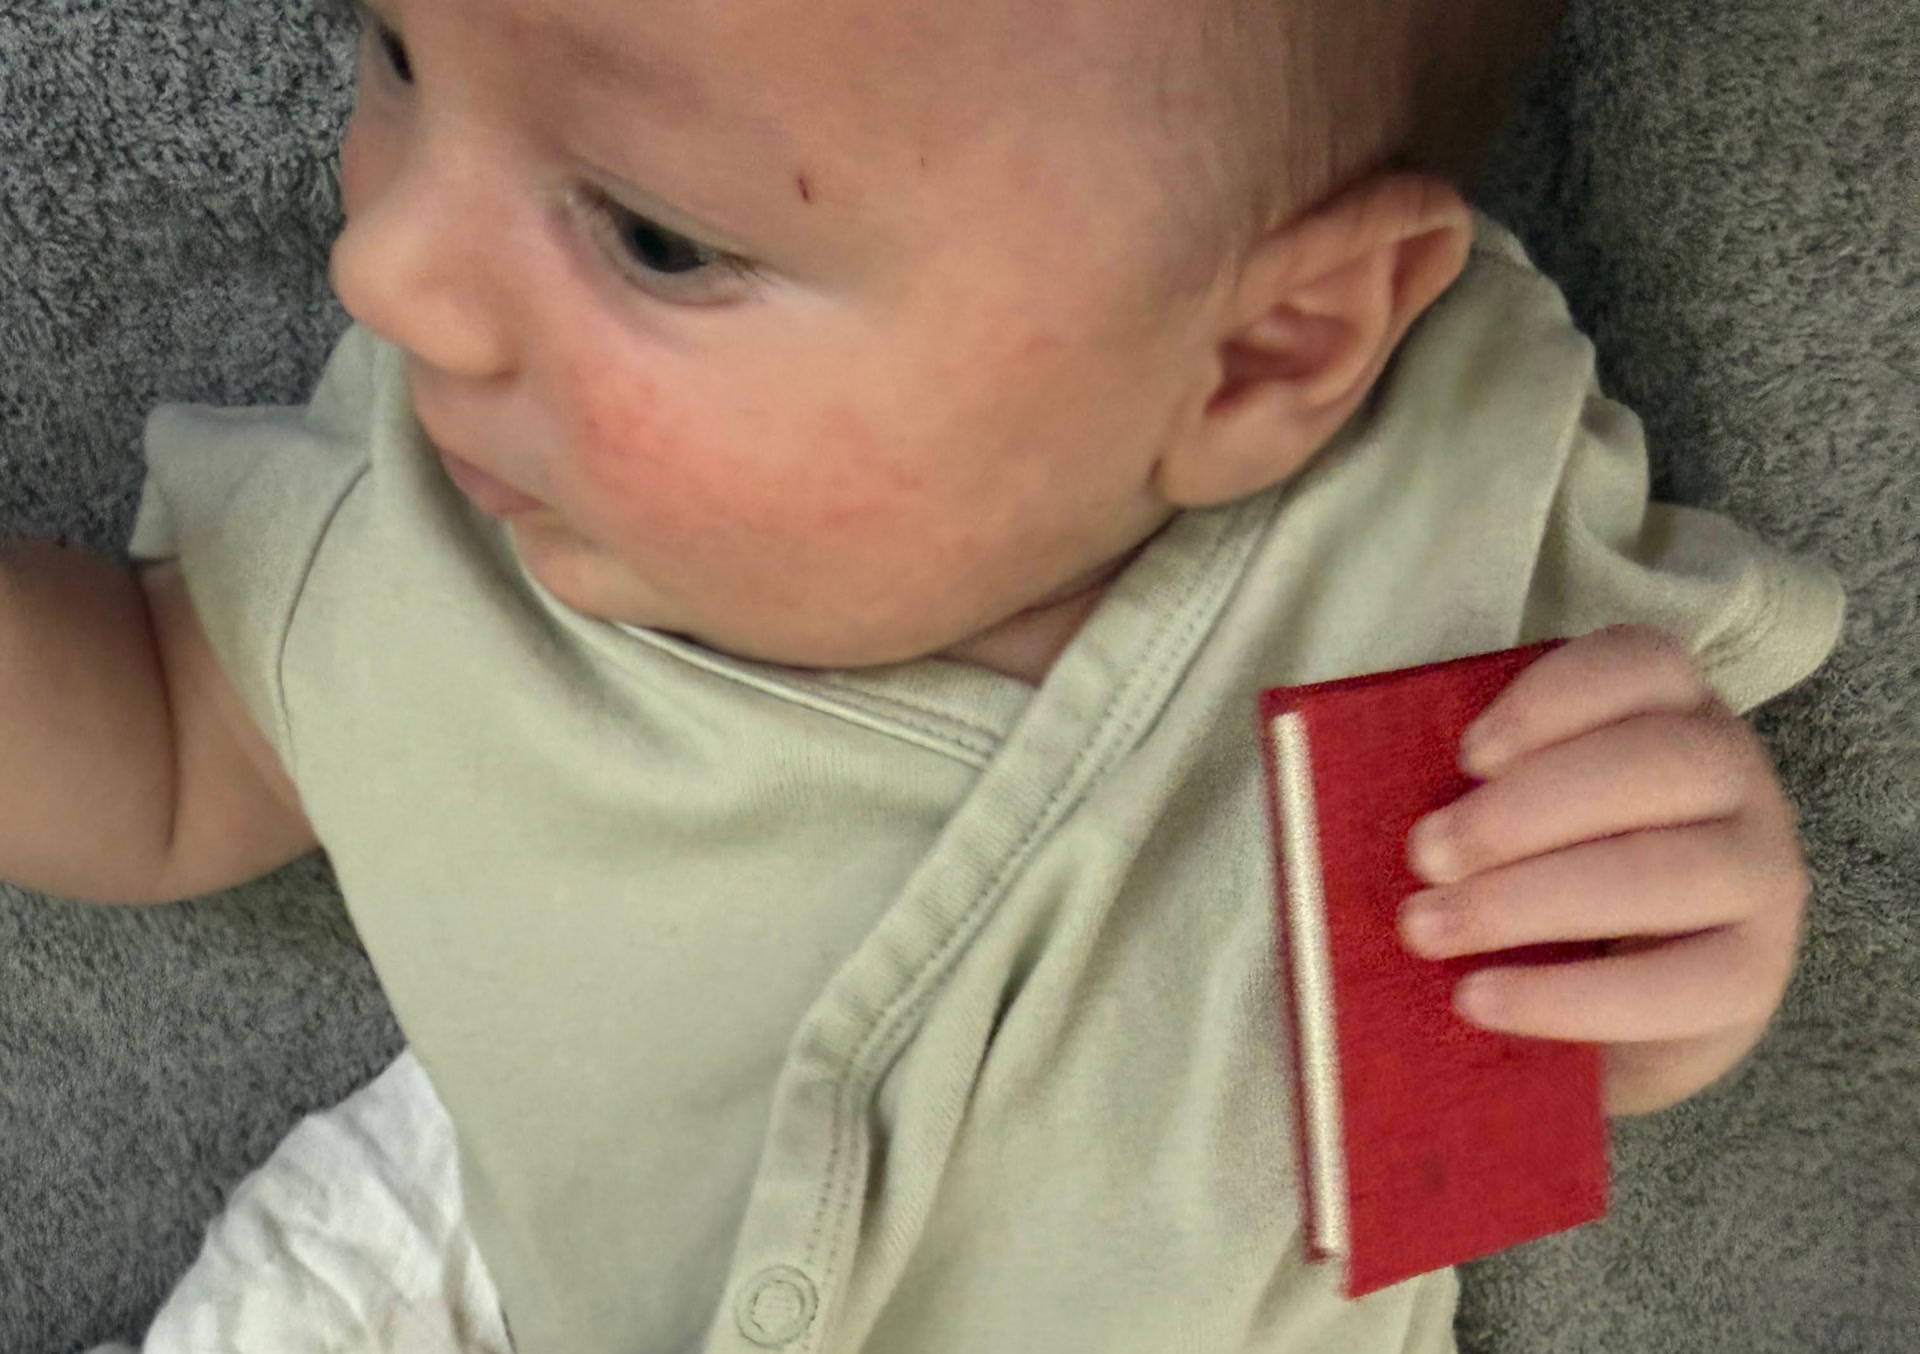
I associate this book with my newborn son Leonardo, whose hands currently seem almost perfectly sized for it.
Looking at Books Differently
I no longer look at books the same way. When I pick one up, I notice which binding it uses, pay attention to the endpapers and the size of the signatures, and open it halfway to watch what the spine does. These details had been in front of me my entire life, and I had simply never paid attention. Crazy!
I had so much fun making these books and plan to make some more. It would be fun to bind a matching series of books with the same dimensions and binding style, or an even thicker book than the Apollo 11 transcript, again with a rounded spine (maybe the Space Shuttle POH :-)).