Node.js: Develop on Mac, Run on Raspberry Pi
For me the solution for productive Node.js development on Mac, with code execution on a Raspberry Pi was usage of Samba. After following the steps you will be able to develop Node.js applications right on your Mac, execute them on your Raspberry Pi (just by pressing cmd+S) and see the console output and errors on your Mac, without much hassle. This tutorial covers the entire setup.
Login to your router interface and assign a static IP address to your Raspberry Pi’s MAC address (e.g. 192.168.0.120). The router menus differ from each other, if you have trouble check the router manual.

Then connect to your Raspberry Pi via Secure Shell (SSH) from your Mac.
ssh pi@192.168.0.120
Install Node.js and the npm packet manager on the Raspberry Pi.
apt-get upgrade
apt-get update

curl -sL https://deb.nodesource.com/setup_7.x | sudo -E bash -
apt-get install nodejs npm
ln -s /usr/bin/nodejs /usr/bin/node
Install some other useful packets (optional).
npm install -g nodemon
npm install -g typescript
Install Samba, set a user password and edit the config file.
apt-get install samba samba-common-bin
smbpasswd -a pi

nano /etc/samba/smb.conf
Edit the Samba config file (/etc/samba/smb.conf).
workgroup = WORKGROUP
wins support = yes

[pihome]
   comment = Pi Home
   path = /home/pi
   browseable = Yes
   writeable = Yes
   only guest = no
   create mask = 0777
   directory mask = 0777
   public = yes
Restart Samba to apply the changes: service smbd restart
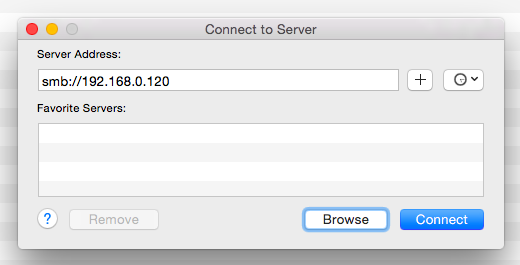
Open Finder on your Mac and navigate to Go > Connect to Server.


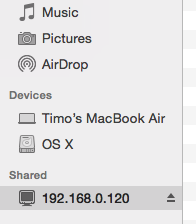
Access your Raspberry Pi’s folders through Finder and create your project there.
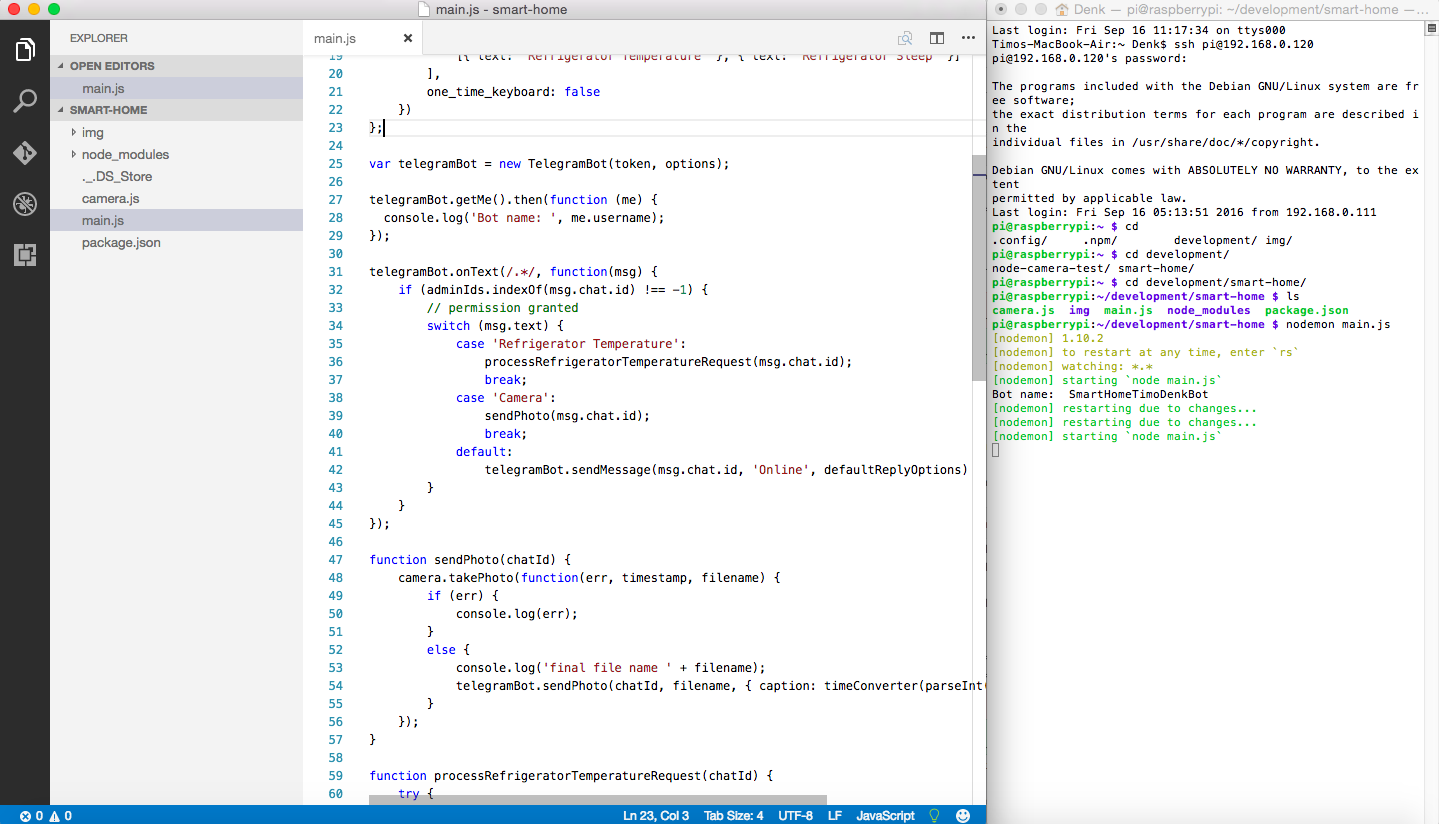
Now the workflow is to have a Terminal window open, to see the error messages and the console output of your Node application via SSH. There you can also run nodemon app.js instead of node app.js in order to keep the app restarting automatically, after files have been modified.

Every time you modify a file in the editor (on the left), nodemon will “restart due to changes”. Since your editor accesses the files on your Raspberry Pi right through Samba there is no need to transfer them, to test a new version. The console output and errors are shown in the Terminal for quick debugging.